Introducing (Page 3)

Introducing… Spring Botanicals Crocus

Welcome to Day 1 of the product introductions for our 11th Birthday Release. 

Hopefully you have hopped on over from HERE, the start of the Brand Ambassador inspirational blog hop. Today myself and the Brand Ambassadors are showcasing the newest addition to the Spring Botanicals Collection, Spring Botanicals Crocus. 

Let’s have a look at this flower in action…

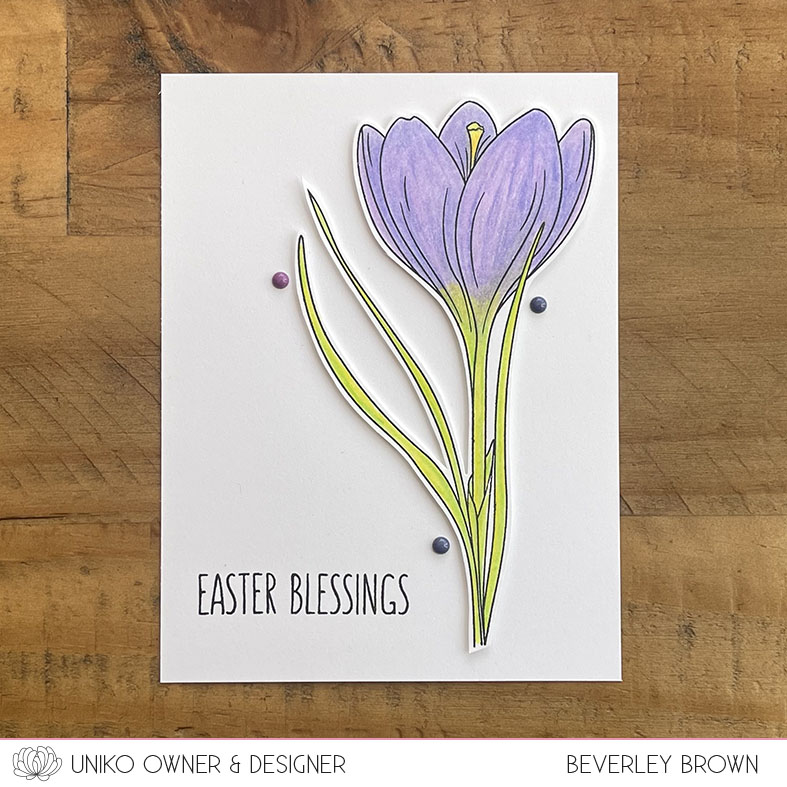
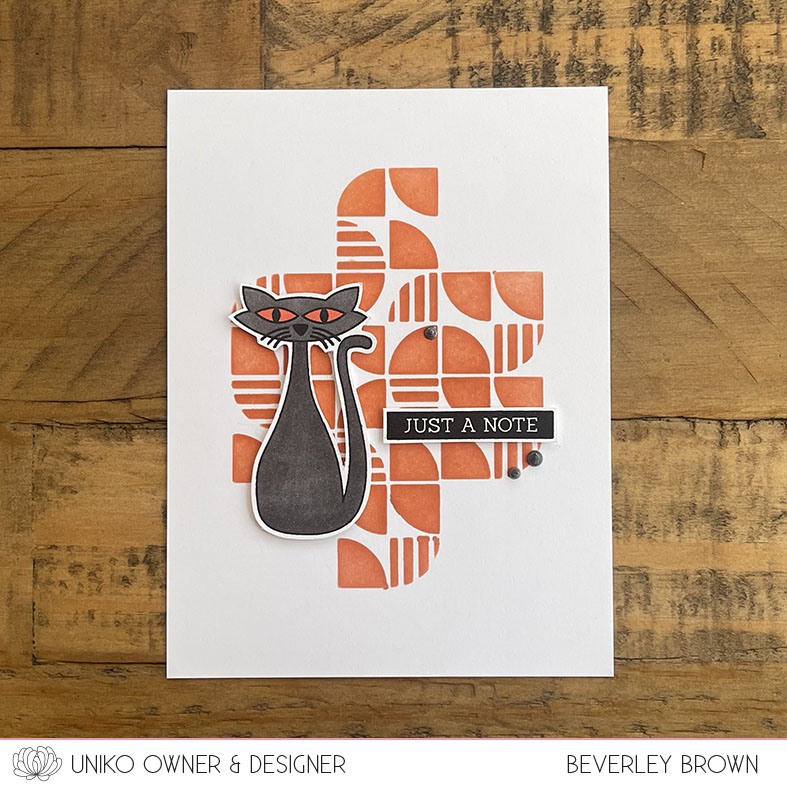
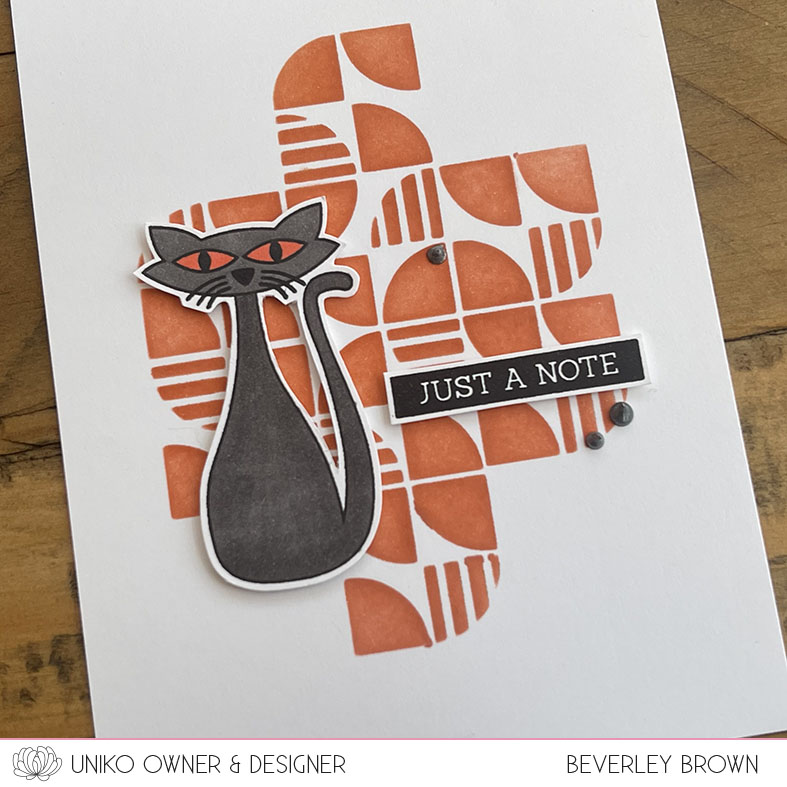
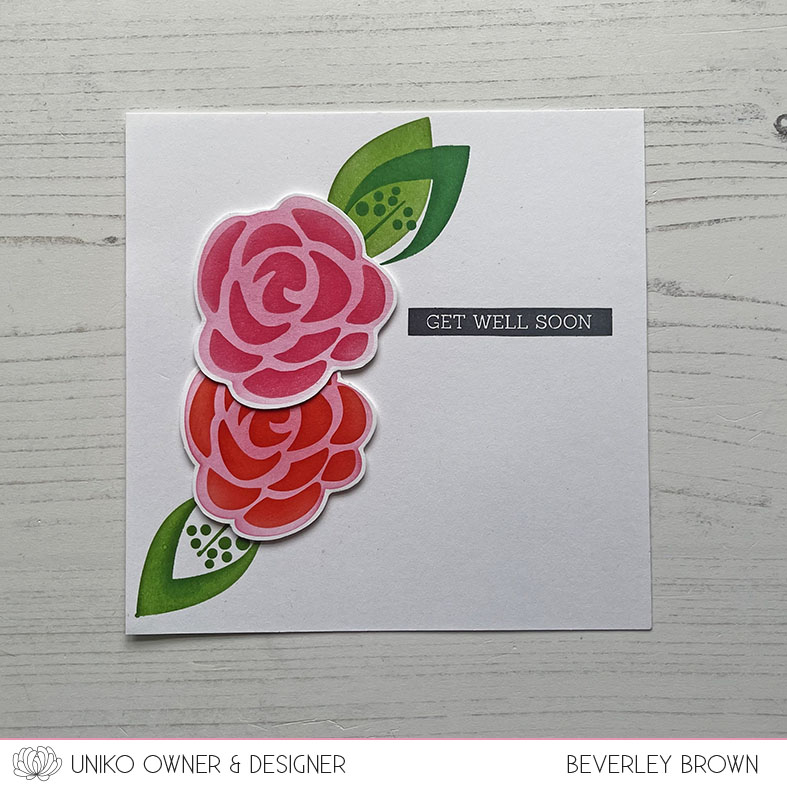
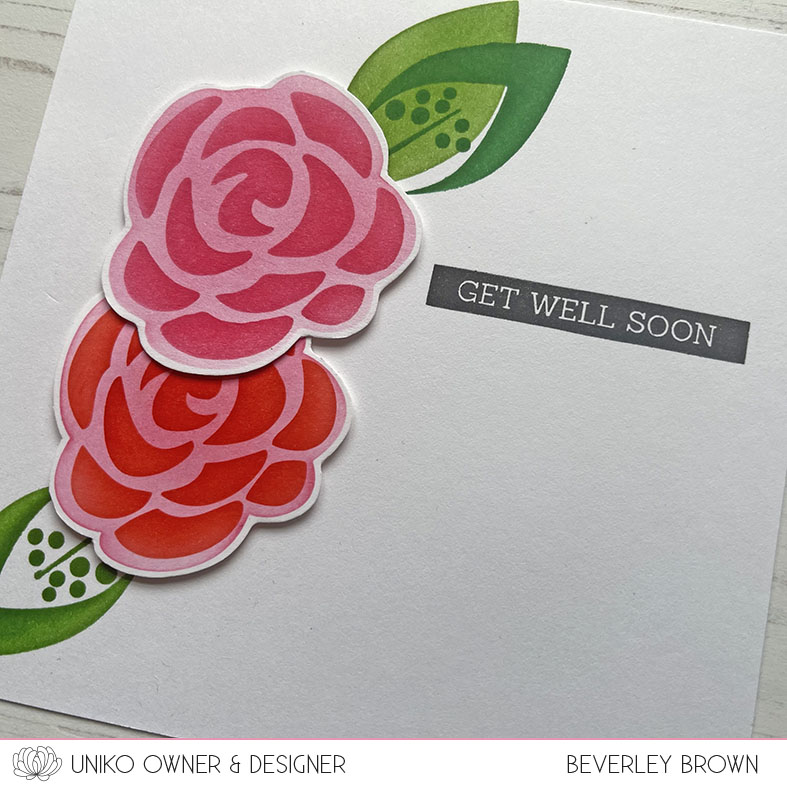
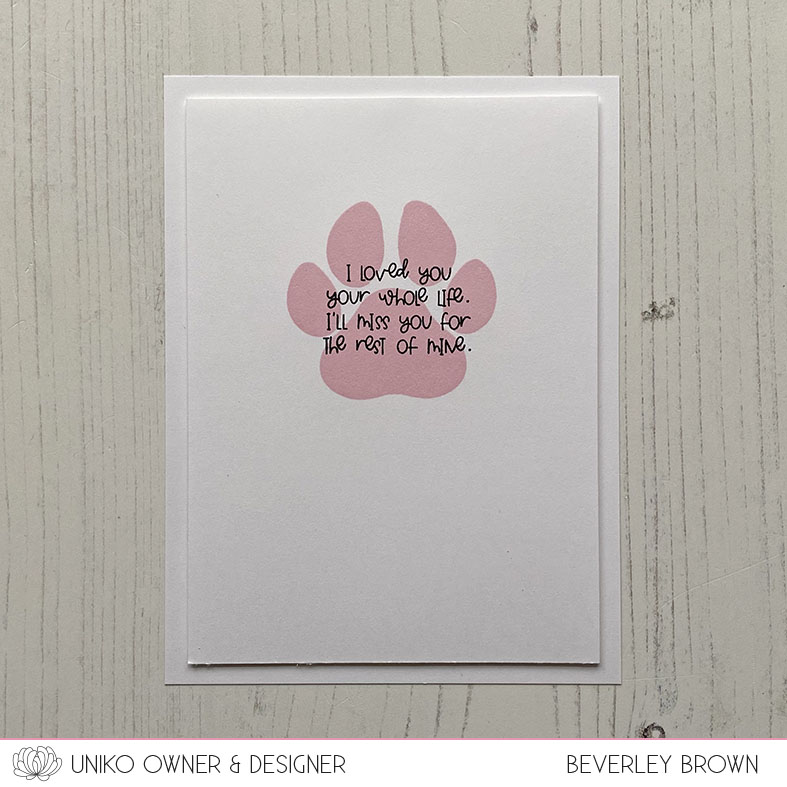
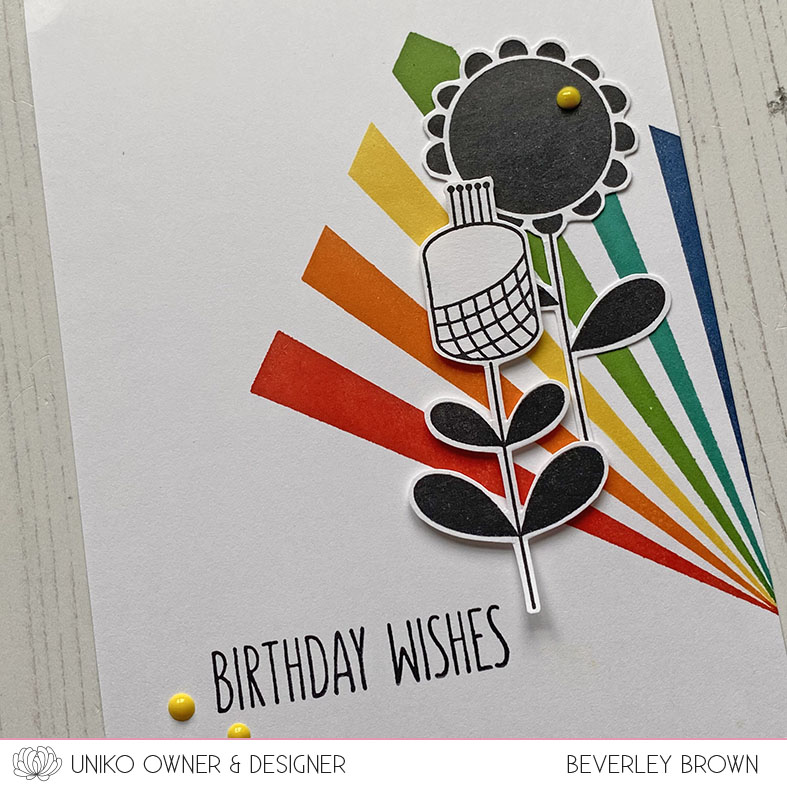
I started with my usual clean & simple style. I stamped and coloured the crocus with Prismacolor Pencils and then fussy cut the image out. I started cutting the two wispy leaves first and then followed the flower round.

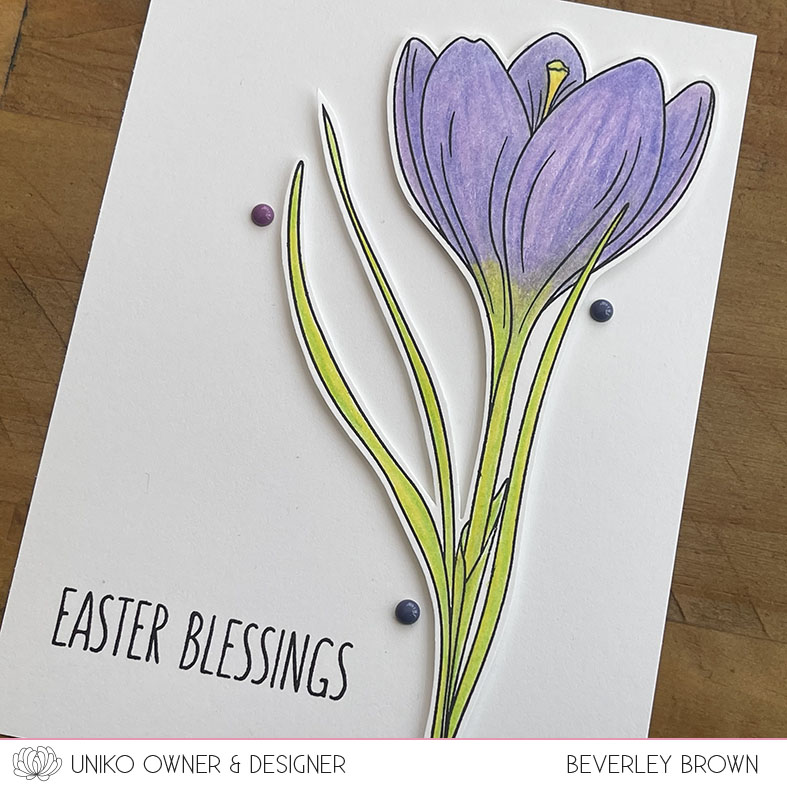
I’ve then adhered the flower to a white card base using foam adhesive. My sentiment choice is from another clear stamp set we are introducing later this week! I finished off with a few enamel dots from my stash.

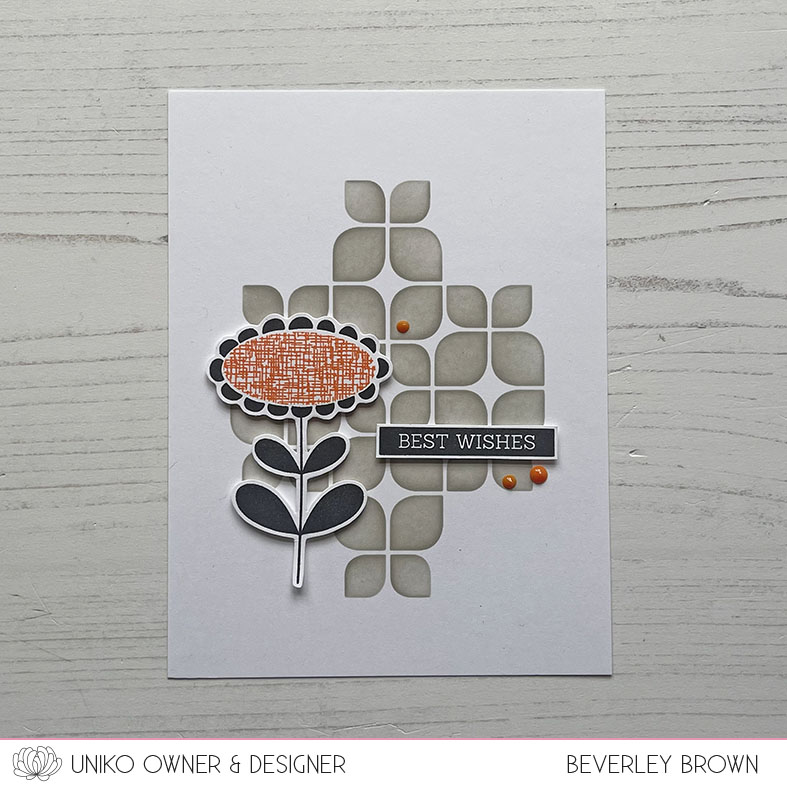
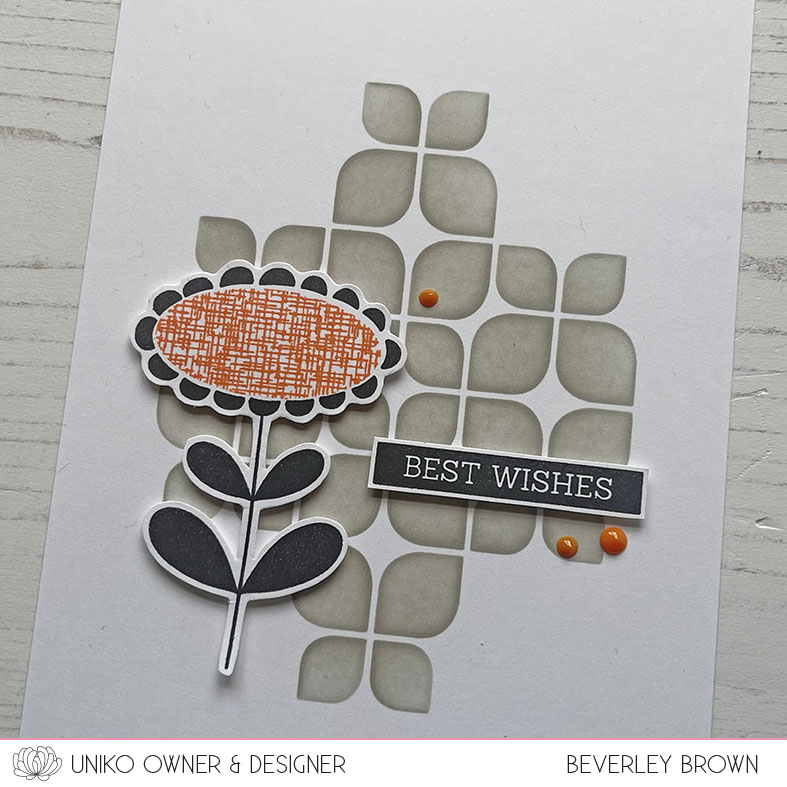
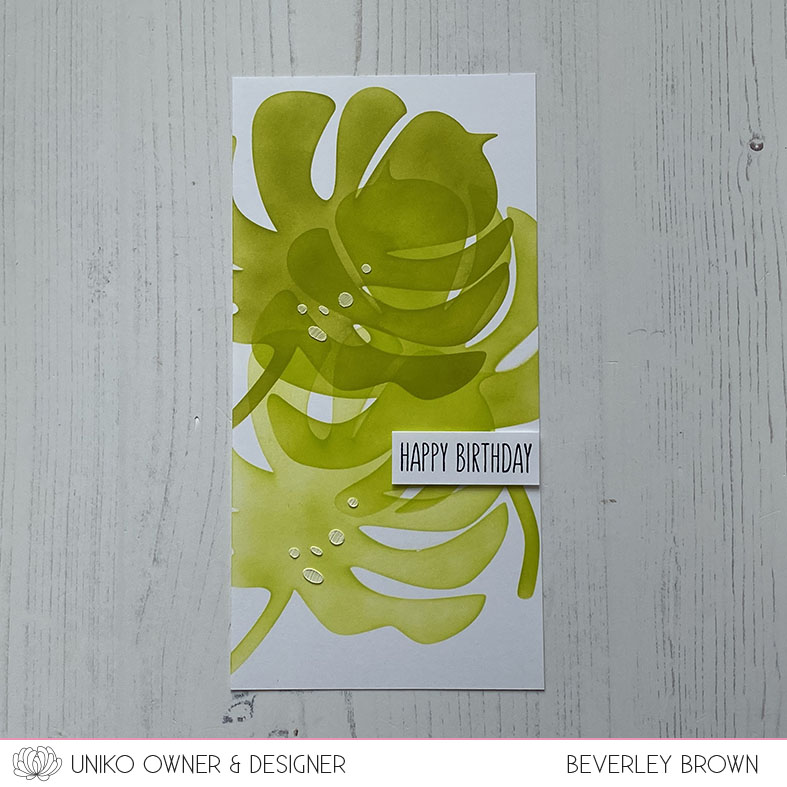
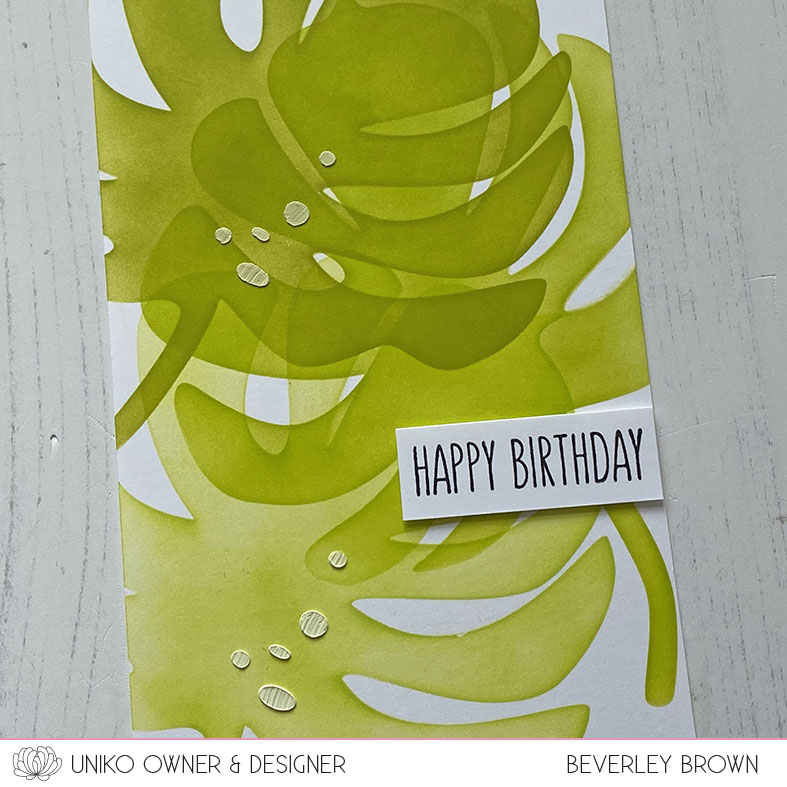
For my second card today I went with a ‘quicker’ colouring option. I highlight ‘quicker’ as in reality it took me a while to mask & ink each of the horizontal stripes!

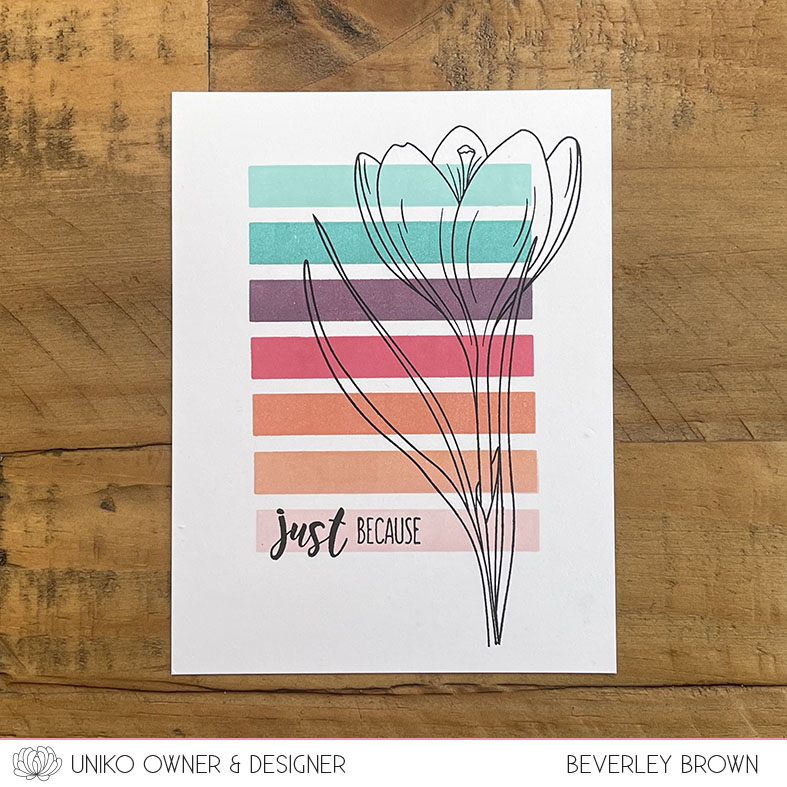
I’d used these colours on another card I am sharing later this week and I really liked them, hence why I chose to use them with the Background Blocks Horizontal Stripes. I used my MISTI stamping tool and plenty of masking paper to achieve the look.

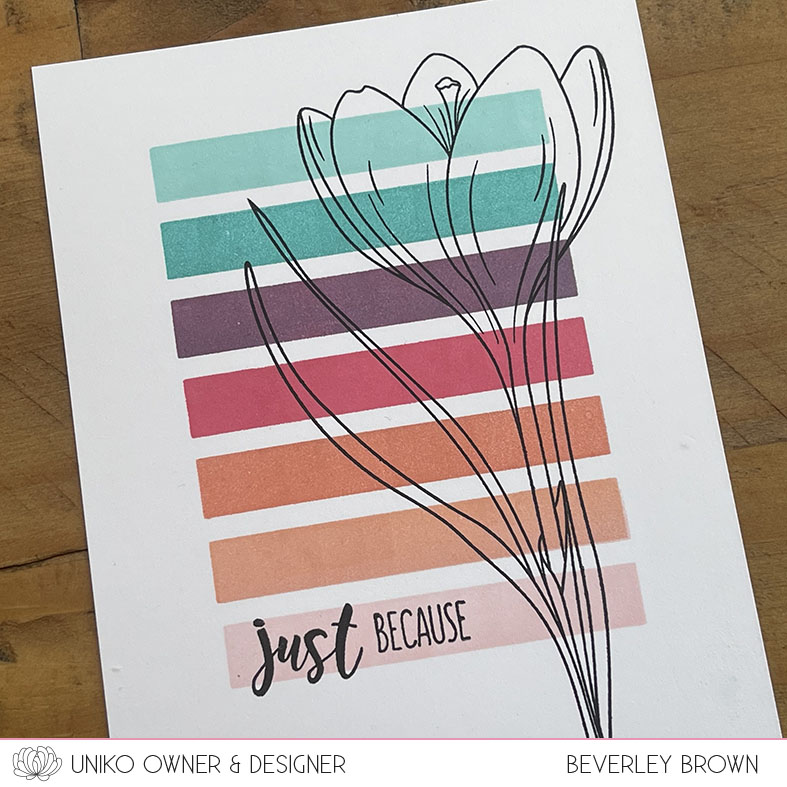
I then stamped the crocus over the top in black ink. This time I opted for one of the sentiments from the set.

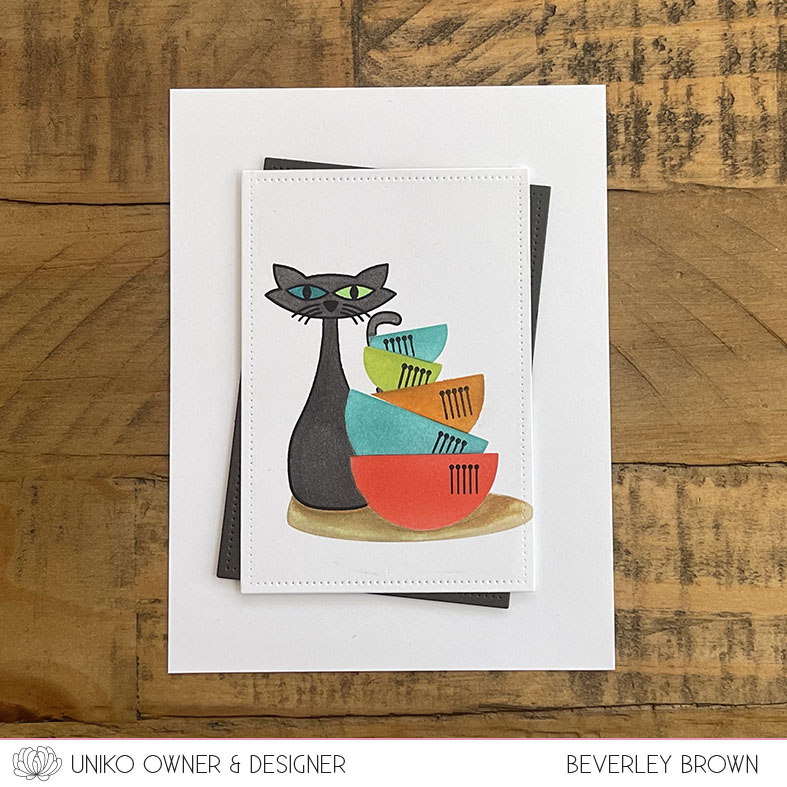
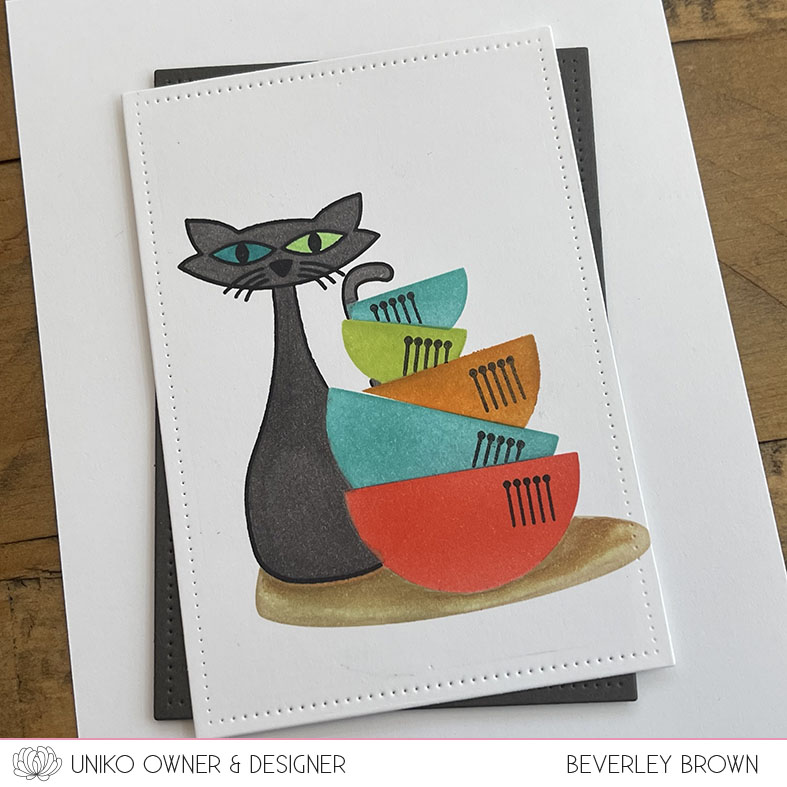
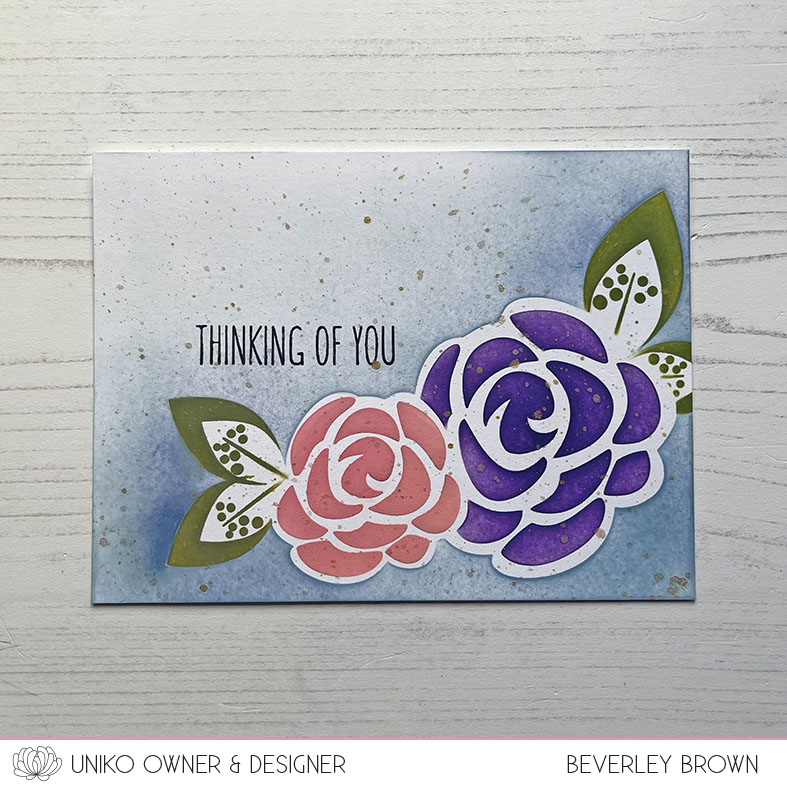
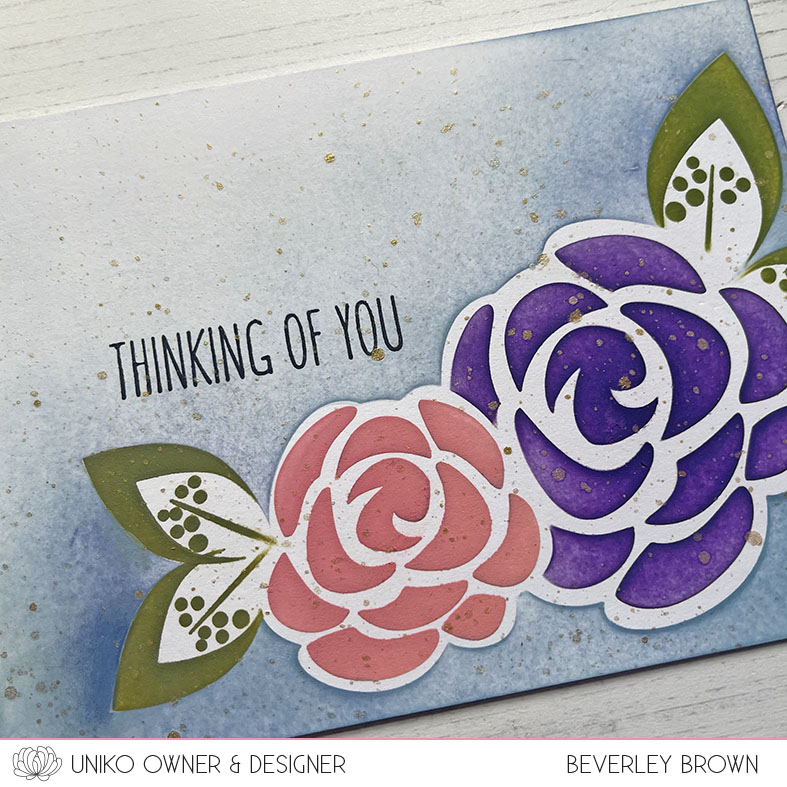
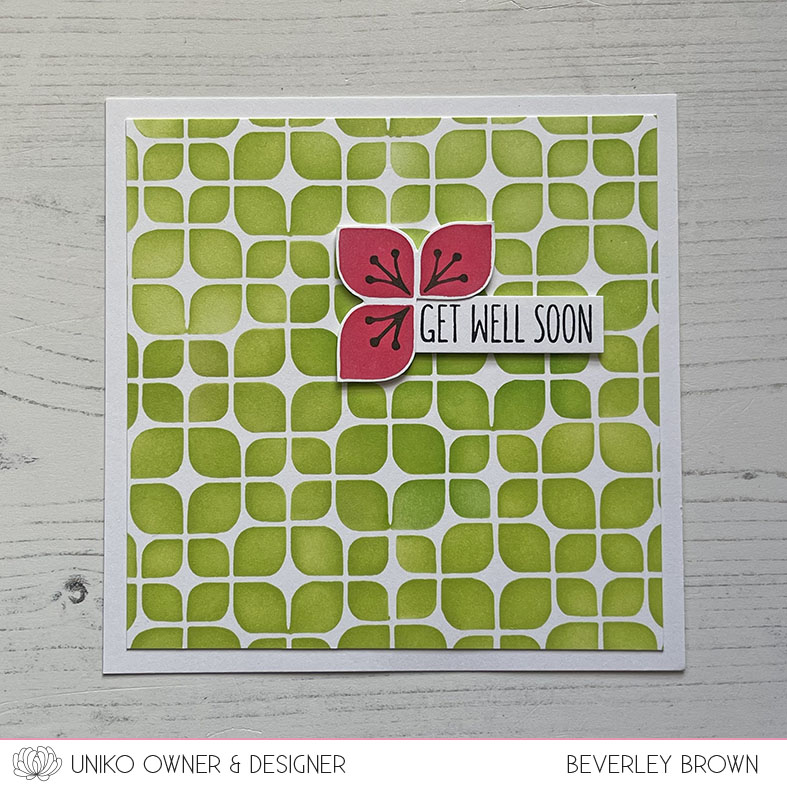
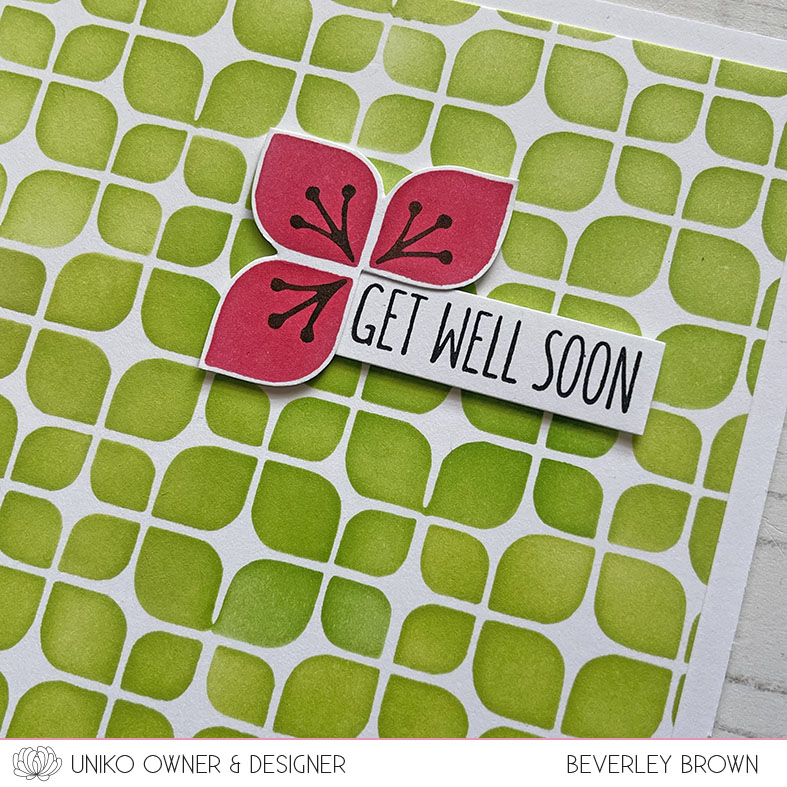
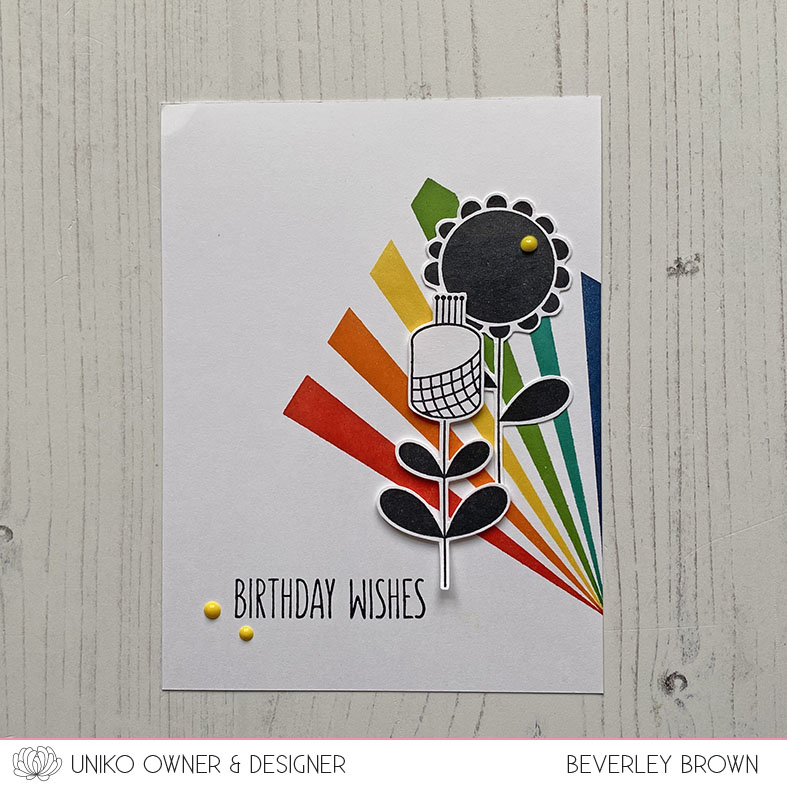
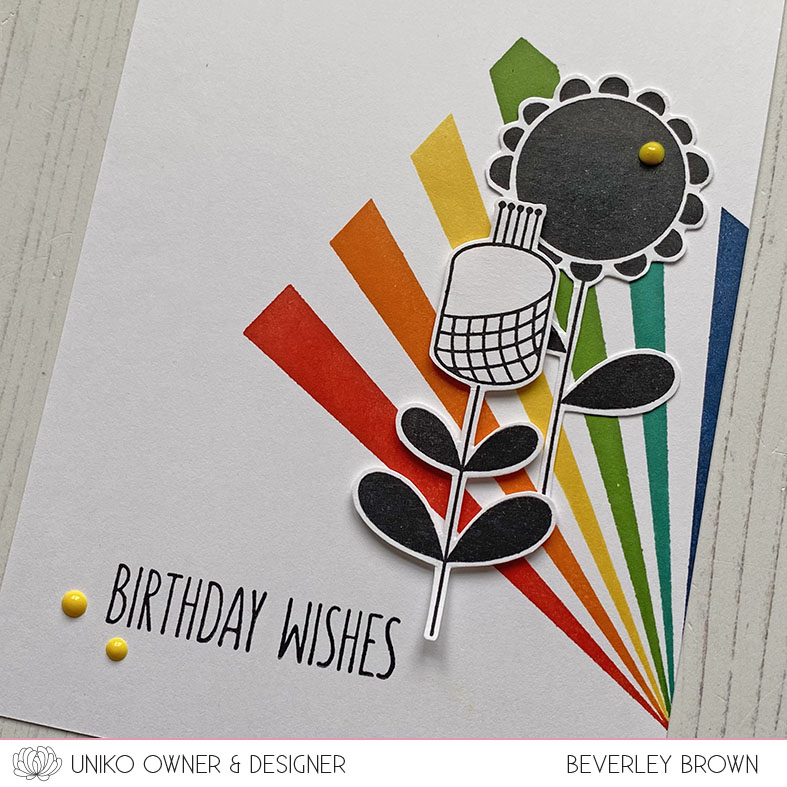
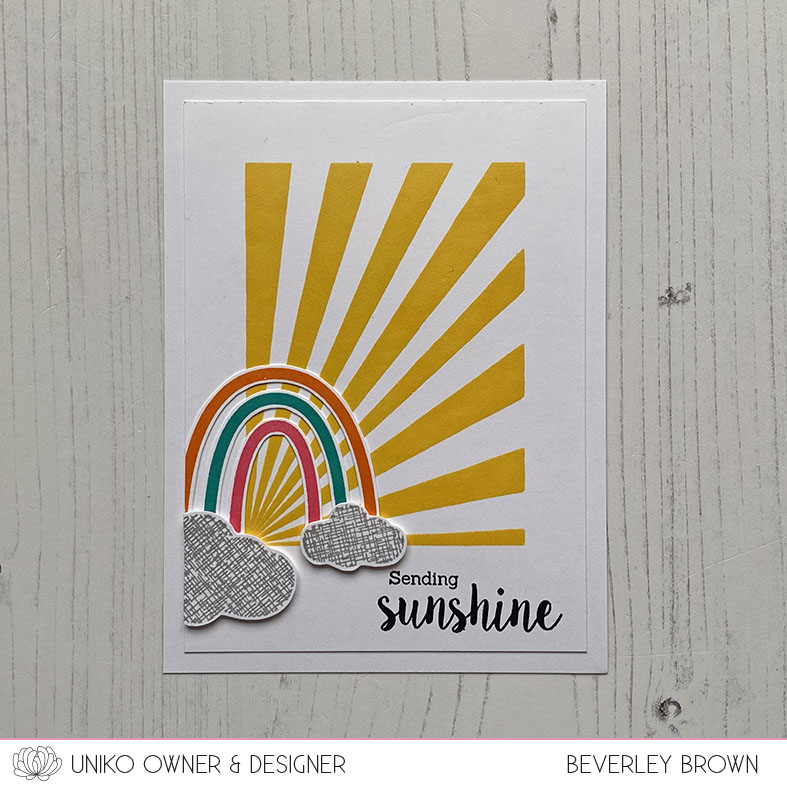
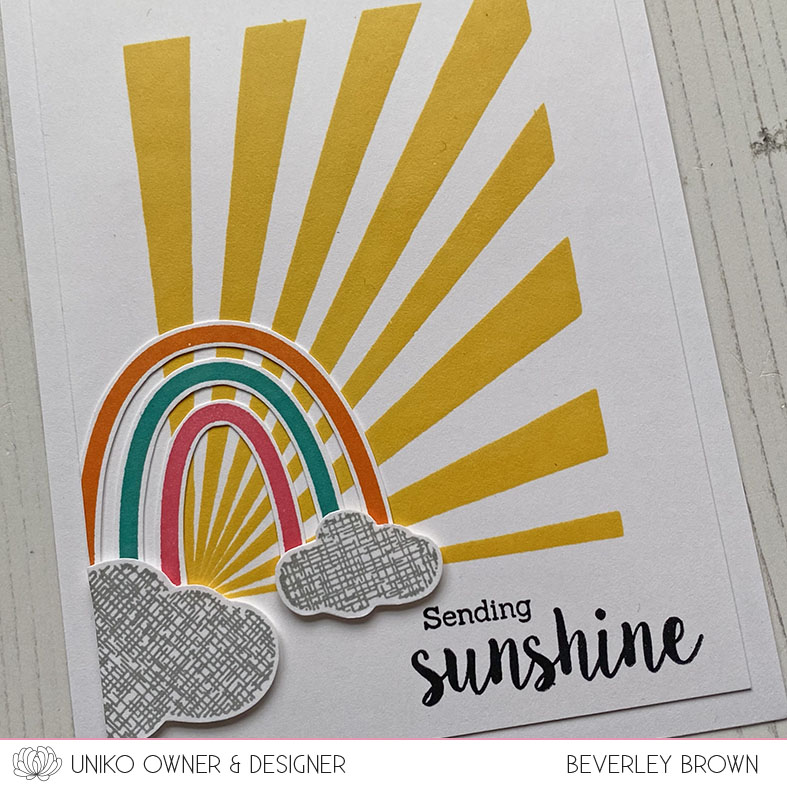
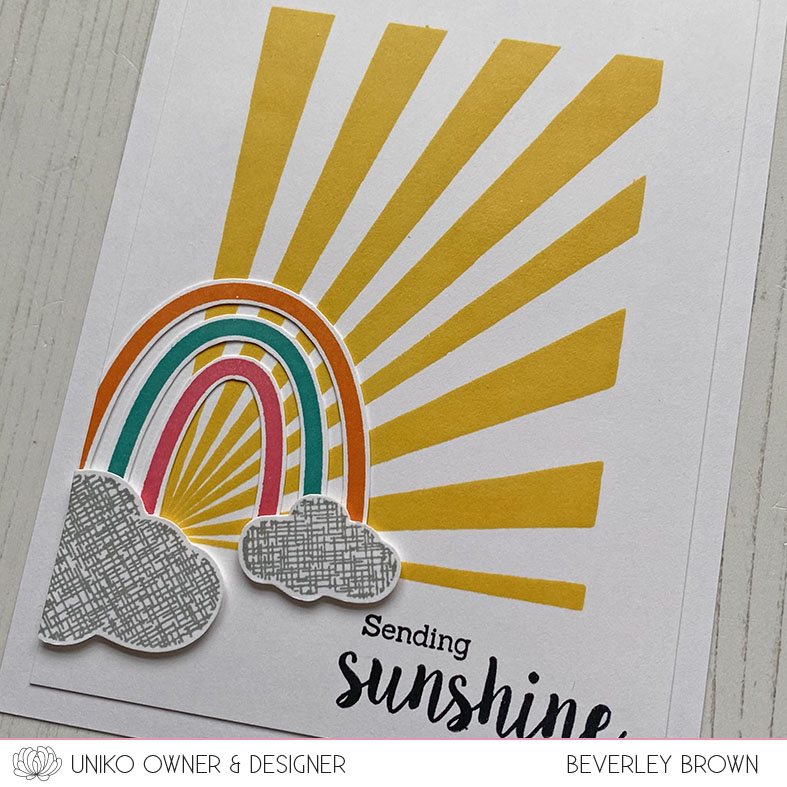
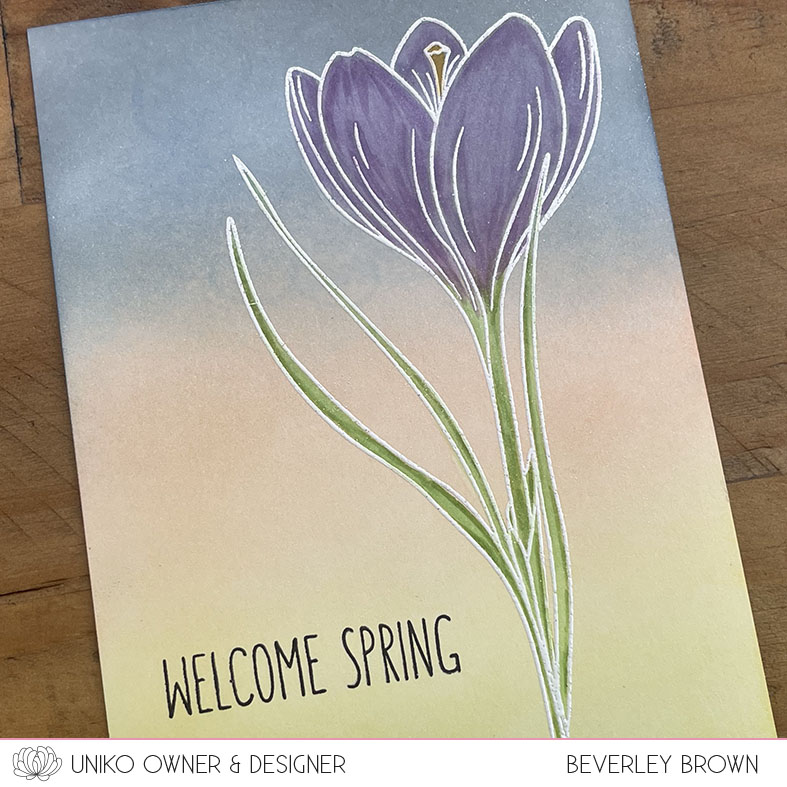
Lastly for today I put my ink blending to the test. I was going for a rainy spring morning sky with the sun just rising. I used Concord & 9th Dove, Midnight, Grapefruit, Buttercup and Sprout.

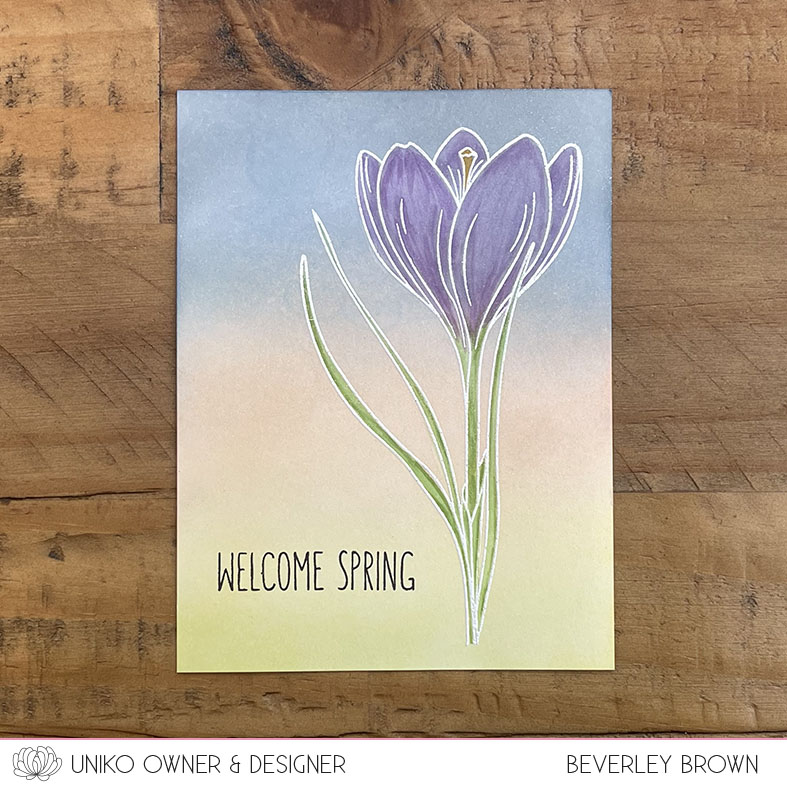
I then heat embossed the crocus in white before colouring with Copic Markers and again opting for a sentiment from the same set as my first card.

That’s all for my inspiration today using this clear stamp set. But be sure to hop along the Brand Ambassadors to see what they have come up with.

We will be back tomorrow with more to share. This clear stamp set, along with all we are introducing this week will be available on Saturday 4th March 9am GMT. 

Crafty Hugs 

Introducing… Mid Century Modern Purrfect Day and Stencil – MOD Background Builders Circles

Hello & Happy Thursday,

Welcome to Day 3 and the final day of the January 2023 Release Introductions.

Today I have two products to introduce. First, a mini clear stamp set called Mid Century Modern Purrfect Day. And a Stencil – MOD Background Builders Circles. Now if you watched me on How To Craft Network back in November 2022, you might recognise the stencil from my show then. 

Let’s have a look at them in action.

The Stencil – MOD Background Builder Circles is designed just like the previously released Stencil – MOD Background Builder. In that it can be a single focal point, or it can easily be repositioned to fill an entire background.

As you can see for this first card I have used it as a focal point backdrop for my Mid Century Modern kitty from Purrfect Day.

I decided to colour the outline kitty with a dark grey Copic Marker and matched his eyes to the sorbet colour of my background. The sentiment is from Simply Said Blocks.

For my second card I used both the stencil and stamp set again to create a little scene.

This took a bit of patience and masking to stack the bowls and then mask again to stamp the cat and stencil the mat underneath. But I think it turned out pretty well.

As you know I like to pack in little elements that will provide creative opportunities and the stencil has 4 individual elements in the corners. Of which I used to create the stacked bowls. The detail stamped on the bowls is from Mid Century Modern Florals. The brown mat is created using a partial ink of one of the shapes from the Stencil Mid Century Modern Shapes.

I kept my card sentiment free and added to the wonky stacking by adding a dark grey die cut behind the focal image and then foam mounted to my base card.

That’s all the purrfect inspiration from me today!


Be sure to check out each of the Brand Ambassador blogs or social media for more inspiration and leave some love. You can find links HERE.


That’s all the introductions, which means tomorrow is Release Day! Myself and the Brand Ambassadors will be back tomorrow with more to share and all the products will be available at 10am GMT on the website.


Hope to see you!
Crafty Hugs 

Introducing… Mid Century Modern Frames

Hello & Happy Wednesday,

Welcome to Day 2 of the January 2023 Release Introductions.

Today the Brand Ambassadors and myself are here to get you over that mid week hump with some fun inspiration. There is no denying that I love the shapes and patterns of this era in design & I think this frame set with mix & match sentiments brings another fabulous addition encompassing this.

Let’s have a look how I have used this new clear stamp set…

First up I opted for a Kraft card base over my usual white. I wasn’t lying yesterday when I said you would see more of the Background Block Linear! I’ve stamped that lengthways across the top section of my card in black ink.

I’ve then stamped and fussy cut one of the three frames from the set, added my sentiment and coloured the frame using Copic Markers. I’ve adhered the frame using foam adhesive and added a few enamel dots from my stash to finish.

For my second card I chose another of the frames and sentiment choices. This time I stamped the frame onto a white card panel. I then used a pencil & ruler to mark a column to trim of a section and around the image to reveal my stencilled base card pattern.

I opted for the Stencil – Mid Century Modern Squares, that I have stencilled with Concord & 9th Sorbet ink onto Sorbet card for a tone on tone effect. I used Copic Markers to colour the frame and in hindsight I wish I had left a little more white on the frame.

The white panel is then adhered to the sorbet card base using foam adhesive.

Just the two cards today showcasing this set, but I know the Brand Ambassadors have created wonderful inspiration to share. Be sure to hop along HERE and check out their socials to see.

We will be back tomorrow with more to share with the final two products and all the products will be available at 10am GMT Friday 13th January 2023.

Crafty Hugs 

Introducing… Background Blocks Linear

Hello & Happy Tuesday,

Welcome to Day 1 of the January 2023 Release Introductions.

The first product we are introducing is Background Blocks Linear. I am always excited to add to the Background Blocks series, I think these happy blocks of pattern are so versatile and are sized just right to be an instant focal point on a card design.

As usual the Brand Ambassadors have worked their creative magic with the stamp, so be sure to check out the hop over HERE.

I have two cards today using this stamp, but don’t worry, you will be seeing a lot more of it over the coming days and weeks! It has a lot of potential.

For my first card I went super simple. I wanted to show the impact this single stamp has on its own with just a sentiment to accompany it.

“I like how this has a Piet Mondrian look to it. I stamped in VersaFine Clair Nocturne ink and coloured a selection of the blocks with Copic Markers. The sentiment is from Simply Said Blocks.

For my next card I went for a partial all over print with a spotlight twist by letting the pattern fall onto my base card colour.

I paired the design with a flower built using Mid Century Modern Florals and again the sentiment from Simply Said Blocks. I love the pop of orange added into the mix, I think it captures your attention, before your eyes cascade down to the pattern.

That’s all I have to share today using this stamp, but as I said at the beginning, you will see lots more!

All the products being introduced today and over the next few days will be available 10am GMT Friday 13th January 2023.

Crafty Hugs 

Introducing… Stencil Large Snowflake 1 and Large Snowflake 2

Happy Hump Day! 

We are back today to hopefully get you over the hump with some awesome inspiration as we introduce two fun and festive Stencils – Large Snowflake 1 and Large Snowflake 2.

As you might know, I love snowflakes, so I couldn’t choose just one, so I decided to release both!

Now let’s have a look at them in action. I’ve used the same layout & used the snowflake stencils the same way, but I’ve switched up the colours and used different stencils and sentiments to pair with them.

First up for Large Snowflake One I went for an unconventional colour scheme of pinks & reds. I started by placing the snowflake stencil and inking through with Altenew Frosty Pink ink. I then moved the stencil slightly to create a shadow effect and then inked through with Ruby Red.

I then removed the stencil and placed the mask over the main red snowflake before placing & inking through the Stencil – Let it Snow with Coral Berry ink. I then splattered with some Gansi Tambi gold watercolour and added the Let it Snow sentiment from Christmas Sentiments.

For my second card I used Large Snowflake Two. I followed the same steps as before. This time I used Concord & 9th Inks.

Oceanside & Midnight for the snowflakes and Aqua Sky for the Stencil Scattered Polka Dots. Again I added some gold splatters and the sentiment is from Festive Sentiments, adhered using foam adhesive.

So that’s the formal introductions done! Which means tomorrow is release day – yay!

So which is your favourite? I can’t decide TBH as I just love snowflakes. So that’s it just 4 stencils added to the Uniko line up. They will be available to purchase tomorrow HERE on the website at 9am GMT. 


If you need some more inspiration to help make up your mind, be sure to come back tomorrow for our usual blog hop & giveaway.
See you tomorrow.

Crafty Hugs 

Introducing… Stencil Flower Power #6

Happy Tuesday!

Welcome Back to Day 2 of the introductions. If you’ve missed anything or you are wondering what is going, please check out this post HERE. Also, we had a fun stencil introduction yesterday HERE

Today I am delighted to formally introduce you to the next flower in the Flower Power series of stencils, Flower Power #6.

I wanted this flower power stencil to be a little bit different from the others and not just a supersized version. The flowers are a lot larger than their counterpart clear stamp version. This stencil comes with the mask for the solid flowers and leaves, providing more creative options.

Let’s have a look at the stencil in action…

I am one for fussy cutting, but I think these flowers are nice and easy to cut out. I kept things pretty simple for this card and paired the flowers and leaves with a sentiment from Simply Said Blocks II.

For my second card today I used the masks, layering them and inking the background with Distress Oxide Speckled Egg and Chipped Sapphire. I did have to create two small leaf masks for the smaller rose.

Once I was happy with my background I removed the masks and inked the roses with Villainous Potion and Saltwater Taffy. I used Forest Moss for the leaves.

I added a sentiment from Everyday Sentiments and then splattered the card with some gold Gansi Tambi Starry Colours.

Thanks for stopping by and be sure to hop along with the Brand Ambassadors for more amazing and creative inspiration. You can find the links HERE.

I do hope you will pop back tomorrow for the last two stencil introductions. They will all be available to purchase 9am GMT Thursday 3rd November 2022.
Until tomorrow, Crafty Hugs 

Introducing… Stencil MOD Background Builder

Hello, Happy Monday & No Tricks, Just Treats, I Promise! 

Welcome to the first of the introductions for this mini stencil release. I am super excited about this first stencil for a few reasons.

Firstly the design, it is a fun modern design that when I designed it, I had our Mid Century Modern Collection in mind. But as you will see from the all the inspiration today, it pairs with so many products wonderfully.

Let’s have a look at this stencil in action…

For my first card today I wanted to use the stencil as part of my focal point paired with a flower built using Mid Century Modern Florals.

I love this colour combo, shades of black, grey and a splash of orange. I finished the card off with a sentiment from Simply Said Blocks II and some orange Nuvo Drops.

For my second card I wanted to use just the stencil and show you how it can fill a whole background.

The stencil is designed to easily move and fill your space. I will share a video on how to use it, but simply I started with the stencil centred on my card and then moved it up, down and side to side until it was fully covered.

I then added a sentiment & accent from the stencil which I have inked & fussy cut. The sentiment is from Everyday Sentiments and adhered to the card using foam adhesive.

So what do you think? Do you love it as much as I do? Want to see more inspiration, be sure to check out the Brand Ambassador Blog Hop HERE.

This stencil along with the others we will be introducing over the next few days will be available on the website 9am GMT Thursday 3rd November.

As it’s Halloween, I am giving one lucky comment left across social media a chance to win their choice of stencil from the website. You have until midnight Thursday 10th November 2022 to comment.

Crafty Hugs 

Introducing… Paw Print Hearts & Stencil – Scattered Polka Hearts

Hello & Happy Thursday!

Welcome to the final day of product introductions for our mini July 2022 Release. Today we have paired two products ton introduce together, Paw Print Hearts and Stencil – Scattered Polka Hearts.

I’m excited to share this stamp set and stencil with you, so I will get straight to the three cards I have made to share with you!

I paired these products to introduce together today as I think they go together lovely. I have used them both here on my first card today.

I started by stencilling the hearts in a lovely Coral Berry colour from Altenew and then die cut the heart. I then stamped the sentiment on the edge and the large paw print onto my base card in the centre of the heart aperture. I’ve adhered the die cut stencilled panel with foam adhesive and added a little heart enamel embellishment to finish the card. The sentiment reads, ‘The paw prints left on our hearts never fade’.

For may next card I went super clean and simple. Perfect for a sympathy card.

Here I have simply stamped the large paw print in the centre of my white mat layer in a soft pink ink. You could easily switch the colour for gender or keep it gender neutral by using any colour to be honest!

I then stamped the other sympathy sentiment over the top of the paw print in black ink. I then adhered the stamped panel to my base card using foam adhesive.

Lastly for today I created a similar card with a few more paw prints and used the spotlight technique with a raised die cut heart.

I used the 3rd sentiment option from the stamp set, which simply reads, ‘with sympathy’. I used a soft limestone grey to stamp the paw prints walking across my card.

I think that although this clear stamp set is themed towards pet sympathy cards, the sentiments can be used across a variety of sympathy cards and the images could lend themselves to celebrating our furry friends for other occasions.

I hope you had chance to leave comments along the way, I will be randomly selecting one lucky from all that are left during the week to win a £20 eGift Certificate to use in the Uniko store. 


All of the products that have been introduced this week will be available at 9am BST tomorrow, Friday 29th July 2022 over HERE on the website.


That’s all for today, be sure to stop by again tomorrow for our traditional Reveal, Release & Brand Ambassador Blog Hop. You will get another chance to comment along the hop to be entered in to win the £20 eGift Certificate.

Crafty Hugs

Introducing…Stencil Tropical Leaf #2

Hello and Happy Wednesday!

There is no hump day here at Uniko HQ as we are back to introduce another product for our mini July Release. Today we have a fun stencil introduction, Tropical Leaf #2.

This is a stunning monstera leaf and comes as a stencil and mask combo for even more possibilities.

So let’s have a look at this stencil in action…

For my first card today I have gone for a one layer card. I used bright cheerful tropical colours and opted to use the mask part of the stencil. The sentiment is from Paradise clear stamp set.

I love the simplicity of this card, but the grand size of the image and colours create impact.

For my second card today I went for a slimline card. This card size I don’t often reach to make, but it lends itself nicely towards these large images.

For this card I used the stencil part and created a layered ombre cascade of monstera leaves. I used white texture paste to add the leaf detail and the sentiment is from Floral Vines.

Just two simple cards from me today, that hopefully show you the impact this large stencil can create.

I know the Brand Ambassadors have some wonderful stencilling techniques and creative ideas to share with you using this stencil & mask, so be sure to hop along all the stops listed over HERE.

WOW! That was creative and inspirational. I am sure you agree. I hope you had chance to leave comments along the way, I will be randomly selecting one lucky from all that are left during the week to win a £20 eGift Certificate to use in the Uniko store.


All of the products being introduced this week will be available at 9am BST Friday 29th July 2022 over HERE on the website.


That’s all for today, be sure to stop by again tomorrow for more! 
Crafty Hugs

Introducing… Background Blocks Rays

Hello & Happy Tuesday!

Hopefully, you have hopped on over from Anita’s blog or HERE the Uniko Blogspot blog where I have introduced the first of the mini July Release products.

You might already know that Background Blocks are one of my favourites. I love pattern and I love products to create quick, interesting and fun focal points on cards and creations.

I think you will agree that Background Blocks Rays is a fabulous addition to the series. I’ve made a couple of cards to share with you today as to how it could be used.

I love an angle, rainbow colours and how this turned out! I used my trusted stamping platform & lots of low tack masking tape to separately ink and stamp each ray. It was quite a lengthy process, but I think the results are striking.

Especially adorned with two bold Mid Century Modern Florals flowers. I adhered the one on the right direct to my card using glue and the one on the left has a little dimension. The sentiment is from Everyday Sentiments and of course I embellished with some Nuvo Drops.

When I was designing this block I was intending it to be used with the recently released Sunshine & Rainbows clear stamp set. So it was only right that I paired the rays with that set today too!

Like with most larger solid stamps, I use a stamping platform. Ease of use and repeat stamp to get a fresh crisp image.

I love this cheerful yellow I’ve used to stamp the rays, Buttercup from Concord & 9th. I’ve then stamped a small rainbow in Marmalade, Ocean Waves & Honeysuckle, fussy cutting each of the arches. I know, I need to release some matching dies 😉

I let the rainbow and clouds overhang my mat layer slightly, this helps draw interest to the focal image and sentiment.

I hope these two cards have added some creative cheer to your day. It’s a little drizzly and overcast here. Hopefully the sunshine will make an appearance.

That’s all from me today. Be sure to check out all the stops on the hop and leave a comment for your chance to win a £20 eGift Certificate. I will be randomly selecting one lucky from all that are left during the week to win a £20 eGift Certificate to use in the Uniko store.


All of the products being introduced this week will be available at 9am BST Friday 29th July 2022 over HERE on the website.
Crafty Hugs