Floral

Introducing… Mid Century Modern Everyday Sentiments

Happy FriYAY 😃


Welcome to Day 3 of the 12th Birthday/February Release product introductions. This release we are adding to Uniko’s ever popular Mid Century Modern Collection, along with our unique Ink & Flip Stencil series, which we kicked things off with HERE


Yesterday we introduced the first Mid Century Modern addition, Mid Century Modern Birthday and today  we are back with more and this time Introducing… Mid Century Modern Everyday Sentiments.


These sentiments are the same fabulous and funky font, but smaller. The same size as the ones from the previously released Mid Century Modern Wreath Builder. 


Let’s have a look at them in action…

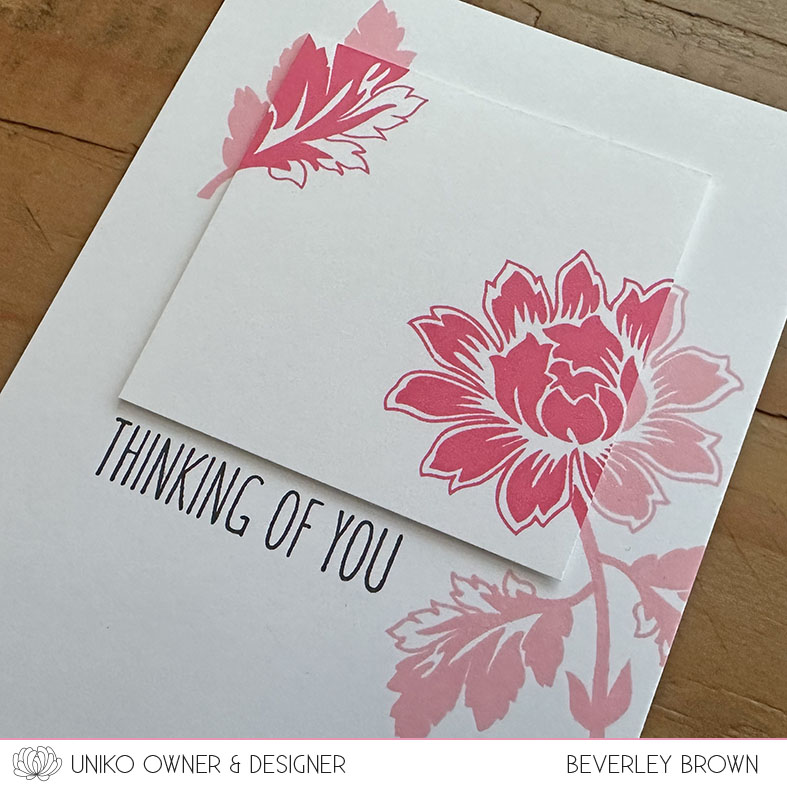
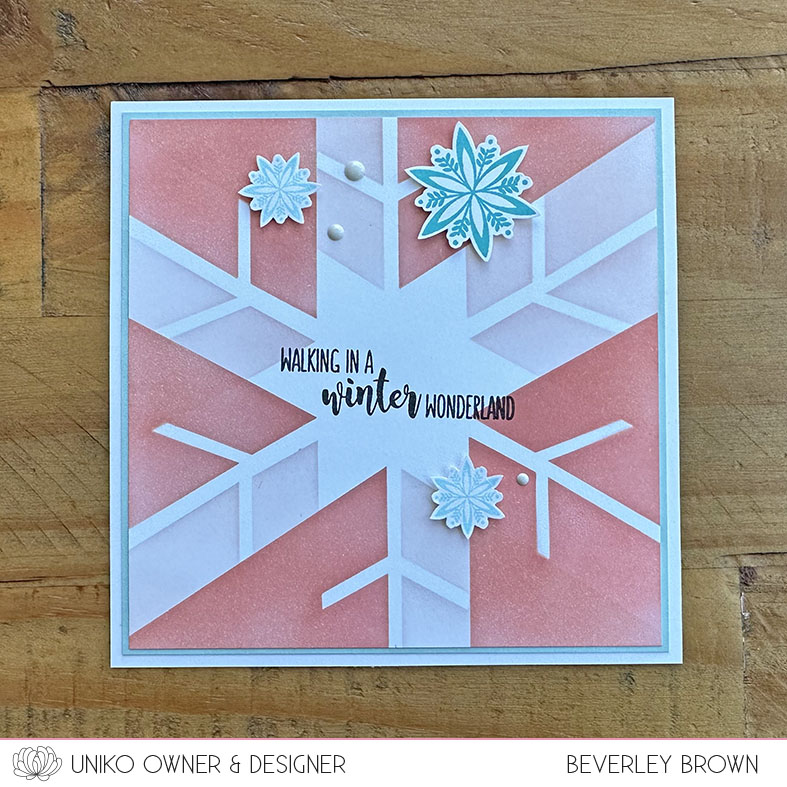
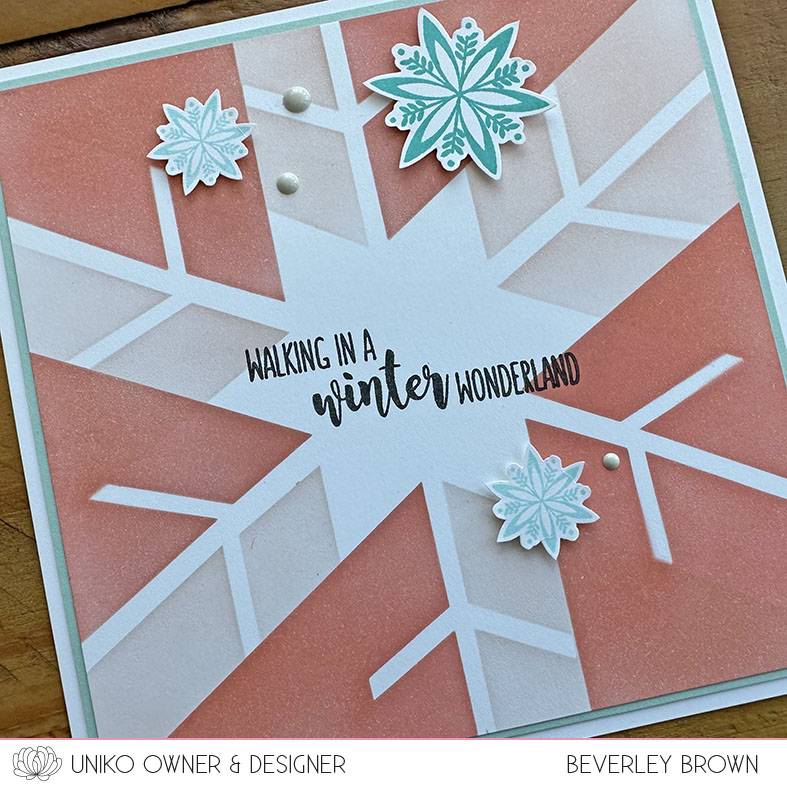
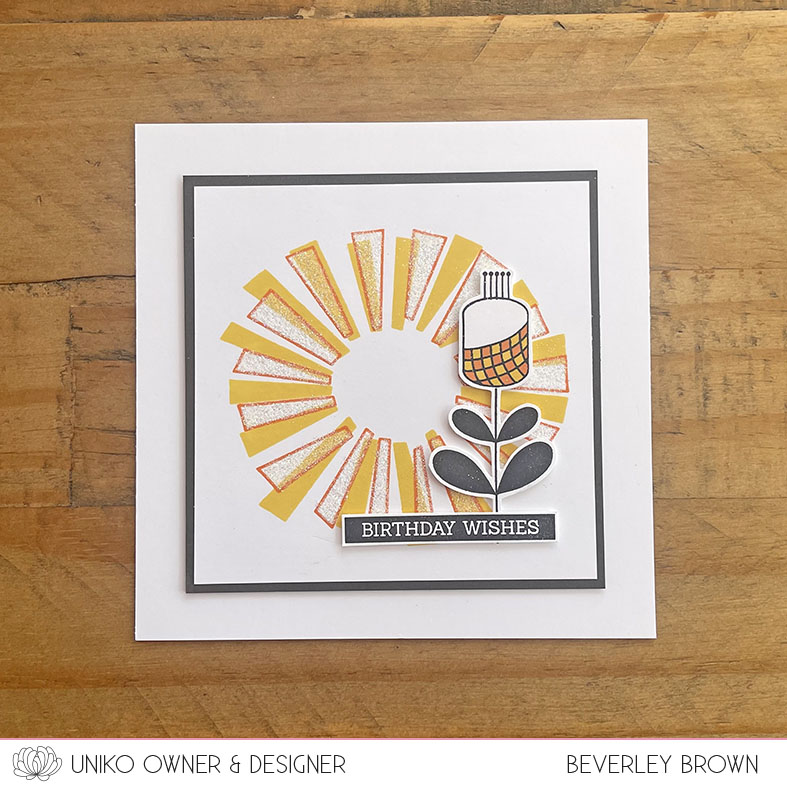
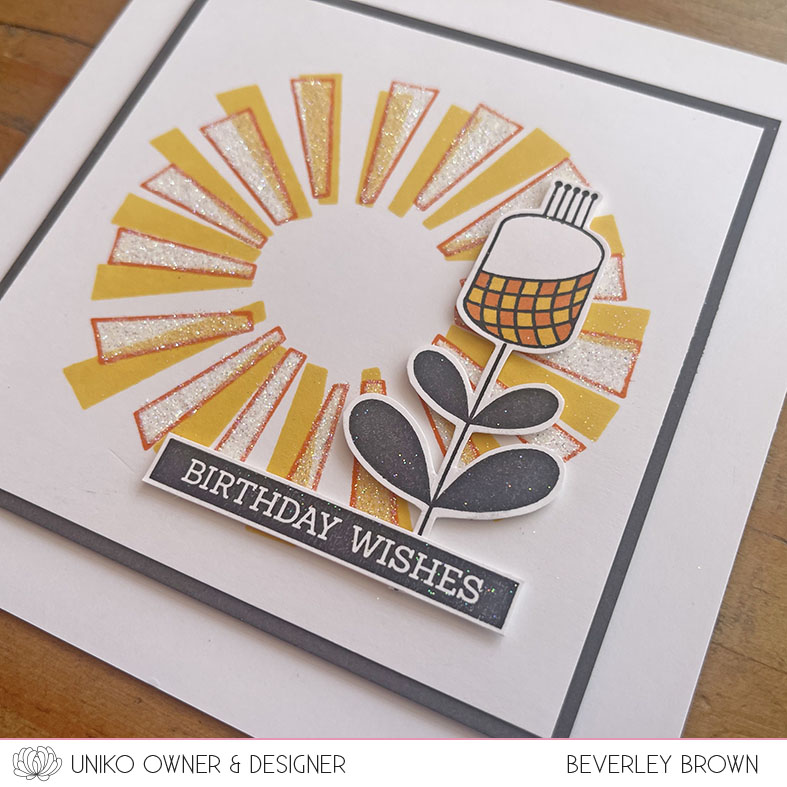
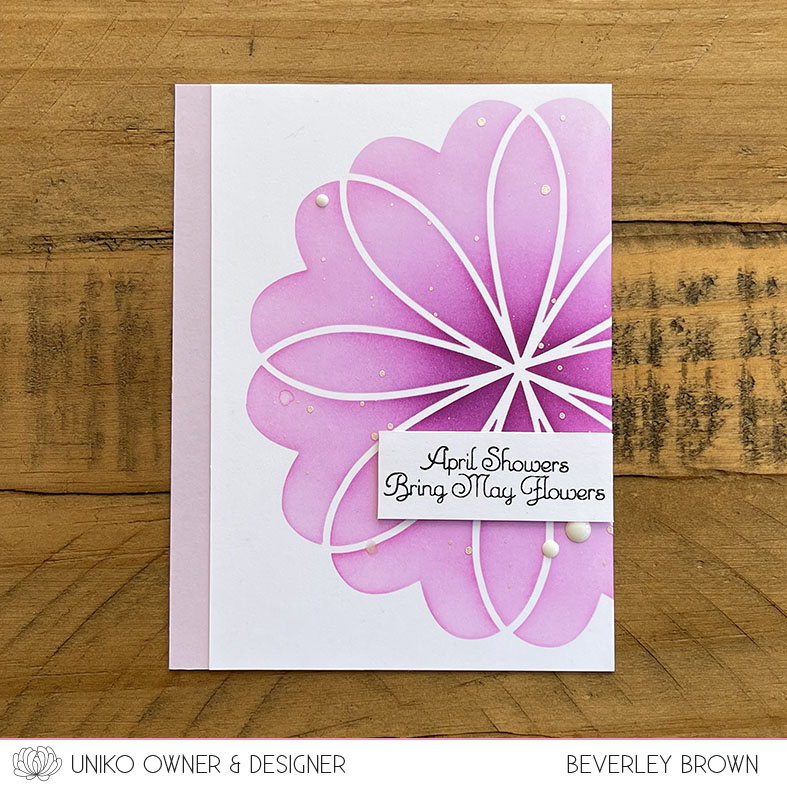
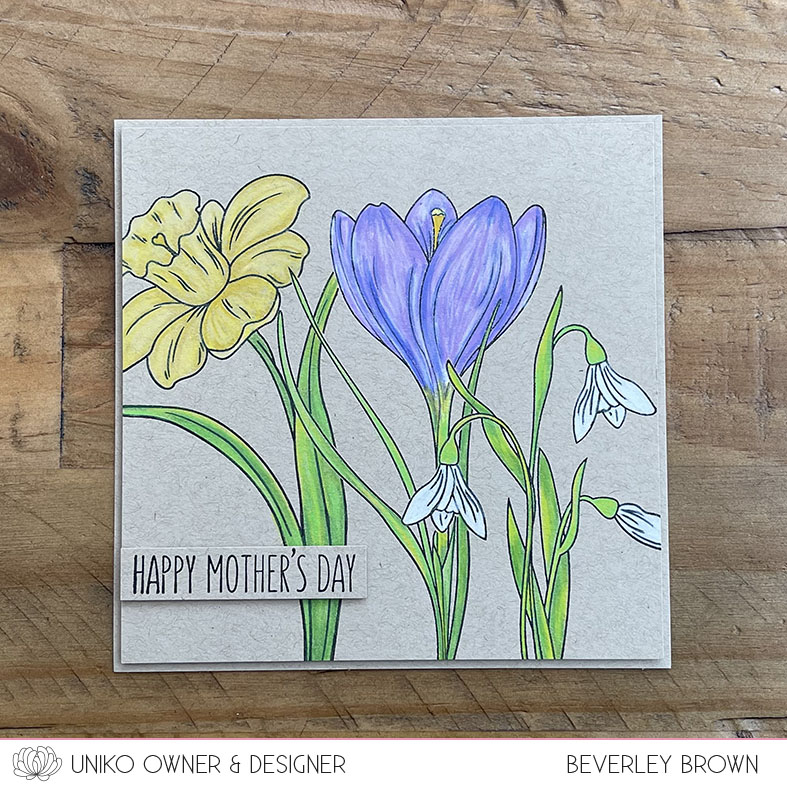
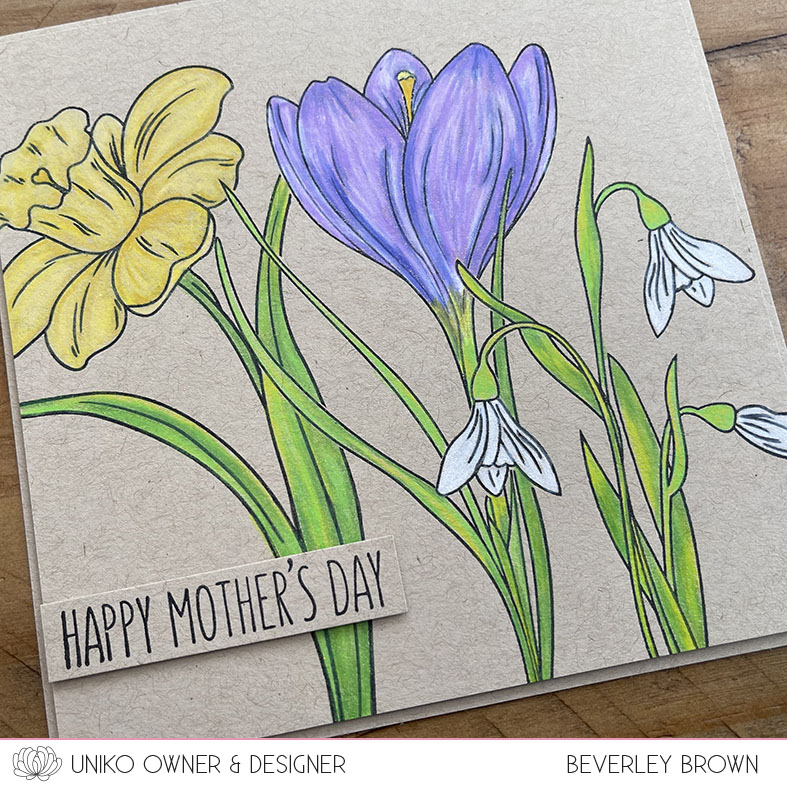
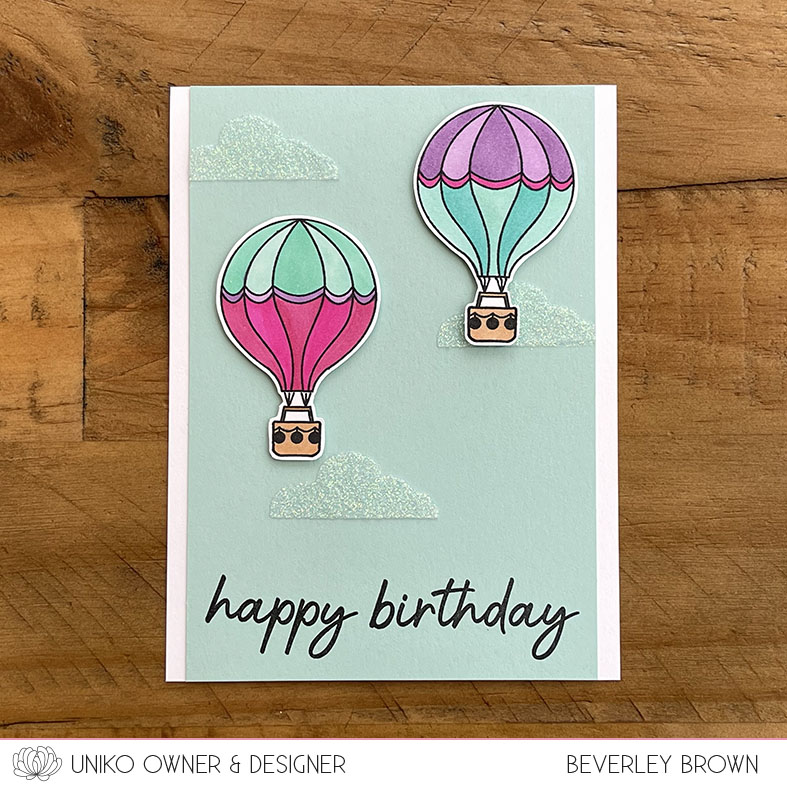
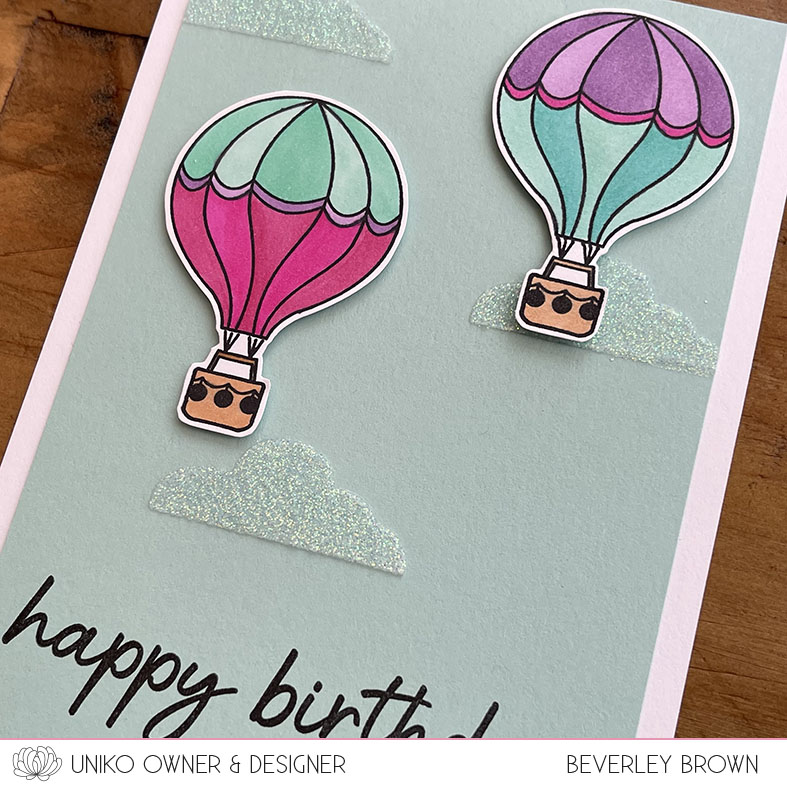
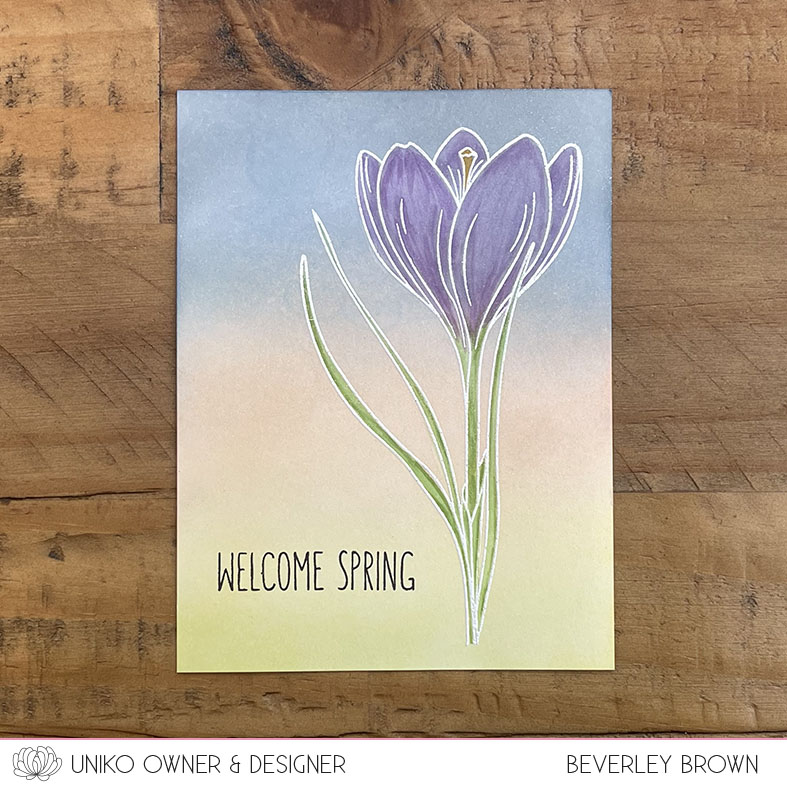
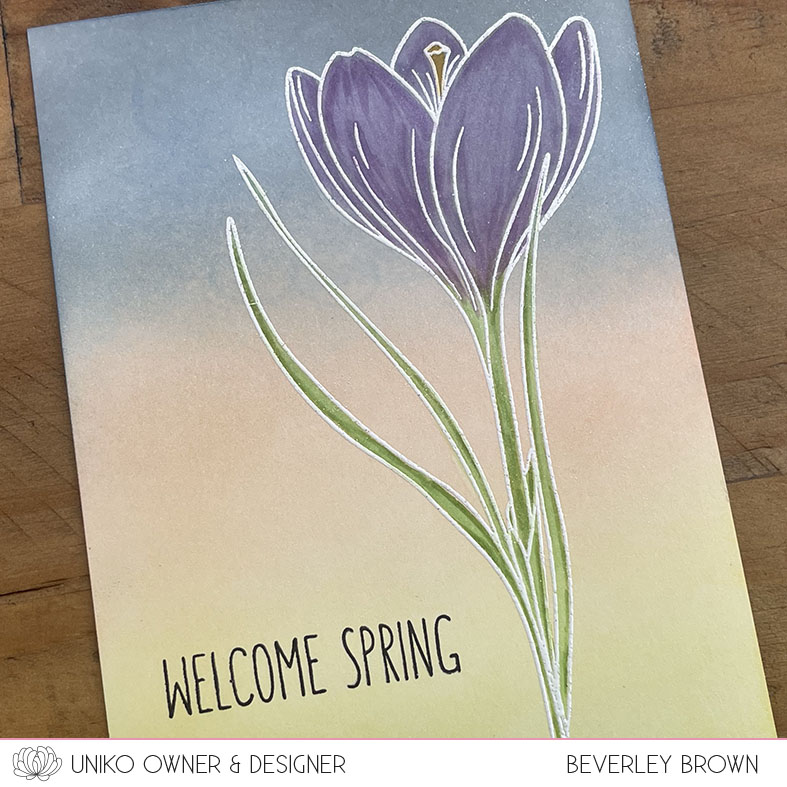
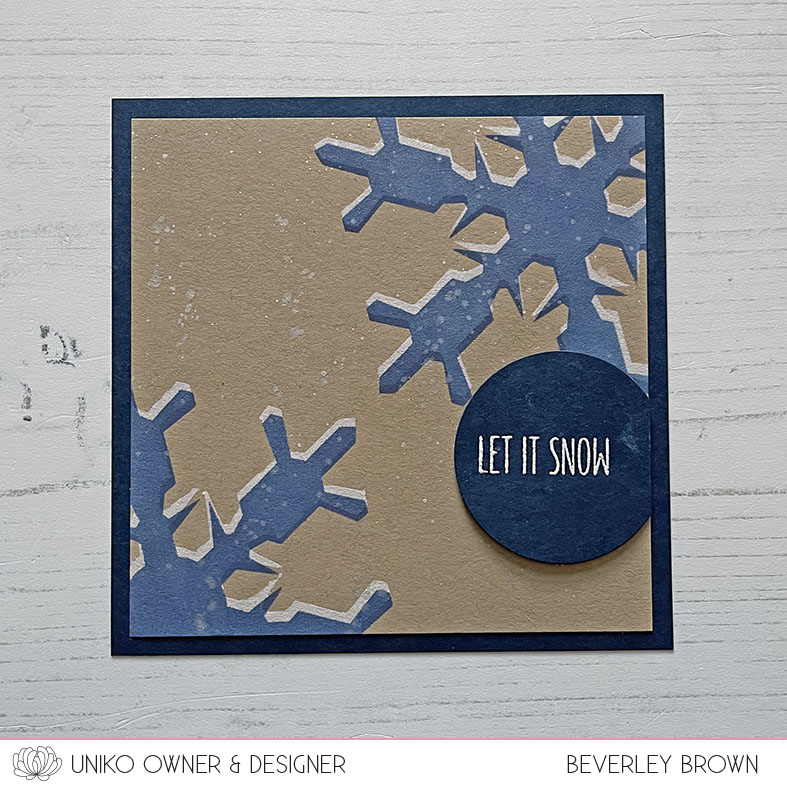
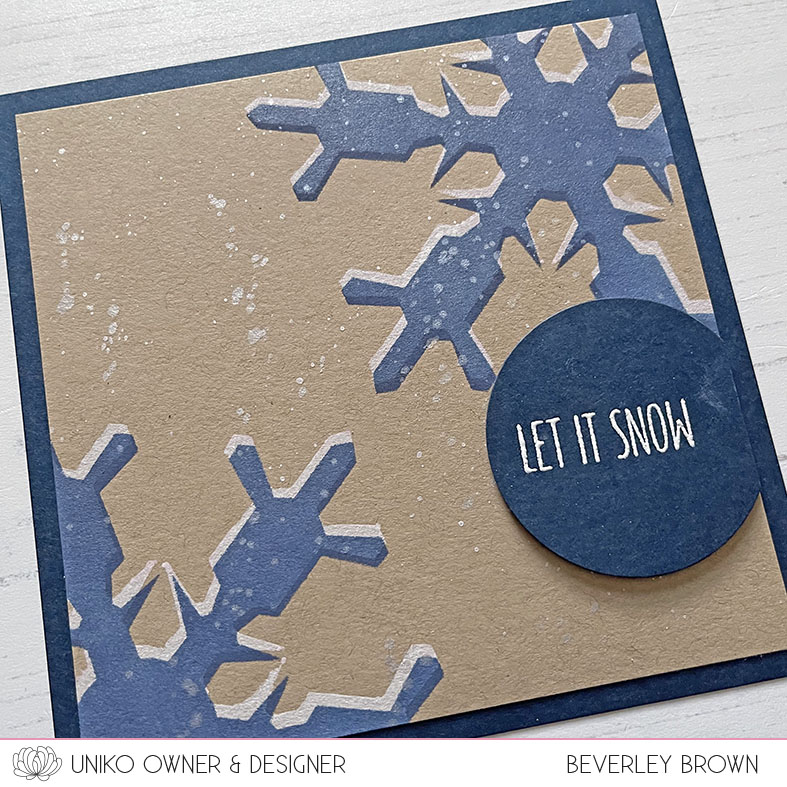
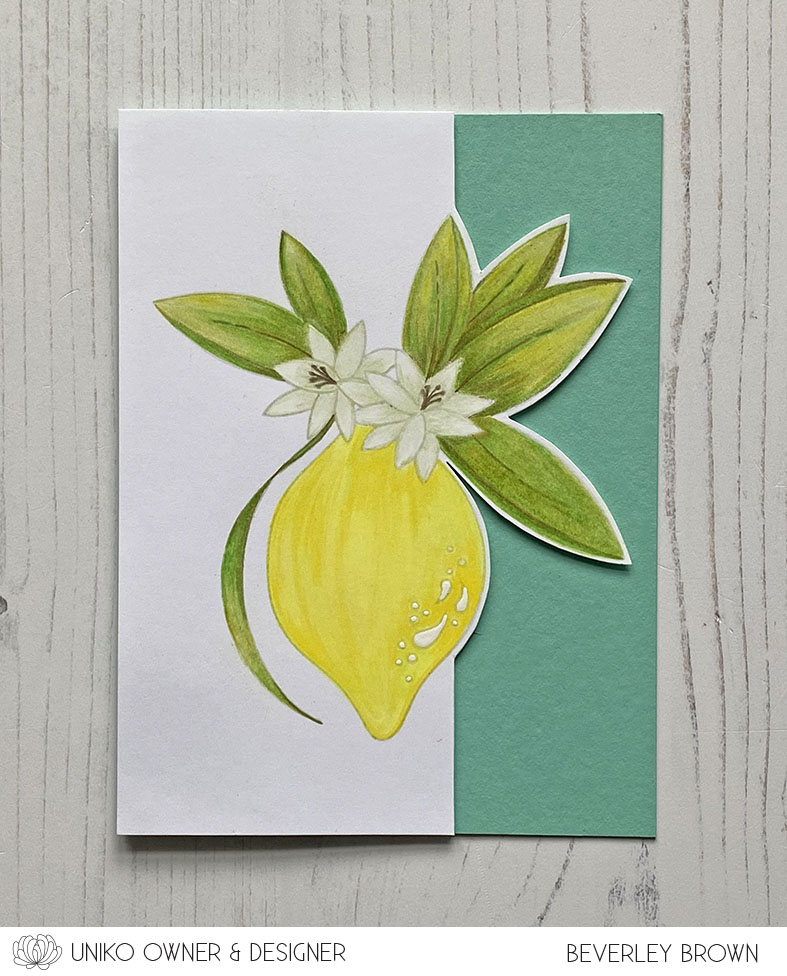
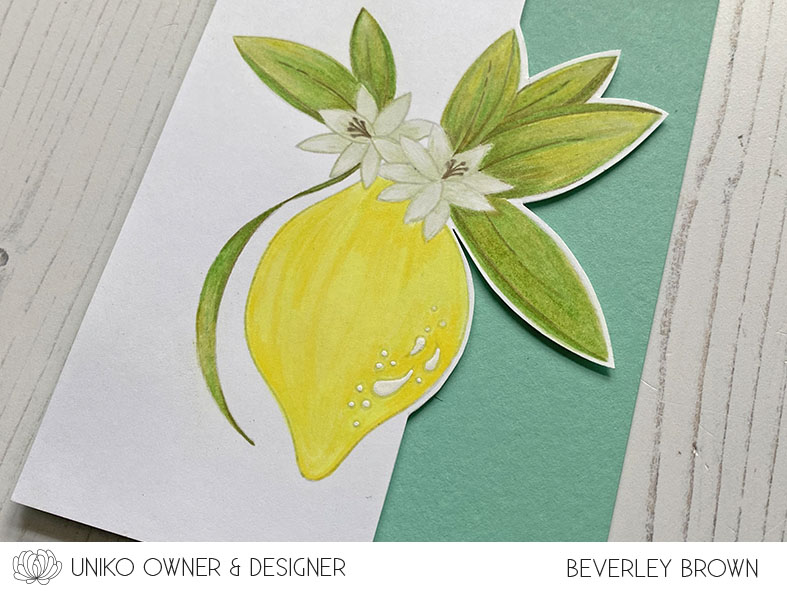
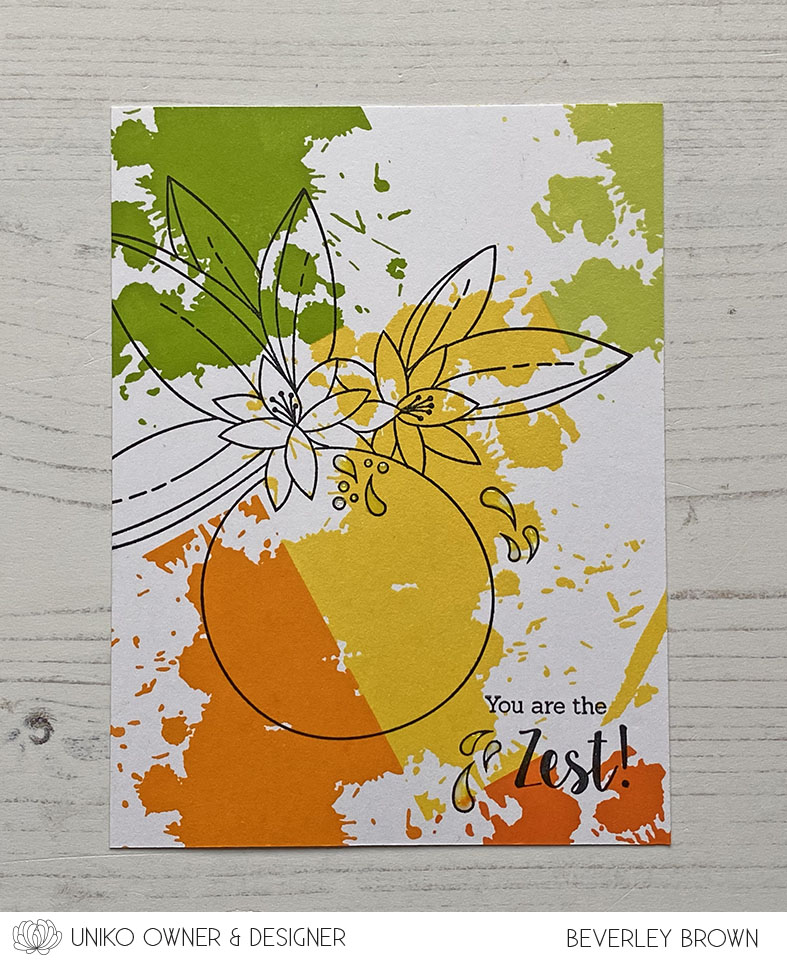
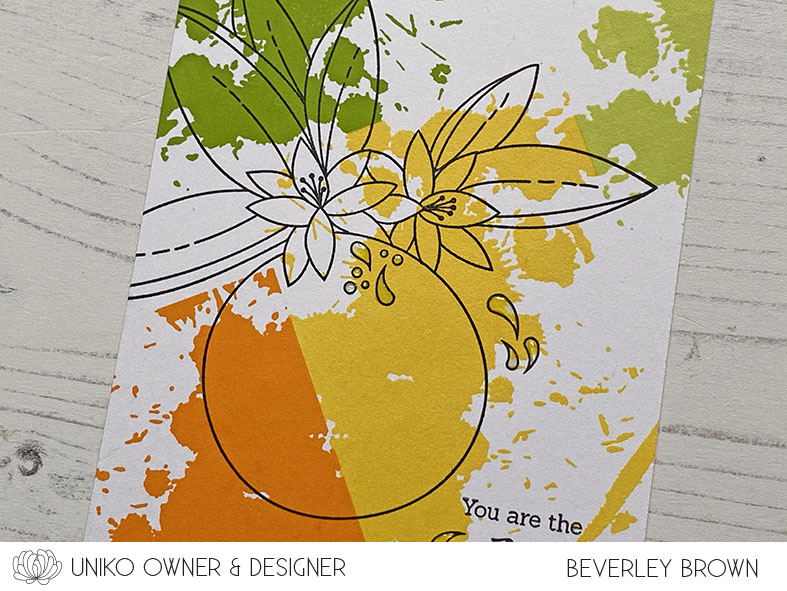
For my first card today you are getting a huge peek at what’s coming tomorrow. I won’t go into too much detail about the background, but as you can see it’s FABulous!

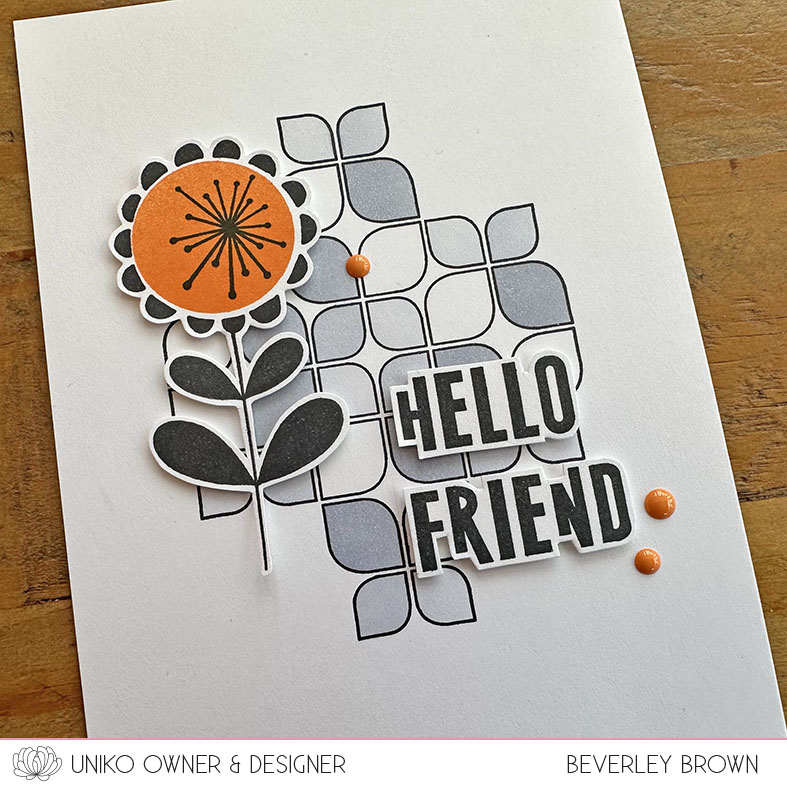
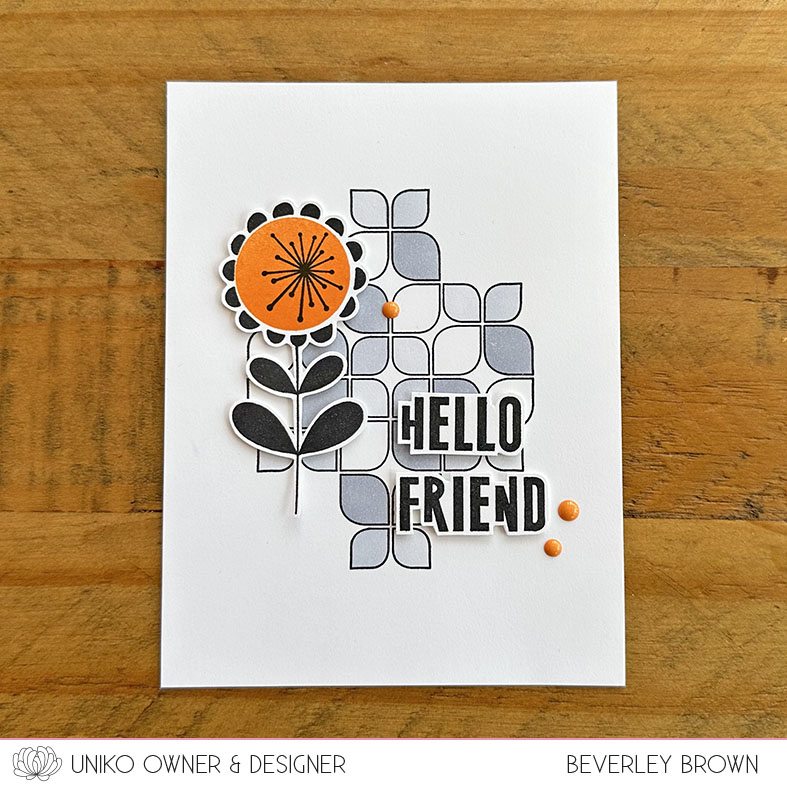
I’ve accented my background with a flower from Mid Century Modern Florals and added the HELLO FRIEND sentiment from the new Mid Century Modern Everyday Sentiments.

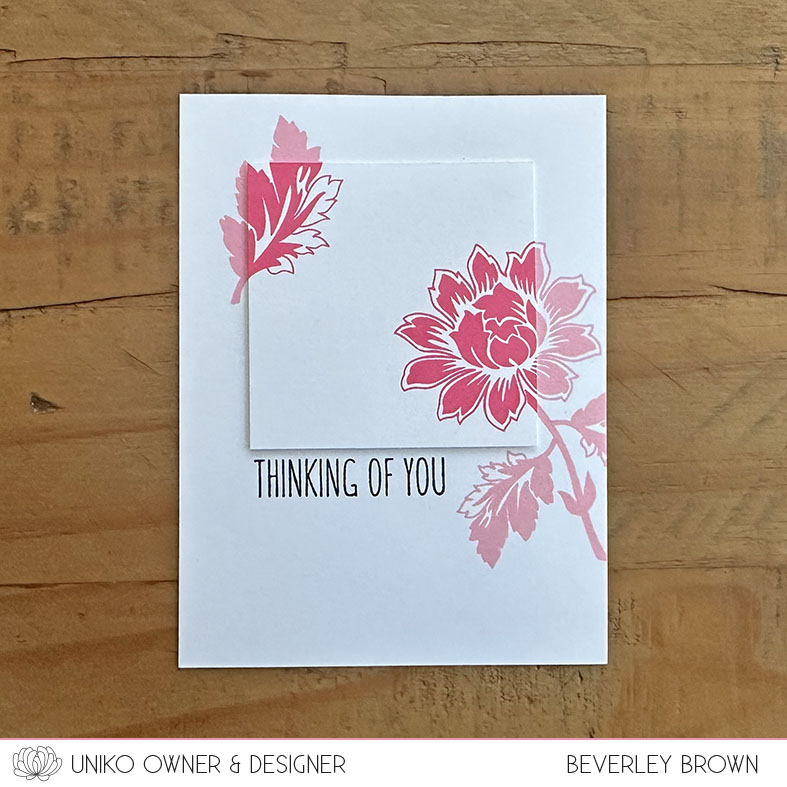
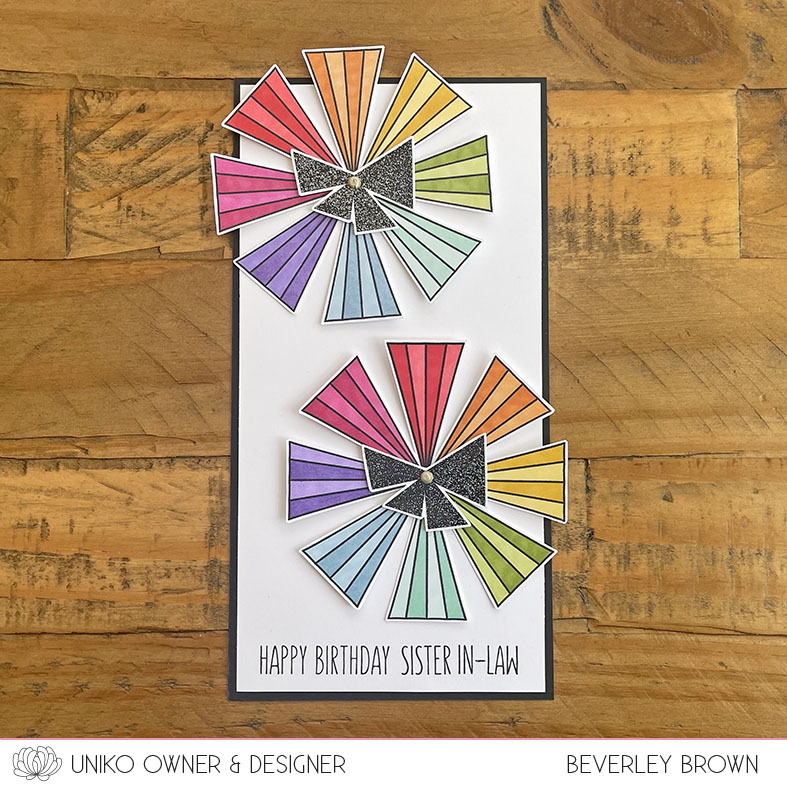
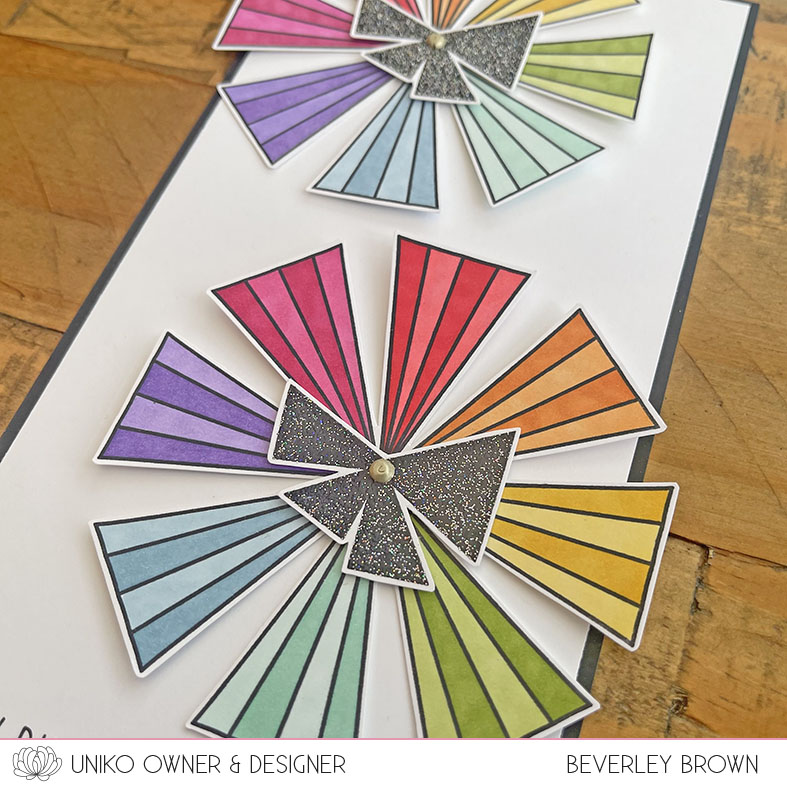
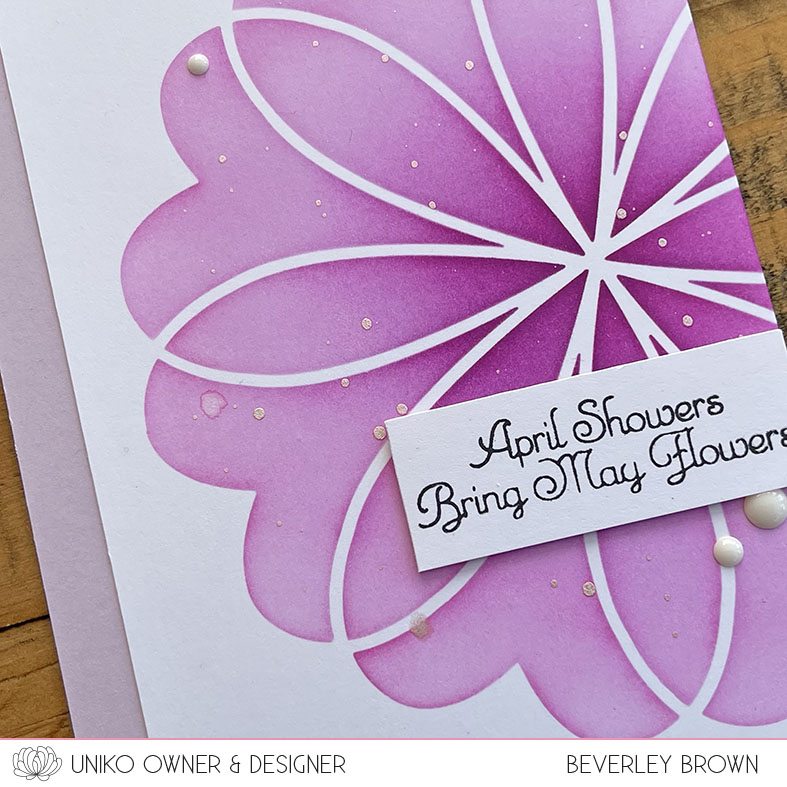
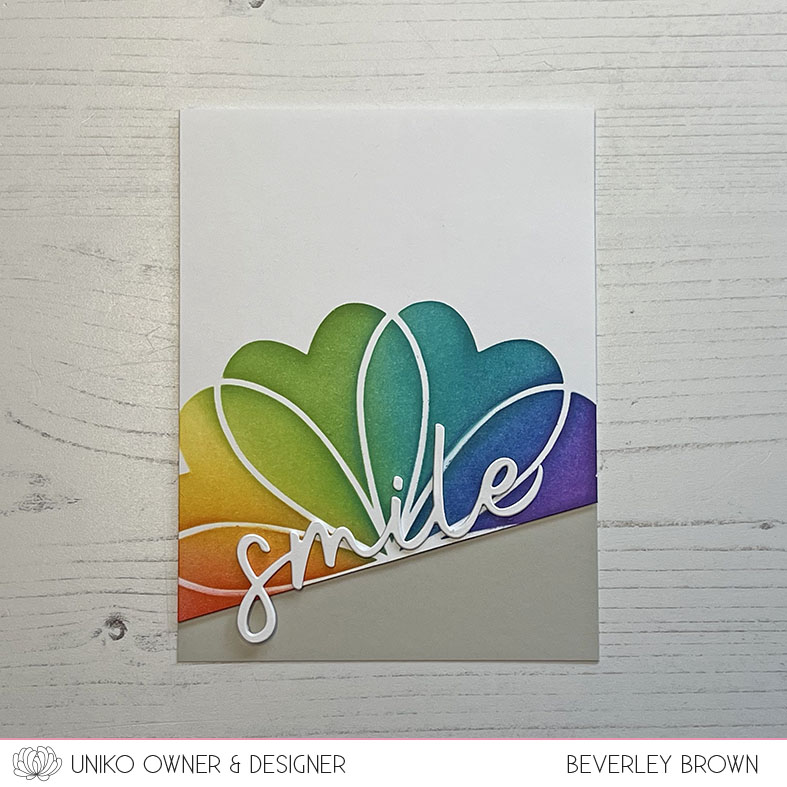
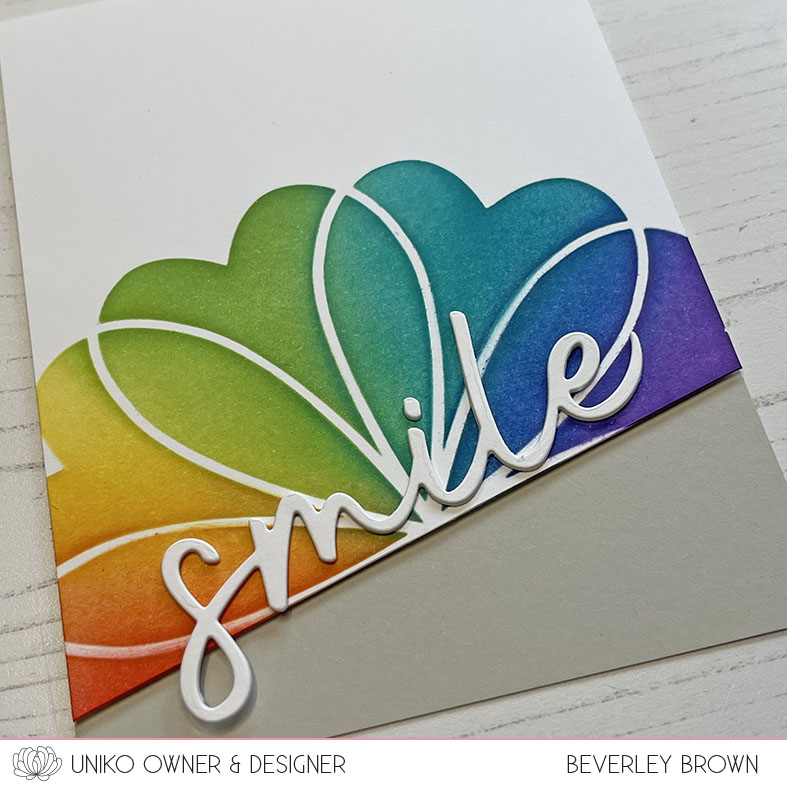
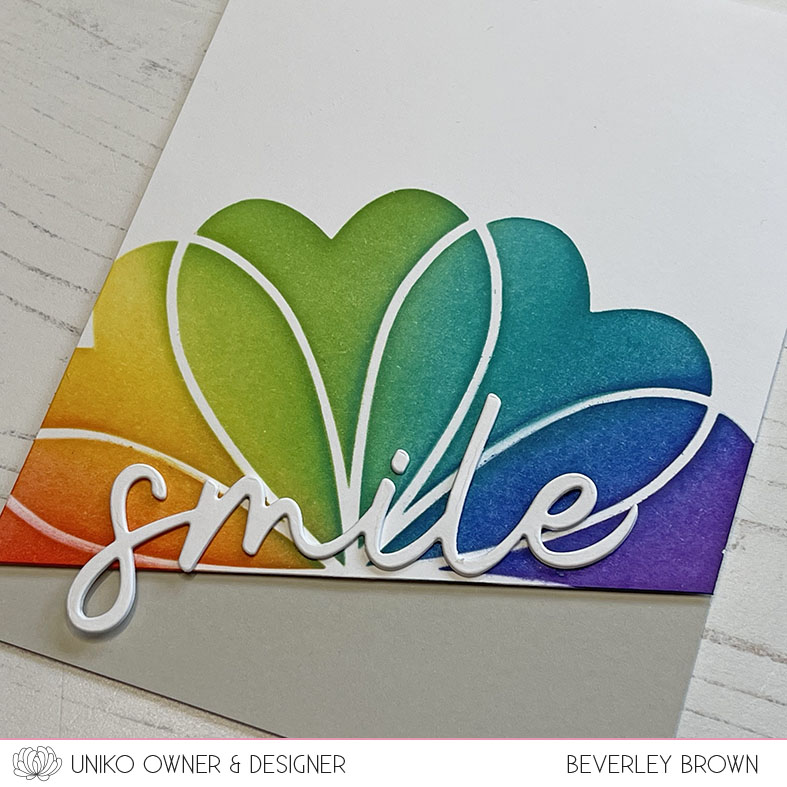
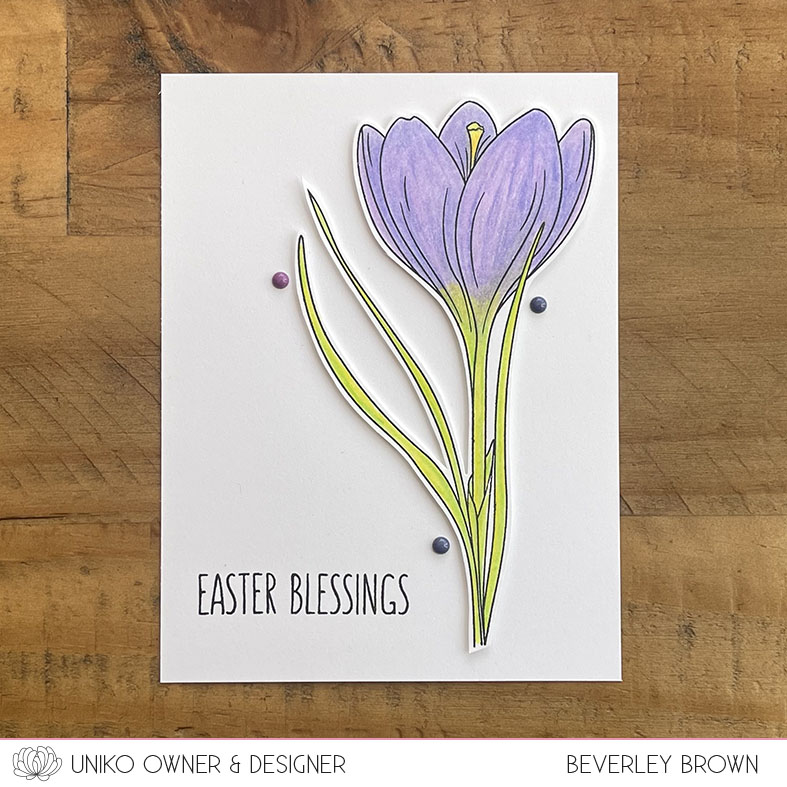
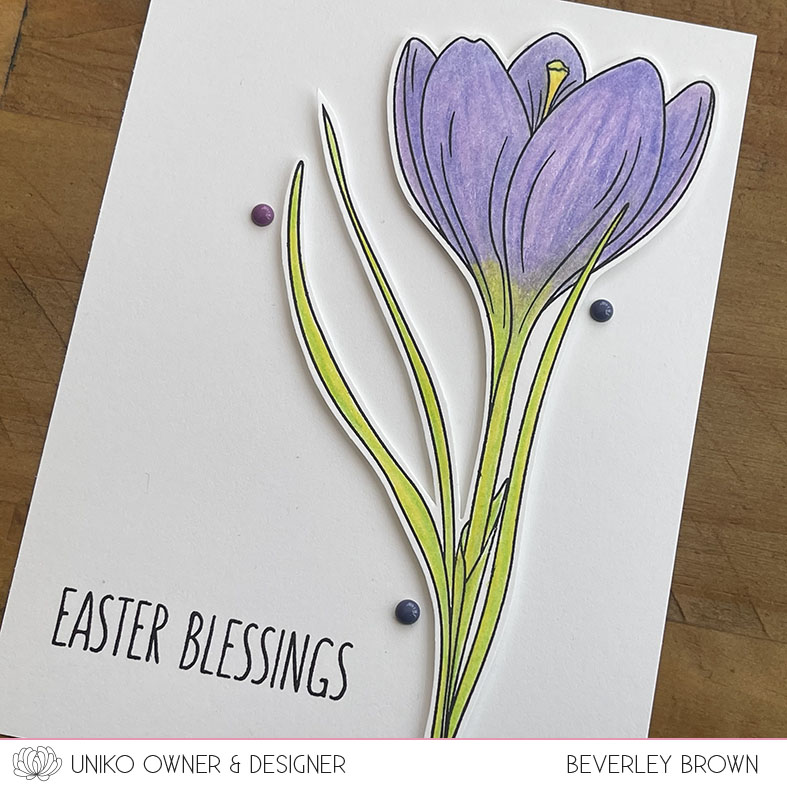
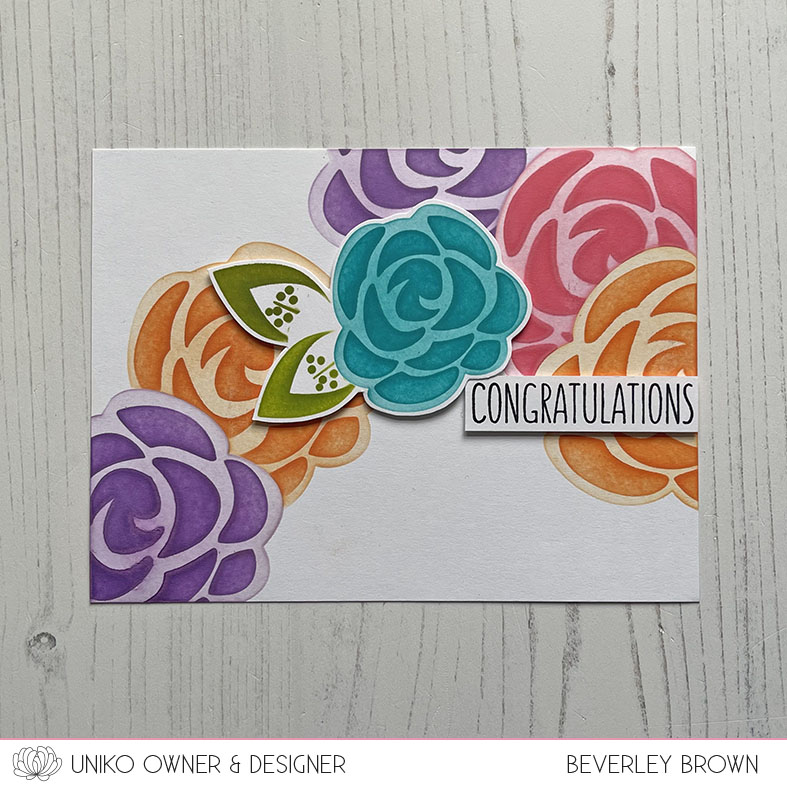
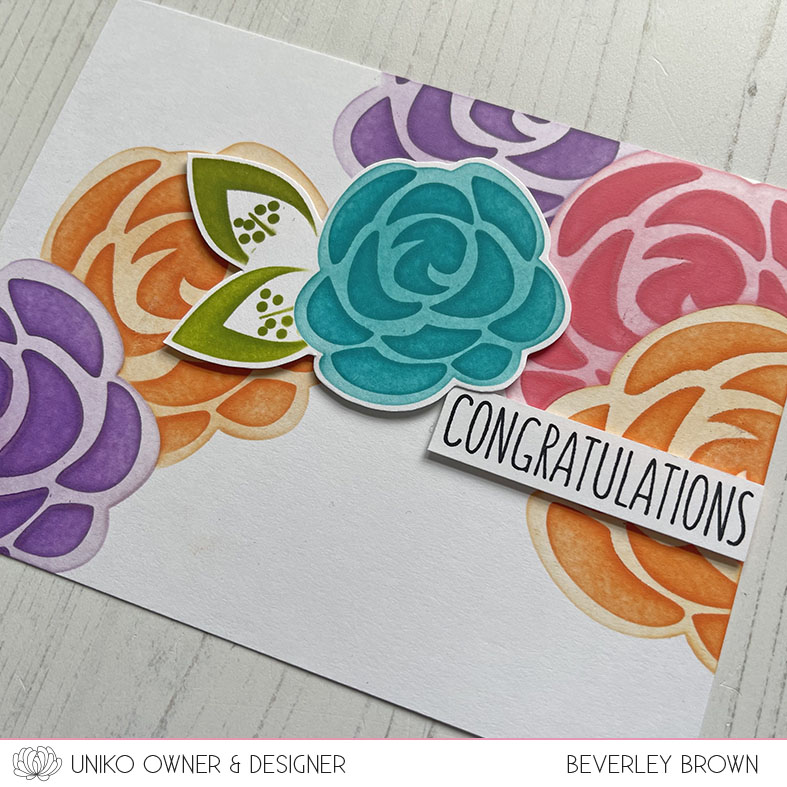
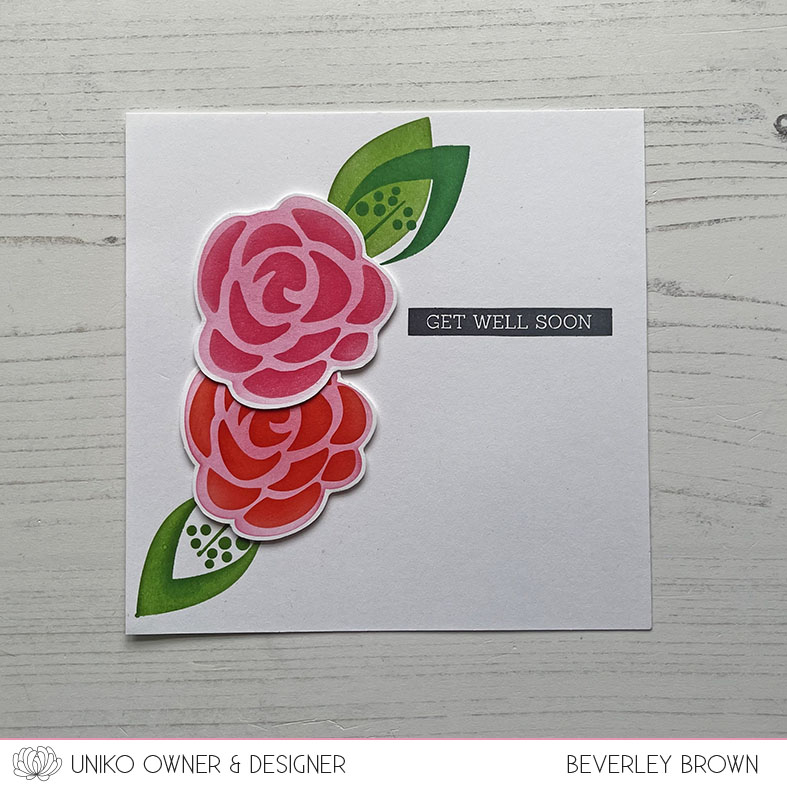
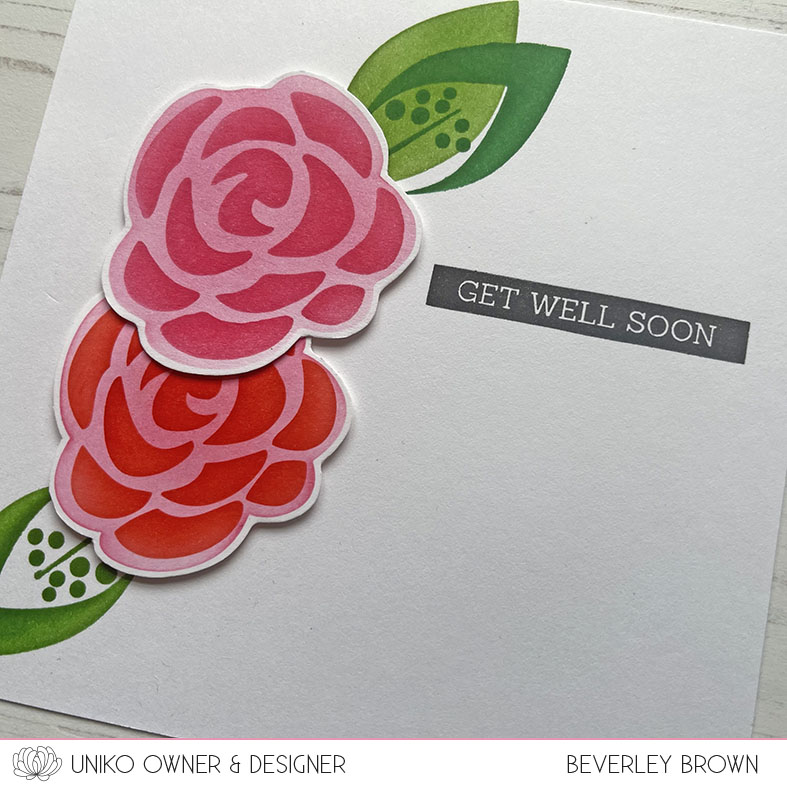
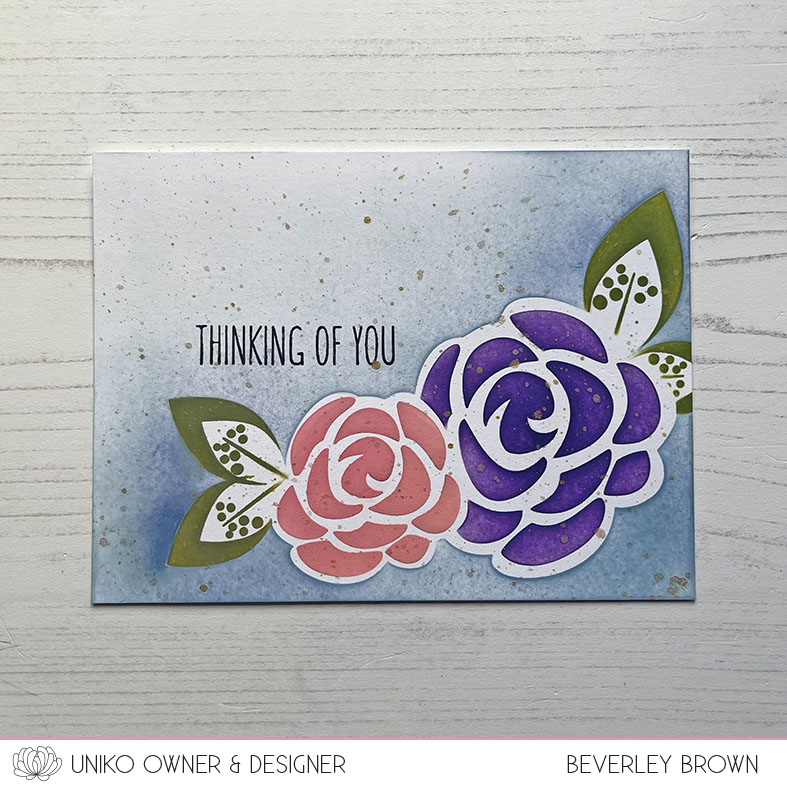
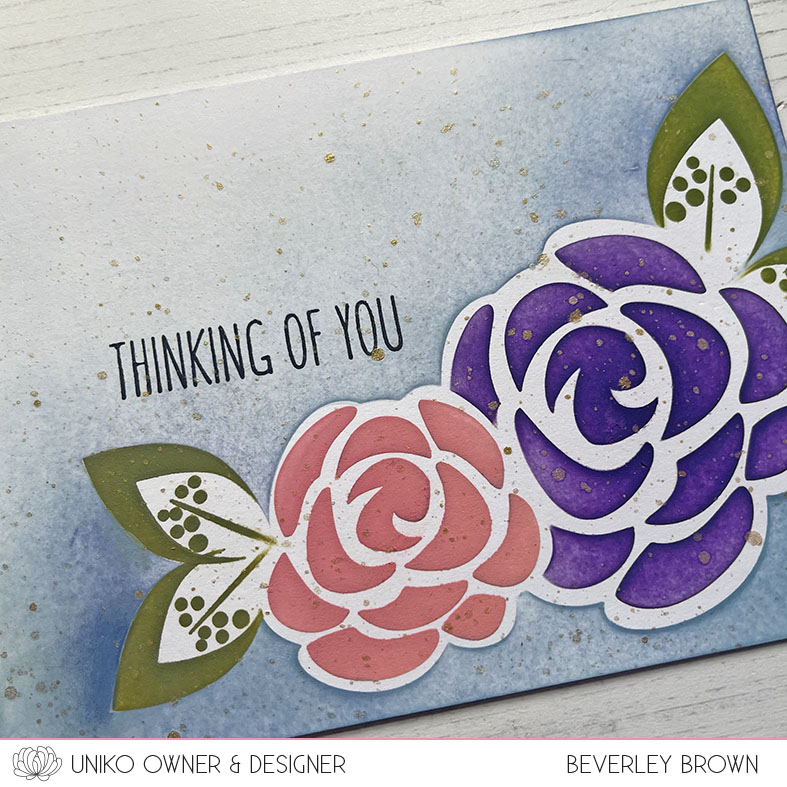
Next I went with another floral, Beautiful Blooms II to showcase another of the sentiments from this clear stamp set.

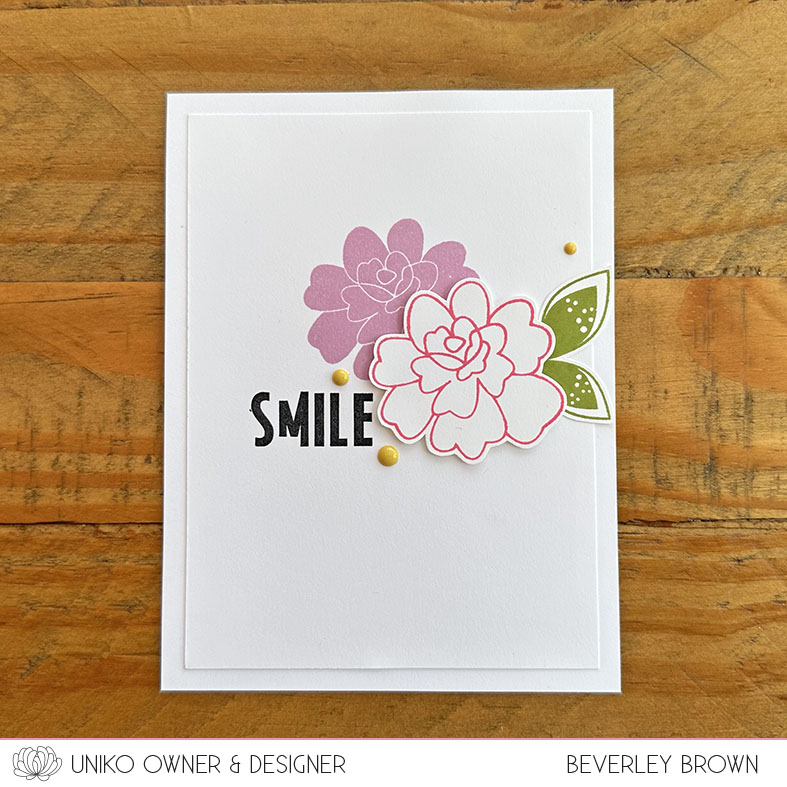
I started by stamping the solid bloom in Carnation ink onto my base layer. I should have then added my SMILE sentiment after I added the Honeysuckle outline flower as I would have added it a little further to the left.

I added the leaves stamped in Artichoke ink and a trio of Sunflower enamel dots to finish.

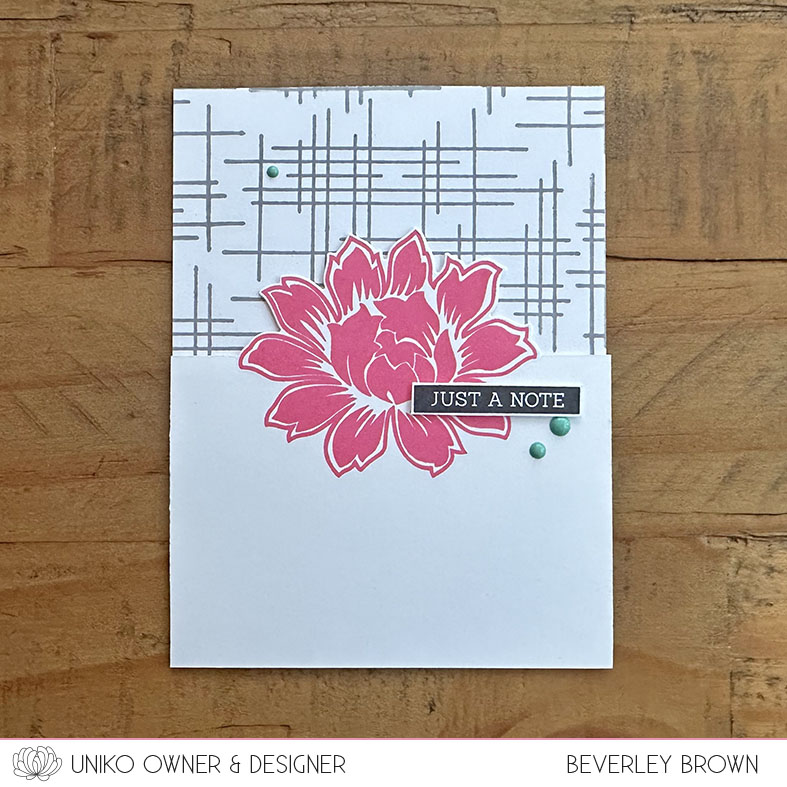
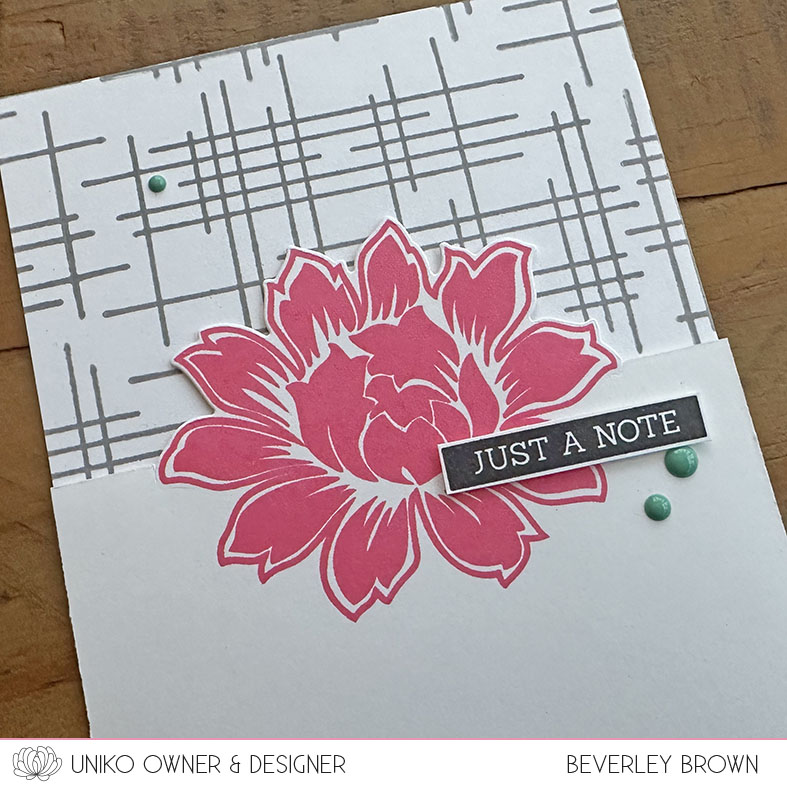
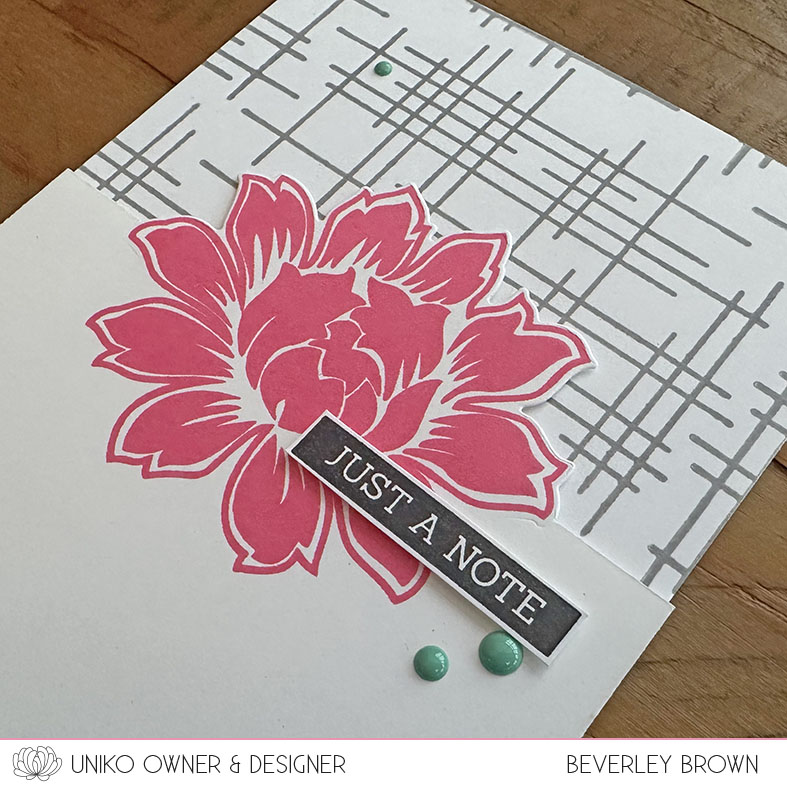
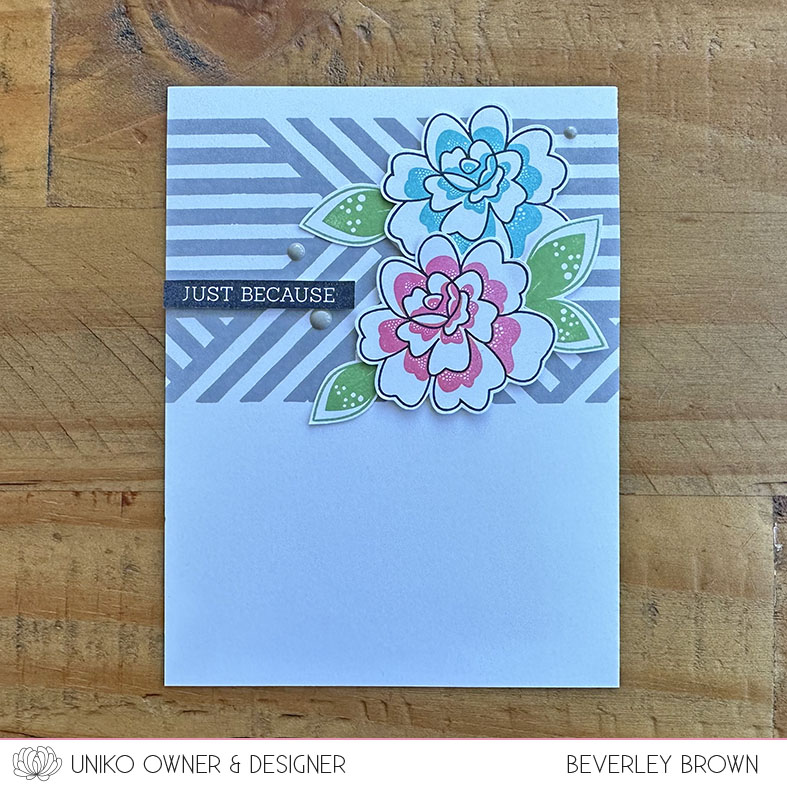
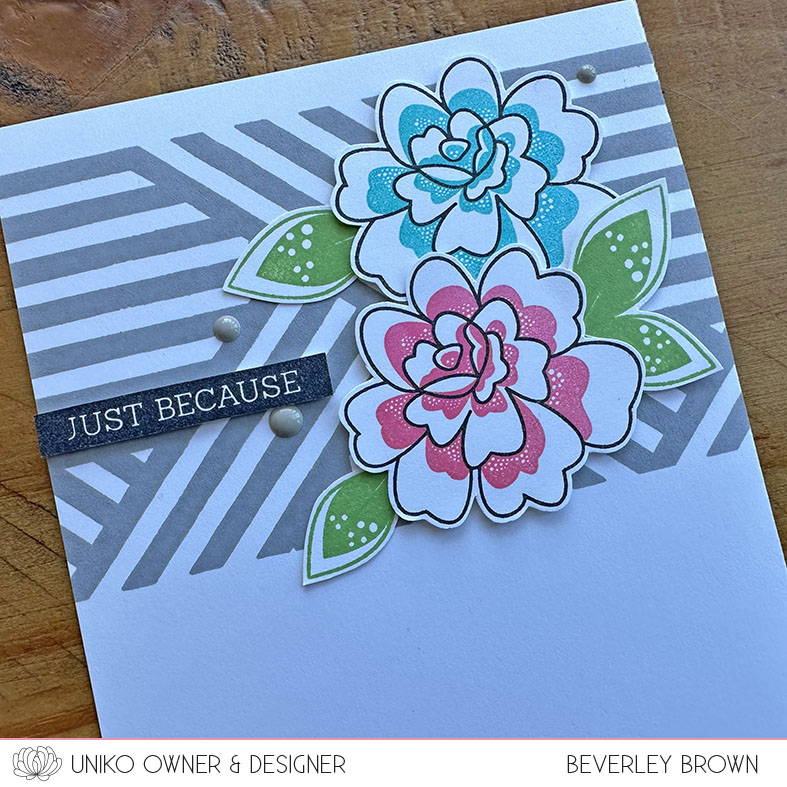
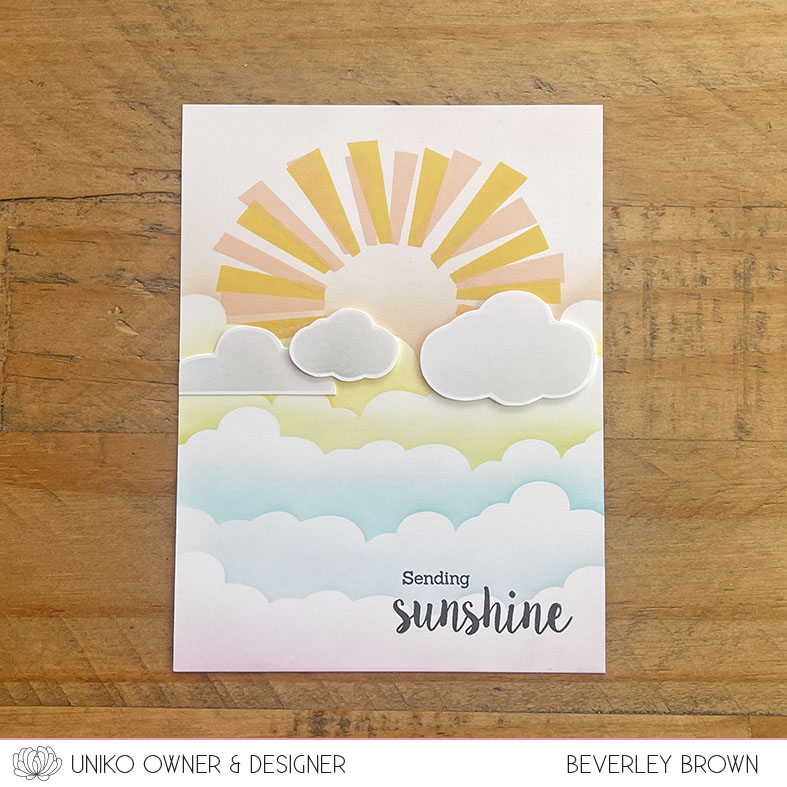
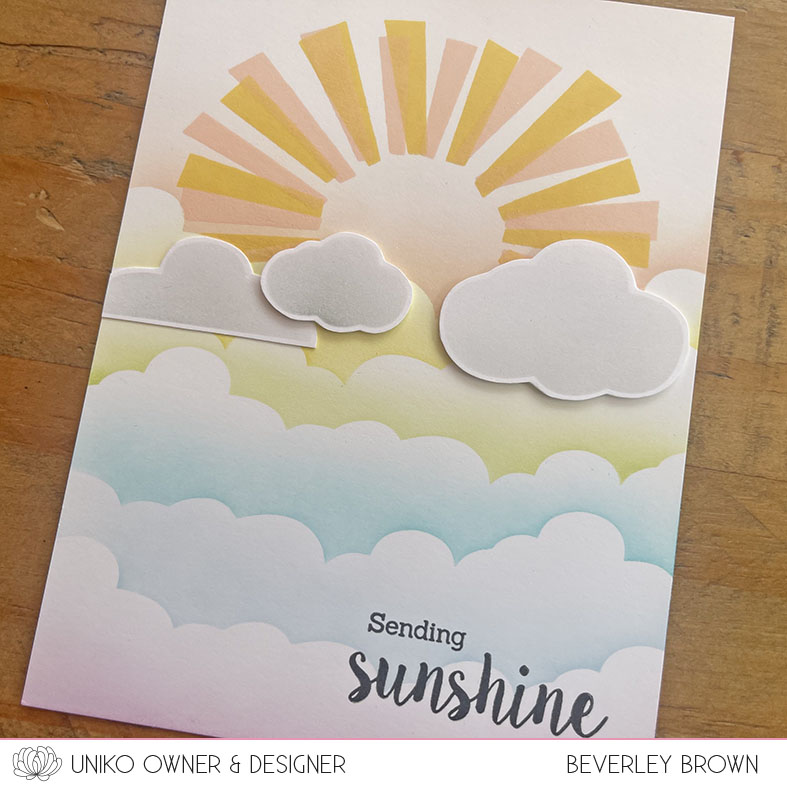
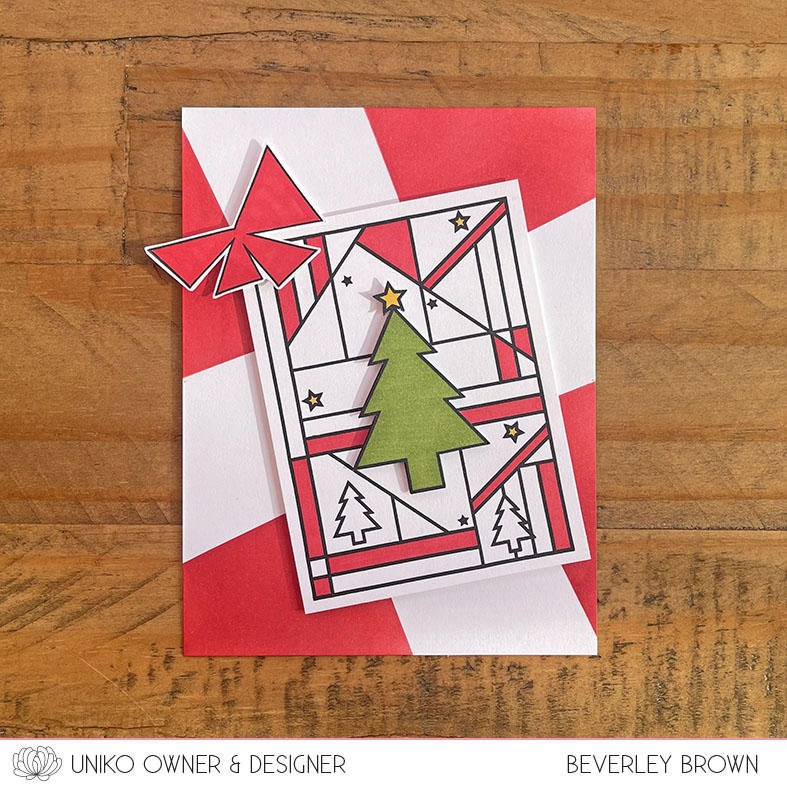
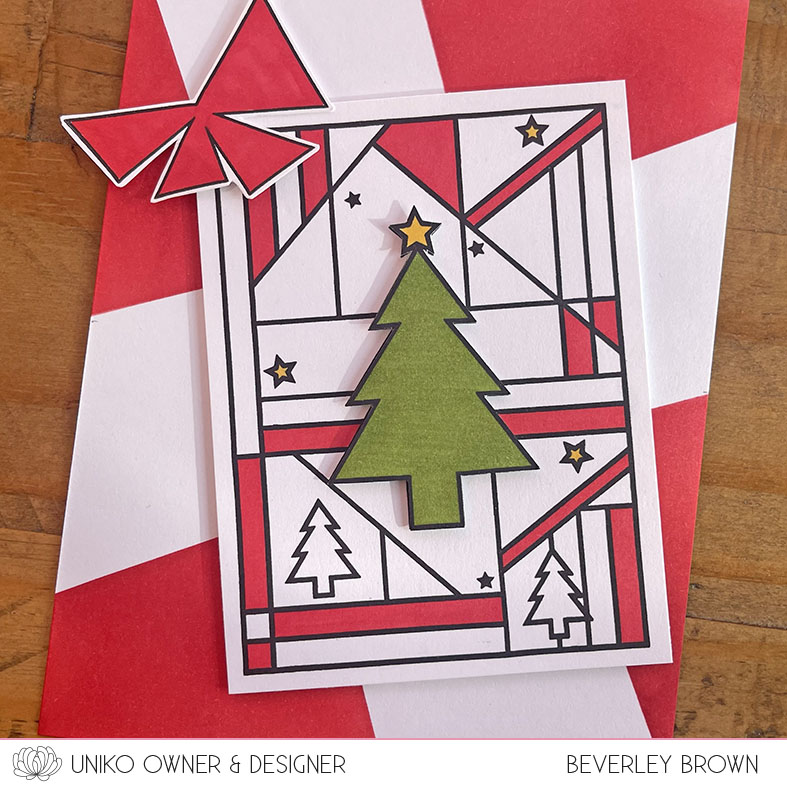
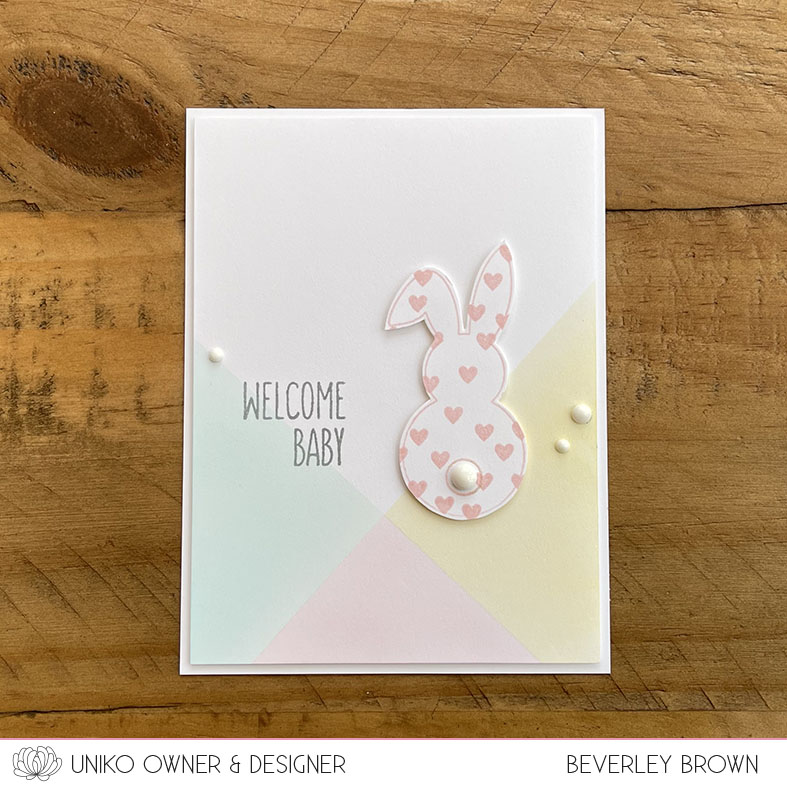
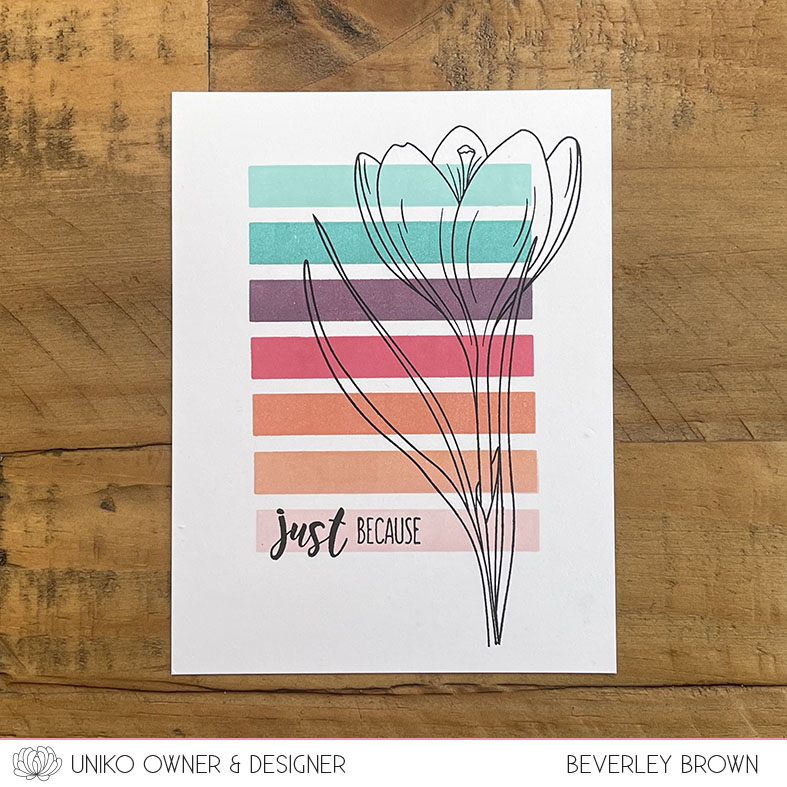
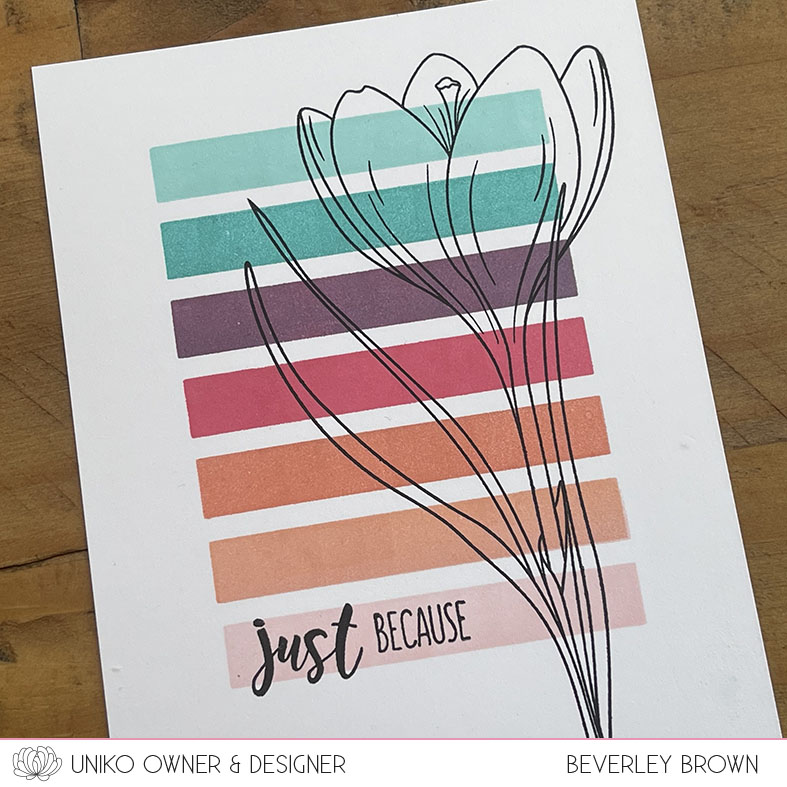
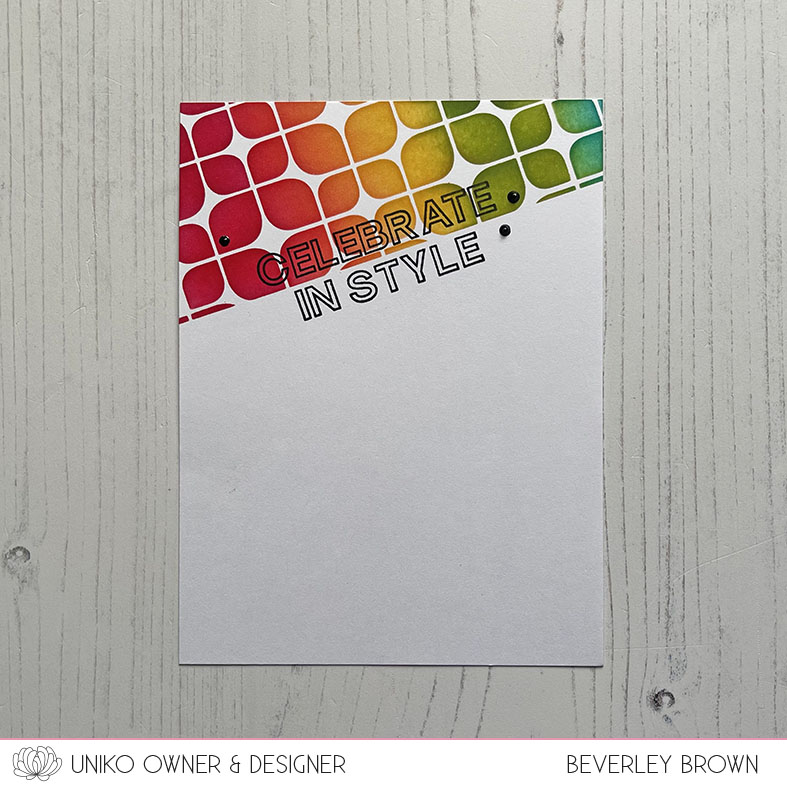
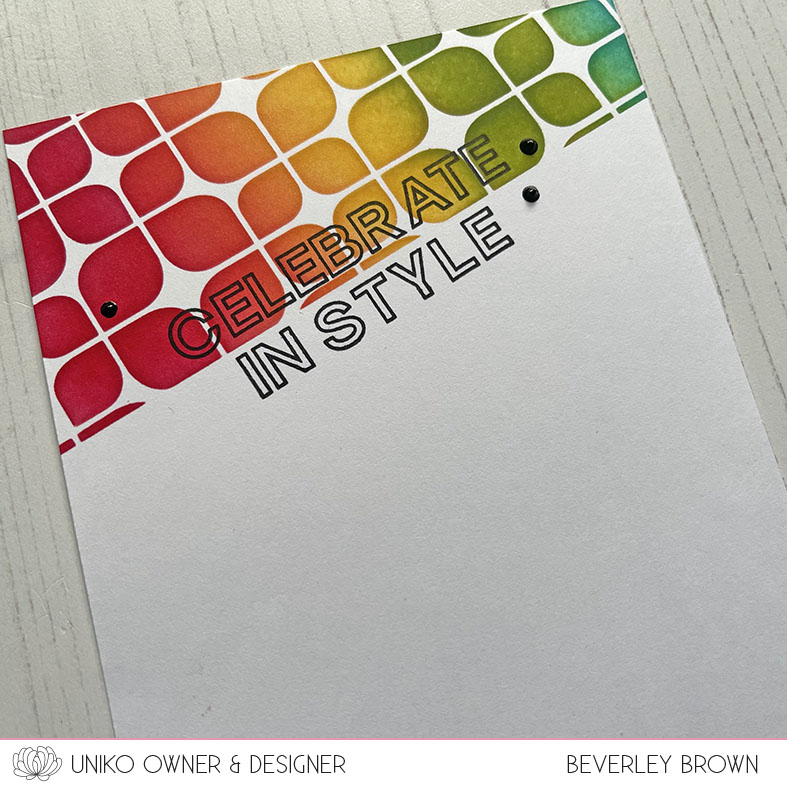
Lastly for today I decided to use the Stencil – Layering Bauhaus Blocks and tried out a new layer.

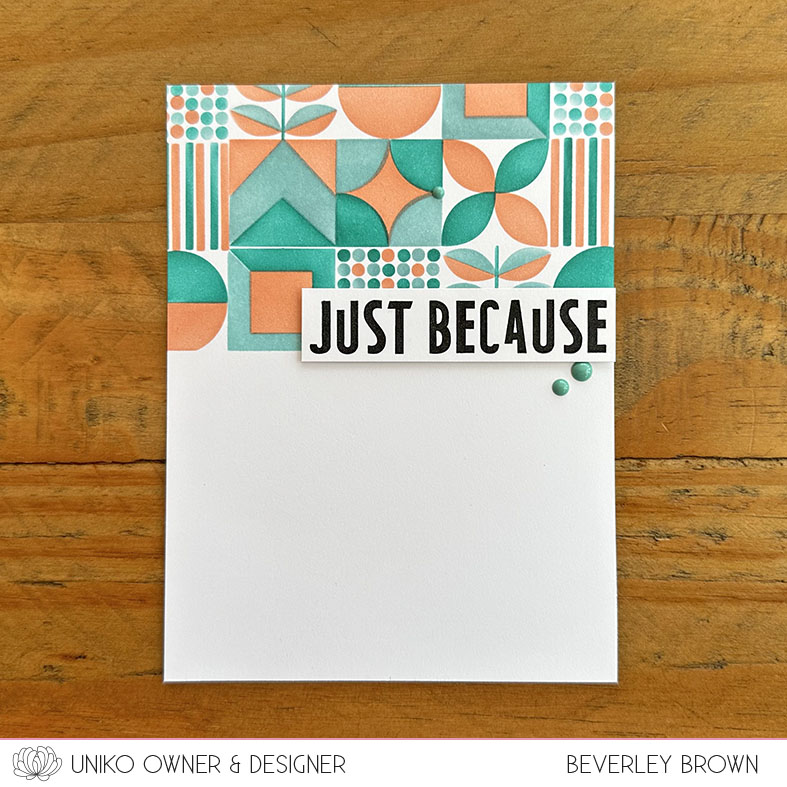
I started by masking off the lower section of my one layer card base. I then selected Grapefruit, Oceanside and Aqua Sky to ink the stencil and fill the top section of the card.

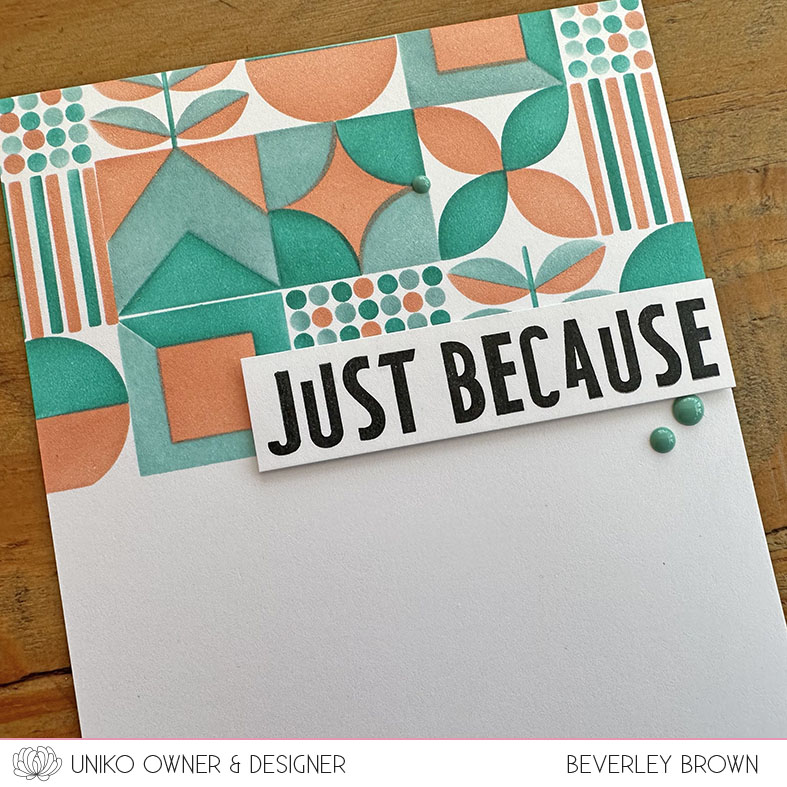
I then added the JUST BECAUSE sentiment on a strip of card adhered by foam tape and a few Oceanside enamel dots to finish.

If after that awesome hop, you want or *need* a closer look at this clear stamp set. Why not join me over on YouTube HERE this afternoon for a demo of this newness.


This clear stamp set, along with all the products being introduced this week will be available 9am GMT Sunday 18th January 2024. 

Crafty Hugs

January 2024 Non-Release Brand Ambassador Blog Hop & GIVEAWAY!

Hello & Happy Thursday.

Welcome to the January 2024 Non-Release Brand Ambassador Blog Hop & GIVEAWAY! With a New Year in full swing I thought it would be a good time to bring back some of the fun and inspiration that has slipped away over time.


So I am pleased to bring back the Non- Release month blog hops. For those of you who are new around these parts I will explain what this post is all about…


Here at Uniko HQ it is just myself behind the screen, blogging, designing, packaging stamps & orders through the Uniko online shop, customer service and all the things in between. I *usually* release new product every other month for a number of reasons, but mainly so I can keep up with everything!


On non – release months like this month I like to set myself and the Brand Ambassadors a challenge to look back at a previously released product and give it some more love. Plus, I think it’s always nice to revisit older sets and provide more inspiration and not just from me.
So without further ado, lets see the products I decided upon for January…

Beautiful Blooms I and Designer Dies Beautiful Blooms I 

So let’s have a look at my new creations I made using these…

First up I decided to use a technique that I haven’t used for ages, partial die cutting. I think I avoid this technique as it can be more time consuming than straight forward die cutting!

I started by stamping the large bloom in Honeysuckle ink. I then created a mask to place my die over the stamped image. I create a mask as these dies are one of my first sets and they are solid dies, meaning you can’t see through them.

I then worked out where I wanted to die cut too, 7.5 cm up from the bottom of my card. To die cut, place just the top section of the die inside the die cutting plates, up to the measurements. Once you die cut, use a cutting knife to trim across the straight edges.

On my base card I used the Background Blocks Linear stamped in VersaFine Clair Morning Mist. I then adhered the die cut panel using foam adhesive. I then finished with a sentiment from Simply Said Blocks and a few enamel dots.

For my second card I decided to use just the stamps and another fun technique, spotlight stamping.

Again, this was a little trickier and takes a bit of patience. I placed both layers in my stamping platform and used low tack masking tape on the base card when stamping the images on the square. I then removed the tape and square layer to stamp the image in a lighter shade of pink.

Again the top square layer is adhered using foam adhesive. This time I used a sentiment from Everyday Sentiments and kept the card free from any embellishment.

That’s all from me today, but be sure to head on over HERE to the start of the blog hop for all the Brand Ambassador blog links. If you comment along the hop you will be in the chance to win a £15 eGift Code to spend in store. Commenting closes for the giveaway Thursday 25th January 2024.

Happy Hoppin’!
Crafty Hugs

December 2023 NEW Release, Brand Ambassador Blog Hop & GIVEAWAY!

Hello, Happy Friday AND Happy New Release Day!

I hope you have enjoyed the introductions this week and I’m super excited you have stopped by so I share these new products with you. They are NOW available to purchase HERE on the website.

Hopefully you have hopped on over from HERE where I have introduced the new products and you will also find the links to the Brand Ambassador blogs.

Here’s what I came up with for today…

First up I decided to ink up Background Blocks Perspective and pair it with Mid Century Modern Florals. I started by stamping my favourite combo of stamps to create the flower, which I fussy cut out.

I then stamped the block which I coloured with two shades of orange and grey. I originally wasn’t going to fussy cut the block out, but I smudged my stamping and so had no choice but to cut it out and adhere it using foam tape!

My sentiment choice is from Bauhaus Blocks and I finished the card with enamel dots.

Keeping with the floral theme, I added some Beautiful Blooms II flowers to the Background Blocks Layered Stripes.

I started by stamping the block in Dove ink across the top of the card. You might be able to guess that I have hidden the join in my stamping with the beautiful blooms! My sentiment is from Simply Said Blocks II.

For my last card today I inked up the Stencil – Ink & Flip Snowflake. This card didn’t turn out how I intended either, sometimes it just goes that way after mishaps!

I started out being inspired by The Pantone Colour for 2024, Peach Fuzz. So I inked up the snowflake with Grapefruit and then Sorbet.

I then stamped the sentiment from Snowflake Serenade, which I accidentally dropped on the top of my card. Hence why the most of my snowflakes and embellishments are at the top of the card to cover my mishap!

I hope you have enjoyed this last release of 2023 😊


Now I have announced all the happy news, I have some not so happy news 😞
At the end of last month my manufacturer informed me of an increase in prices (again) as of January 2024. I have resisted increasing my product prices for the last couple of manufacture increases and it has been quite a number of years since I last increased them. 
I know the cost of living is affecting so many people and I hate to do this. But to keep Uniko going & bringing fresh, unique designs I unfortunately have little choice. 
As of Monday 8th January 2024,  product prices will be as follows…
StampsSmall (A7) – £6.50Medium (A6) – £11.50Large (A5) – £16 (Price Remains Unchanged)
Stencils – £4.50


I thank you all for your custom & support here at Uniko.
Crafty Hugs 

2023 July/August Reveal, Release, Brand Ambassador Blog Hop & GIVEAWAY!

Hello, Happy Sunday AND Happy New Release Day!

I’m super excited to share these new products with you and they are now officially available to purchase over HERE on the website. For the formal introductions and all the Brand Ambassador blog links, head on over HERE.

Be sure to leave some comment love either on their blogs or social media. I will be randomly selecting a winner to win the entire release and will announce the winner Saturday 26th August 2023.

Let’s have a look at these products in action a bit more…

I’m starting with Mid Century Modern Wreath Builder and I wanted to show how these clear stamps have more than a festive use to them. The wreath as you can see can be used for more than just Christmas, I also see sunshine rays!

And I was inspired to pair it with our Stencil – Cloud 9 and a sentiment from Sunshine & Rainbows.

This lead me onto my next card.

Still thinking of sunshine, it reminded me of flowers and sunshine, so I had to pair it with Mid Century Modern Florals.

And I think they pair pretty nicely, even if I do say so myself. As you can see I added some glitter to the inside of the outline wreath.

Keeping with the non festive theme and wreaths on the brain, I turned the Mid Century Modern Christmas triangle geometric into a rainbow wreath for this fun birthday card.

It’s not very often I make a slimline card, but I had so much fun making these wreaths I made two! The centre is decorated with the bow from Mid Century Modern Wreath Builder which are stamped in black and hear embossed with stardust embossing powder.

My sentiment is from Floral Vines paired with the NEW Everyday Family.

For my second card I wanted to recreate this card HERE, paring the same stamp as above with the Bauhaus Blocks.

I overhung the triangles off the edge of my card, keeping them the same size on the left, but altering the size on the right. I then left space at the bottom for one of the blocks and a sentiment.

Lastly for today I had to get festive with my cards. First using Mid Century Modern Baubles, firstly creating a monochrome one layer card.

A simple bit of masking and Copic colouring finished with some clear Wink of Stella.

My next bauble card was inspired by Vinita’s second card HERE, to combine the Stencil – MOD Background Builder.

I started by lightly stencilling the design in the background using Pebble ink. I then stamped and coloured 3 baubles using the reverse masking technique again.

Finally I embellished the baubles with some more elements from the set and mixed and matched a sentiment using the Happy from Mid Century Modern Frames.

One last card as I couldn’t not use the new Ink & Flip Stencil or the Background Block Arts Décoratifs Christmas, so combined them on one card. This was inspired by one of Steph’s cards today HERE.

I started by inking the stencil just the once on my standard size card 10.5 x 14 cm in Poppy ink. But I wanted it slightly darker so went over softly with Cranberry ink.

I then inked and stamped the background block twice so I could colour and fussy cut the main focal Christmas tree out. Which after selectively colouring some of the second stamped background block red, I adhered the Christmas tree with foam tape. And lastly added the fussy cut bow from MCM Wreath Builder, coloured in red.

My aim was to create a card that looked like a gift with a gift tag & bow.

Phew! What a mammoth post. I hope you have enjoyed this release?

Happy shopping and hope to see you over on Facebook at 7pm this evening. I will be taking a look at the new products, along with making a card or two in the live. Don’t worry if you can’t make it or you don’t do Facebook, I will be saving and uploading the video to YouTube.
Crafty Hugs 

Introducing… Stencil Flower Power #4

Welcome to Day 1 of the product introductions for our May/June Release. 

Today myself and the Brand Ambassadors are showcasing the newest addition to the Flower Power Collection with the Stencil – Flower Power #4.

Hopefully you have hopped on over from HERE, the start of the hop and all the links to the Brand Ambassador blogs. Definitely not to be missed with all their creative inspiration.

Now, here’s how I have used the new stencil..

So this stencil is a blown up version of the Flower Power #4 clear stamp outline flower and so I decided to use the April Showers Bring May Flowers sentiment from the set. I think to complements the bold floral beautifully.

I finished off the card with some subtle sparkly splatters and some enamel drops.

For my second card today I opted for another partial inking design and a little bit of rainbow.

I love an angle, so that’s what I decided to do here. I then adhered it to this lovely Concord & 9th Pebble card stock base to really make those rainbow colours pop.

The smile die cut is from the Exclusive Uniko Collection with CraftStash HERE. I’ve used my usual trick of layering up a couple of die cuts to add a slight bit of dimension.

That’s all from me today.

We will be back tomorrow with more to share. This stencil, along with all we are introducing this week will be available on Friday 2nd June 9am GMT. 

Crafty Hugs 

Uniko’s 11th Birthday Reveal, Release, Brand Ambassador Blog Hop & GIVEAWAY!

Woohoo 🎉 🙌 🥳 


The day is *finally* here and our 11th Birthday Release is now available HERE on the Uniko Website! Hopefully you have hopped on over from HERE where I have formally introduced the new products and you will also find the Brand Ambassador blog hop. There is a £30 eGift certificate up for grabs, so be sure to hop along and comment.

Now let’s see some of the new products in action…

For my first card today I wanted to create a Spring flower garden. I started by stamping and masking the Spring Botanicals Snowdrop, then the new Spring Botanicals Crocus and then Spring Botanicals Daffodil.

I stamped on Kraft card as I knew I wanted to colour with Prismacolor Pencils and use white and light grey for the snowdrops. I finished the card off with the Mother’s Day sentiment from Everyday Love Sentiments and Everyday Spring Sentiments.

Next up I decided to make a welcome baby card using the bunny from Hoppy Easter.

I started by stamping the Large Background Scattered Polka Hearts in Ballet Slipper ink. I then stamped the outline bunny and bunny tail before fussy cutting them out.

I created the background with a bit of masking and soft ink blending. You might notice a little black ink smudge which I covered with some white Nuvo Drops! The sentiment is another from Everyday Spring Sentiments.

Lastly for today it was only right that I showcased Up & Away and Stencil – Cloud 9.

I already had these balloons stamped, coloured and fussy cut, so apart from waiting for the sparkly clouds to dry, this card was pretty quick to make.

The hot air balloons are adhered using foam adhesive for a little dimension and don’t you just love the sparkle of the clouds.

I hope you like the new products and have enjoyed the fun over the past few days. Be sure to stick around over the coming week/s as I have so much more to share! 

Until then, happy shopping 😉
Crafty Hugs 

Introducing… Spring Botanicals Crocus

Welcome to Day 1 of the product introductions for our 11th Birthday Release. 

Hopefully you have hopped on over from HERE, the start of the Brand Ambassador inspirational blog hop. Today myself and the Brand Ambassadors are showcasing the newest addition to the Spring Botanicals Collection, Spring Botanicals Crocus. 

Let’s have a look at this flower in action…

I started with my usual clean & simple style. I stamped and coloured the crocus with Prismacolor Pencils and then fussy cut the image out. I started cutting the two wispy leaves first and then followed the flower round.

I’ve then adhered the flower to a white card base using foam adhesive. My sentiment choice is from another clear stamp set we are introducing later this week! I finished off with a few enamel dots from my stash.

For my second card today I went with a ‘quicker’ colouring option. I highlight ‘quicker’ as in reality it took me a while to mask & ink each of the horizontal stripes!

I’d used these colours on another card I am sharing later this week and I really liked them, hence why I chose to use them with the Background Blocks Horizontal Stripes. I used my MISTI stamping tool and plenty of masking paper to achieve the look.

I then stamped the crocus over the top in black ink. This time I opted for one of the sentiments from the set.

Lastly for today I put my ink blending to the test. I was going for a rainy spring morning sky with the sun just rising. I used Concord & 9th Dove, Midnight, Grapefruit, Buttercup and Sprout.

I then heat embossed the crocus in white before colouring with Copic Markers and again opting for a sentiment from the same set as my first card.

That’s all for my inspiration today using this clear stamp set. But be sure to hop along the Brand Ambassadors to see what they have come up with.

We will be back tomorrow with more to share. This clear stamp set, along with all we are introducing this week will be available on Saturday 4th March 9am GMT. 

Crafty Hugs 

Stencil Release Day & GIVEAWAY!

Hello & Happy Thursday! 

I am delighted that you have stopped by today and thank you if you have been following along with us this week. I know its been a while since I last had a release and I apologise for that. I design all the products myself and inspiration went a little wayward for a spell, but I had these stencil designs up my sleeve, so thought I would release these until the next stamps come out.

If you want a recap on what the stencils look like, please hop on over HERE and you’ll also find the links to the Brand Ambassador blogs for even more inspiration.

Be sure to leave a comment on their blogs or social media posts. I will be randomly selecting one lucky winner to receive all of the stencils being released today. You have until Midnight Wednesday 9th November to leave comments and I will announce the winner Thursday 10th November 2022. 

And here is what I have made today using them…

For my first card today I decided to go for some colourful Flower Power #6 Roses. I started with the lower left purple rose inking through the solid shape and then adding the detail with a darker shade of purple. I applied the corresponding mask and repeated for the orange rose.

I then moved over to the right hand side of my card and repeated the process again. I purposefully left a gap to add a small inked and fussy cut rose and leaves which also framed the congratulations sentiment from Everyday Sentiments.

For my second card I reached for MOD Background Builder to create another colourful card…

I started by using masking tape along the angle. I then placed the stencil and inked through a rainbow (ish) selection of colours. I then moved the stencil as necessary to make sure the design filled my card.

I added a sentiment from Sentiments Outlined and finished with a few black Nuvo Drops.

Lastly for today I used Large Snowflake One.

I used the same shadow layering technique for the snowflake again, this time using white pigment ink through the snowflakes first and then moving slightly to then ink with Chipped Sapphire.

I finished with some white gold splatters and heat embossed the Let it Snow sentiment from Christmas Sentiments.

I hope you have enjoyed these past few days as much as I have. Thank you for all the support and comments here and across social media, they are all valued and appreciated.
Don’t forget the giveaway 😉 
Crafty Hugs 

Introducing… Stencil Flower Power #6

Happy Tuesday!

Welcome Back to Day 2 of the introductions. If you’ve missed anything or you are wondering what is going, please check out this post HERE. Also, we had a fun stencil introduction yesterday HERE

Today I am delighted to formally introduce you to the next flower in the Flower Power series of stencils, Flower Power #6.

I wanted this flower power stencil to be a little bit different from the others and not just a supersized version. The flowers are a lot larger than their counterpart clear stamp version. This stencil comes with the mask for the solid flowers and leaves, providing more creative options.

Let’s have a look at the stencil in action…

I am one for fussy cutting, but I think these flowers are nice and easy to cut out. I kept things pretty simple for this card and paired the flowers and leaves with a sentiment from Simply Said Blocks II.

For my second card today I used the masks, layering them and inking the background with Distress Oxide Speckled Egg and Chipped Sapphire. I did have to create two small leaf masks for the smaller rose.

Once I was happy with my background I removed the masks and inked the roses with Villainous Potion and Saltwater Taffy. I used Forest Moss for the leaves.

I added a sentiment from Everyday Sentiments and then splattered the card with some gold Gansi Tambi Starry Colours.

Thanks for stopping by and be sure to hop along with the Brand Ambassadors for more amazing and creative inspiration. You can find the links HERE.

I do hope you will pop back tomorrow for the last two stencil introductions. They will all be available to purchase 9am GMT Thursday 3rd November 2022.
Until tomorrow, Crafty Hugs 

Introducing… Organically Zesty

Hello & Happy Monday!

I am so excited you have stopped by. Hopefully you have hopped along from Anita‘s blog or the Uniko blogspot blog HERE as we introduce the first product of the June 2022 Release, Organically Zesty.

If you have been a fan of Uniiko for a while you will be familiar with my signature organic drawing style and I have used it again for this fun fruit inspired clear stamp set.

Organically Zesty combines beautiful realistic fruity florals with a modern flair and punny sentiments.

So let’s have a look at the stamps in action…

First up I put my colouring skills into action. I am always more at ease with pencils than I am markers and my biggest collection is Prismacolor, which I have used here.

I used The Stamp Market No-Line ink to stamp the lemon. I drew it as a lemon and it has always been a lemon in my head, but you could easily make it a lime too!

As you know I am not the most patient of people when it comes to colouring, I like simple and quick colour, which I have used for my next card.

I am intolerant to fresh orange, but when I have peeled them for The Beans I love that first splash of juice that pops out! Picturing this in my head, it reminded me of the Background Block Splatter.

As you can see I used it to create a colourful and fun abstract background for the orange. I added one of the mix and match sentiment options and some extra juice splashes, which I applied Morning Dew Crystal Nuvo Drops too.

Just the two cards from me today using this new stamp set, but the Brand Ambassadors have lots to share, so be sure to hop along to Hannelie‘s blog.

Thanks for stopping by & joining in on the fun.

Crafty Hugs