
Introducing… Background Blocks Pinstripe & You Are, Yes You
Hey!
Welcome to the LAST day of our 7th Birthday & February 2019 Release product introductions. The last four days have been so fun and colourful. If you have missed any of them you can catch up HERE, HERE, HERE and HERE.
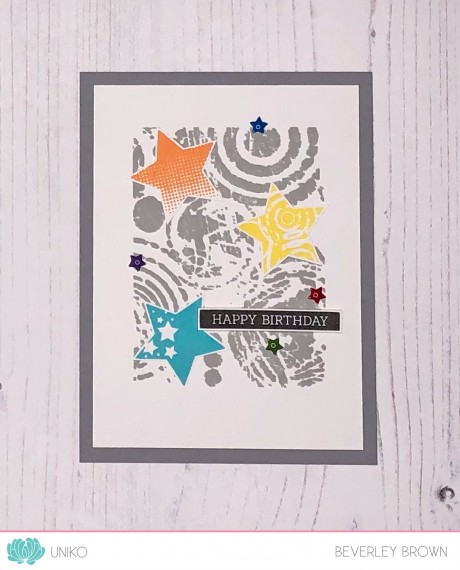
I’m back again today with my guest designer and the design team to show you LOTS of inspiration! This time we are introducing a new Background Blocks Pinstripe & Yes, You clear stamps. Hopefully you have hopped on over from the start HERE where I have introduced these 2 new products a little.
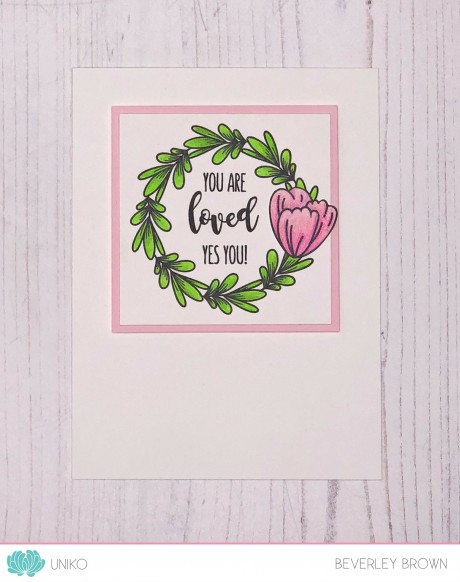
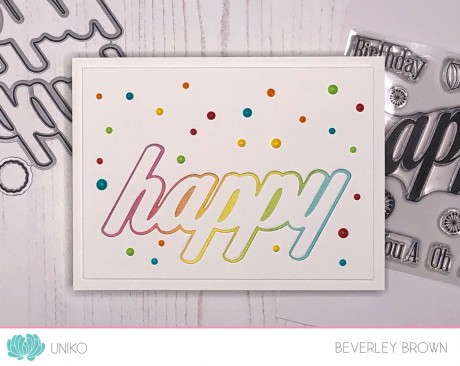
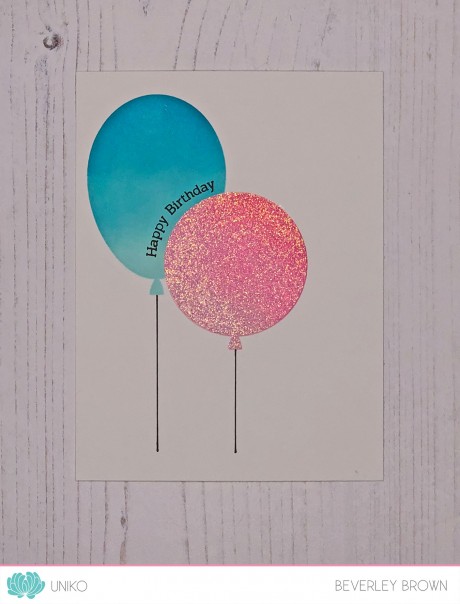
How about a closer look at the cards I have made using them…

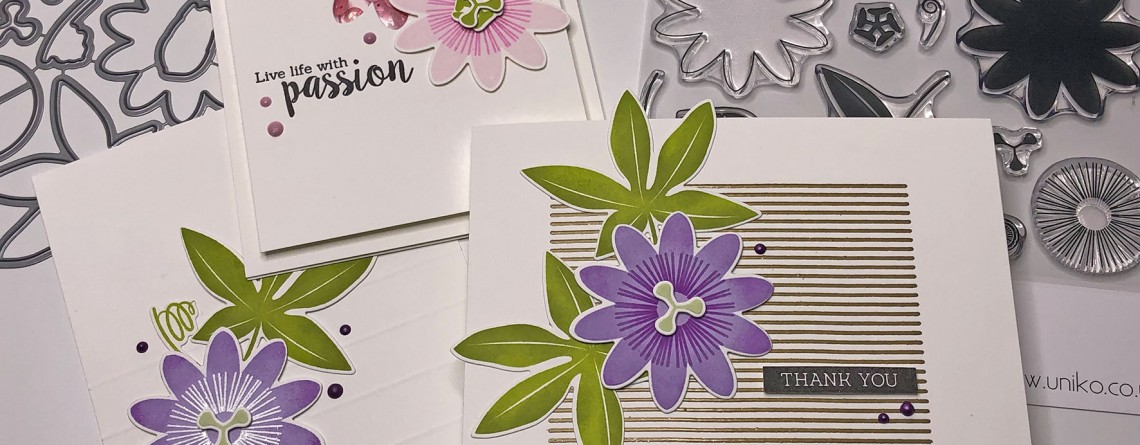
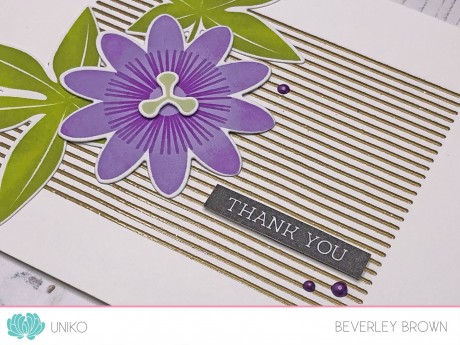
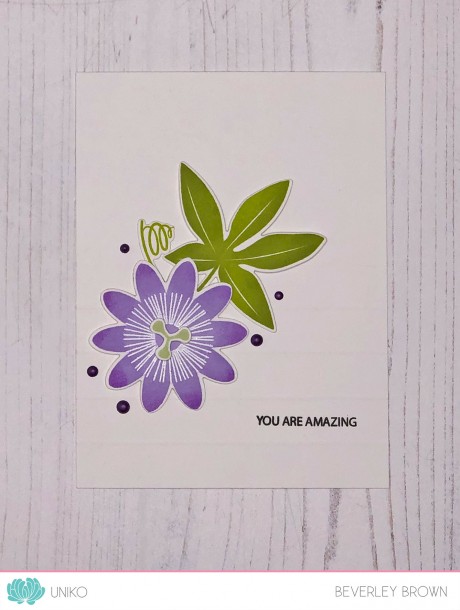
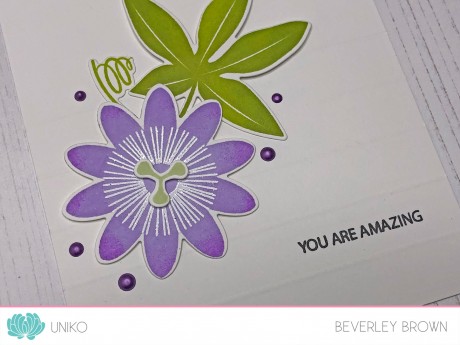
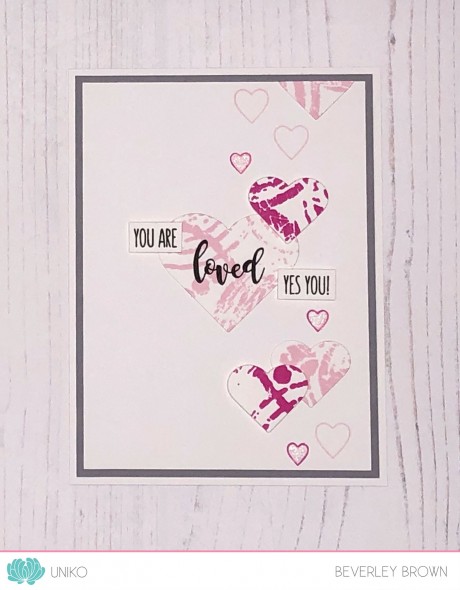
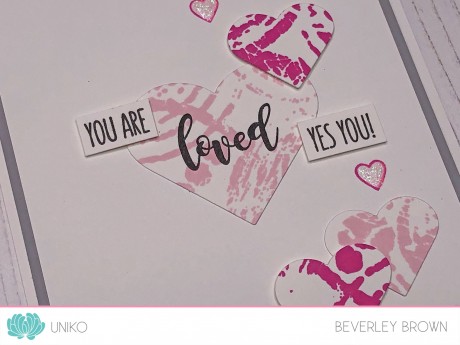
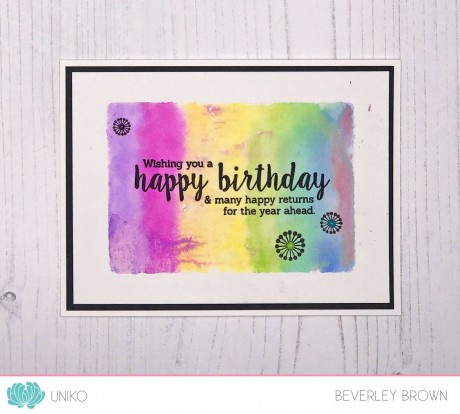
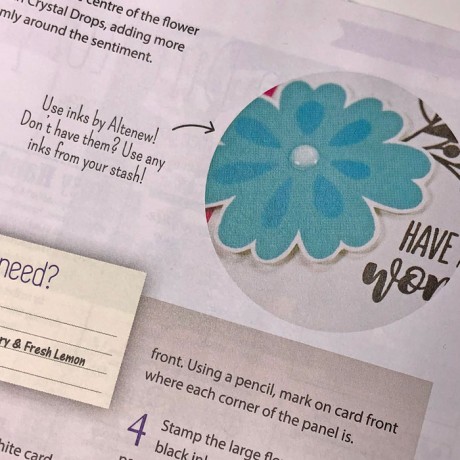
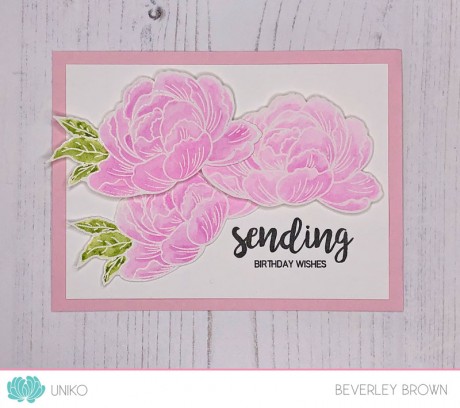
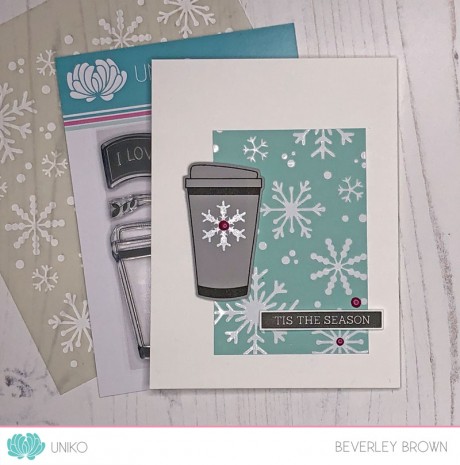
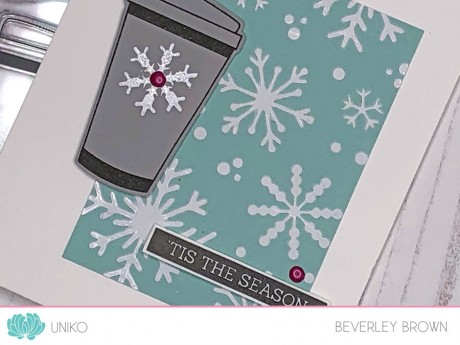
This first card shows the pinstripe background perfectly! I’ve stamped it in Altenew Pink Diamond ink a couple of times using my stamping tool. The flower from You Are, Yes You is then stamped directly over the top in VersaFine Onyx Black ink and coloured with one colour of Prismacolor pencil. I added one of the leaves from the same set and a sentiment from Simply Said. Again finishing the design with Nuvo Drops 😉
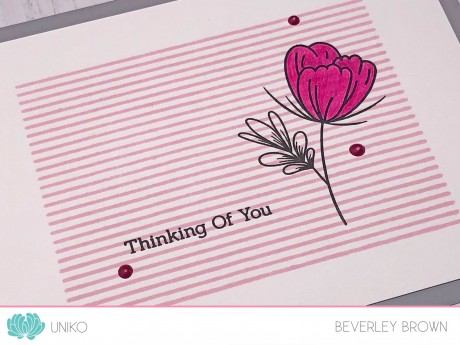
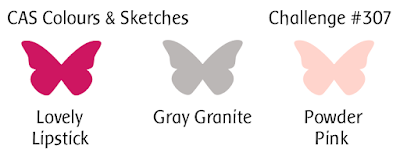
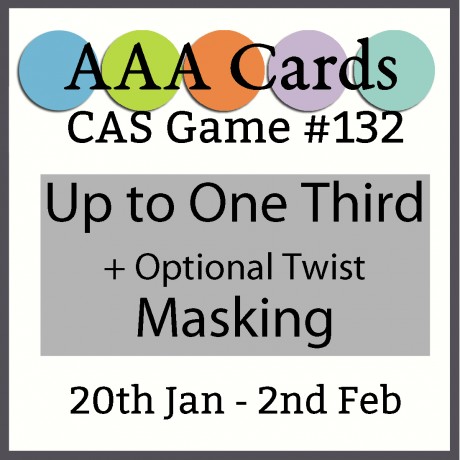
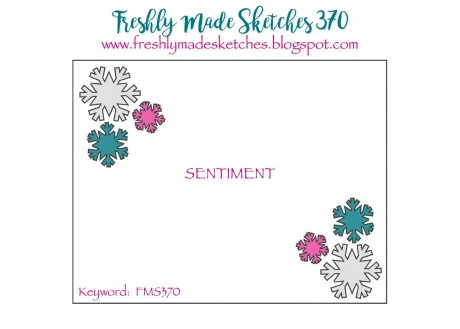
The colours for the card were again inspired by this weeks CAS Colours & Sketches challenge seen HERE and below. I rather like this colour combo, as I am quite a sucker for Grey!
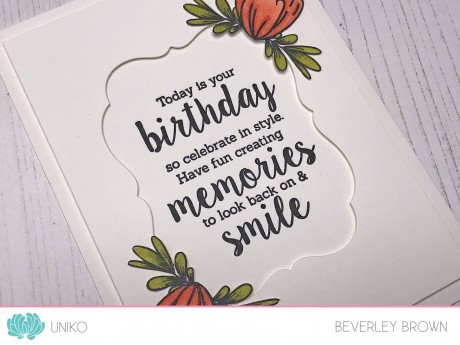
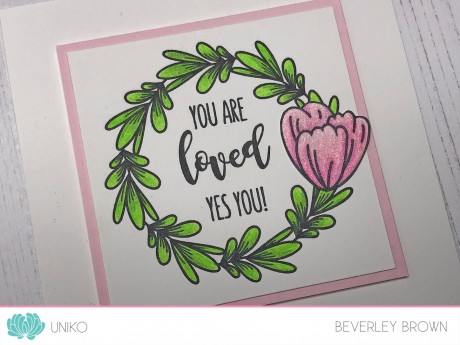
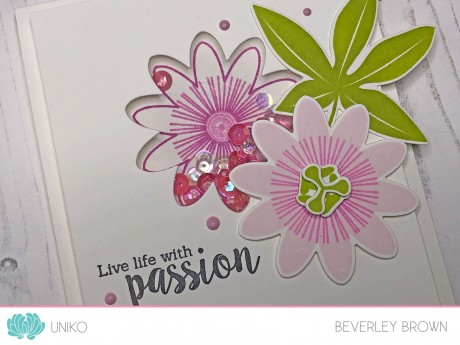
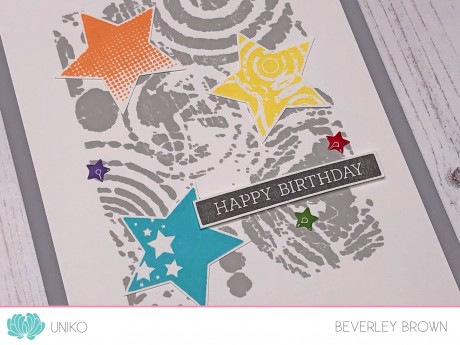
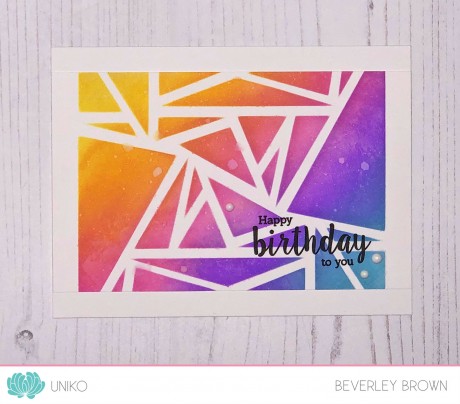
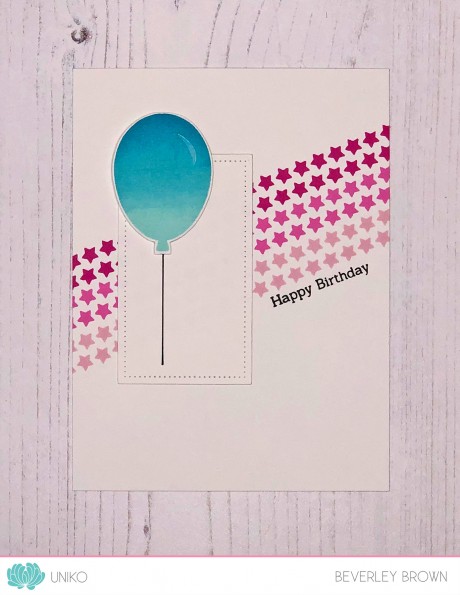
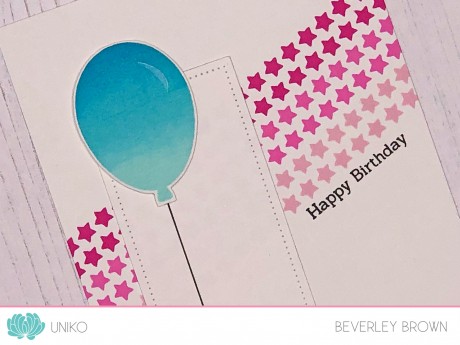
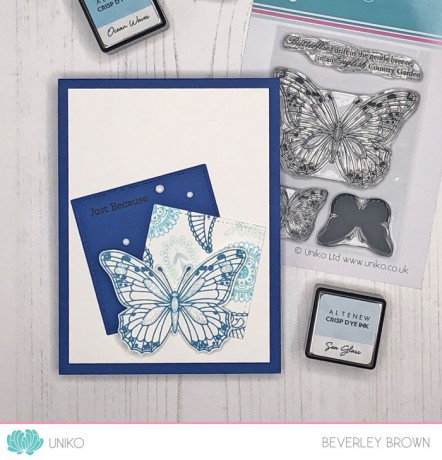
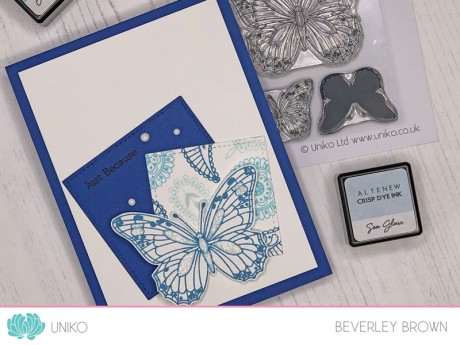
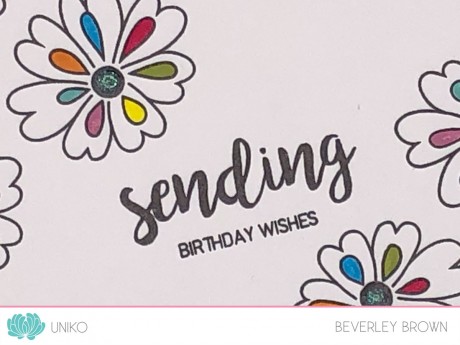
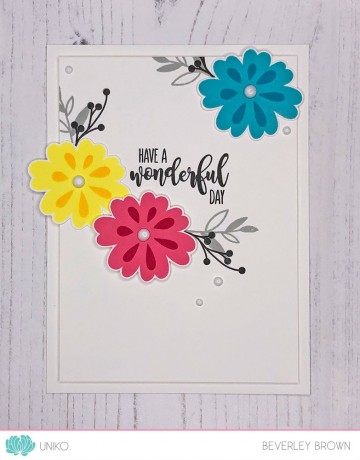
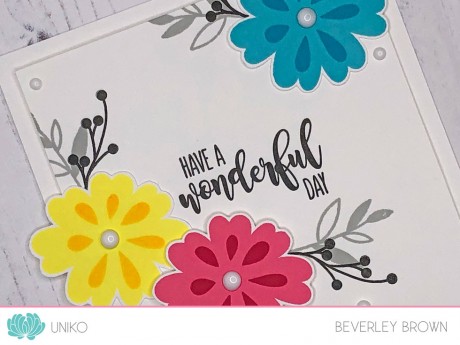
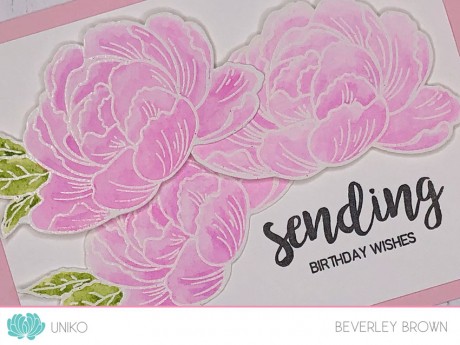
For my next card I decided to use the flowers & leaves from You Are, Yes You to embellish the corners of a die cut sentiment window frame.
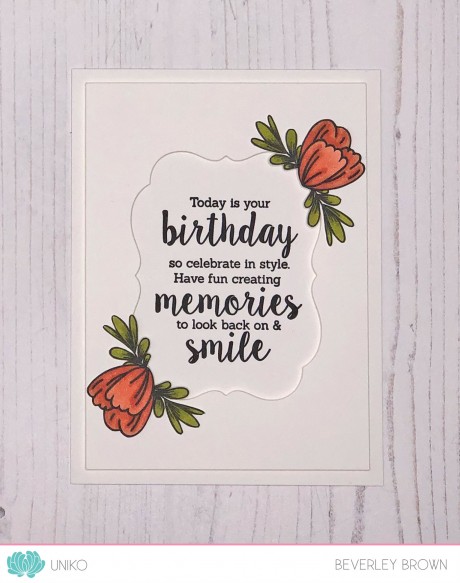
The sentiment is from Birthday Wishes, which was introduced on Day 2 and it fits perfectly inside the Papertrey Ink Mat Stack 4. The flowers and leaves are coloured with Stampin’ Up! stamping blends, fussy cut out and adhered to the card with double sided tape.
That’s all I have to share today using these products, but I know Ruth our Guest Designer this month along with the Design Team have SO much more to share with you.
Hop on by to see what Ruth has created HERE and this is the order of the hop following Ruth…
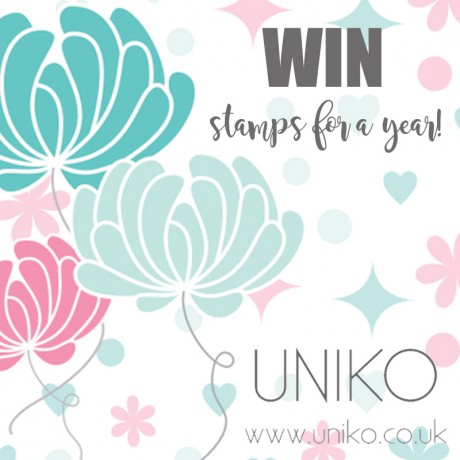
Also, don’t forget the enter the HUGE giveaway over HERE to WIN Stamps For A Year! If you need help entering the giveaway as you don’t have a blog or social media to link, send me an email and I will assist you 🙂
Thanks so much for stopping by & joining in on the 7th Birthday February Release fun 🙂
Hugs


