Blog Hop

You’re Going to Flip – Introducing Ink & Flip Geometric Butterfly Layering Stencil

Hello & Welcome to You’re Going to Flip Week! 

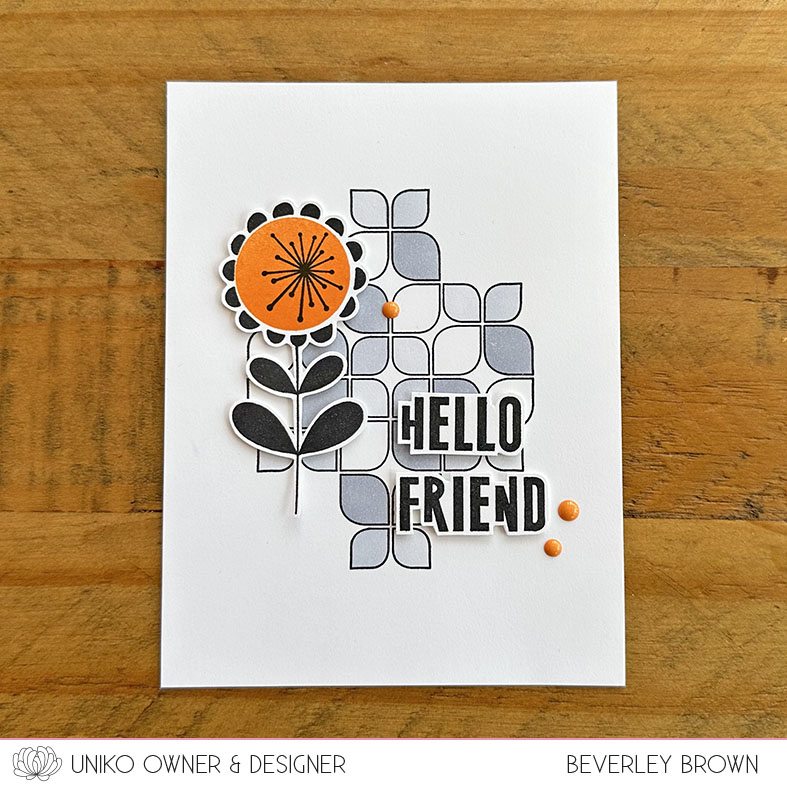
It’s been such a fun week on the blog, I hope you’ve enjoyed it as much as I have. Today though, I am super excited as we finally get to introduce you to the NEW Ink & Flip Geometric Butterfly Layering Stencil. 

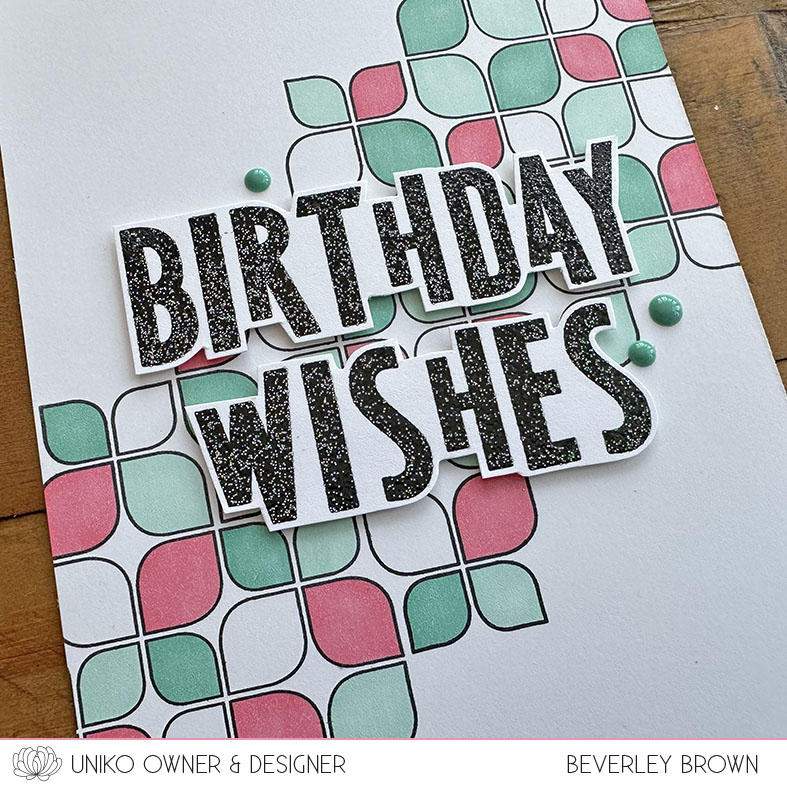
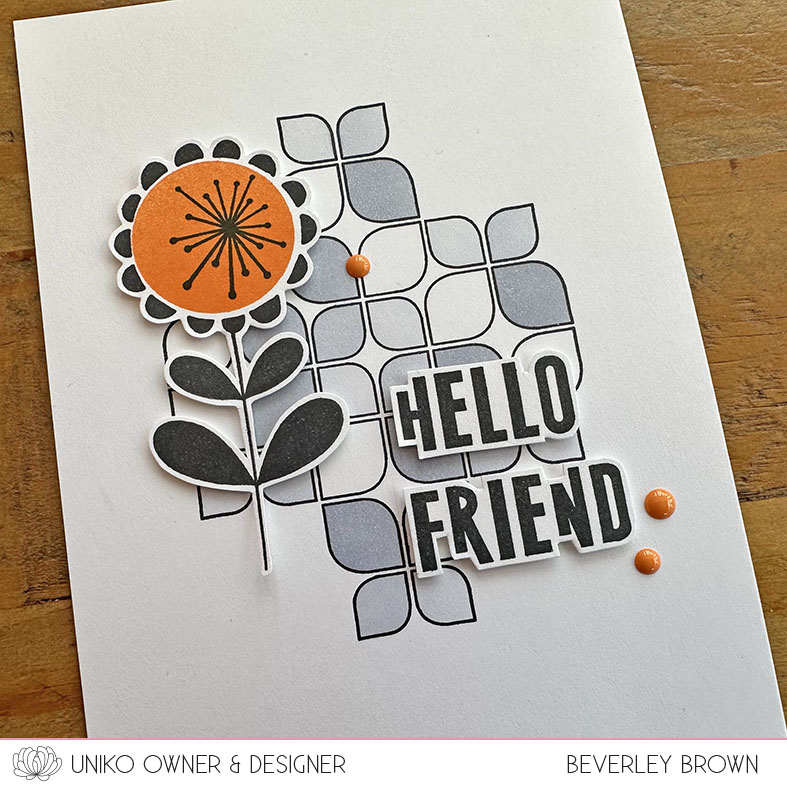
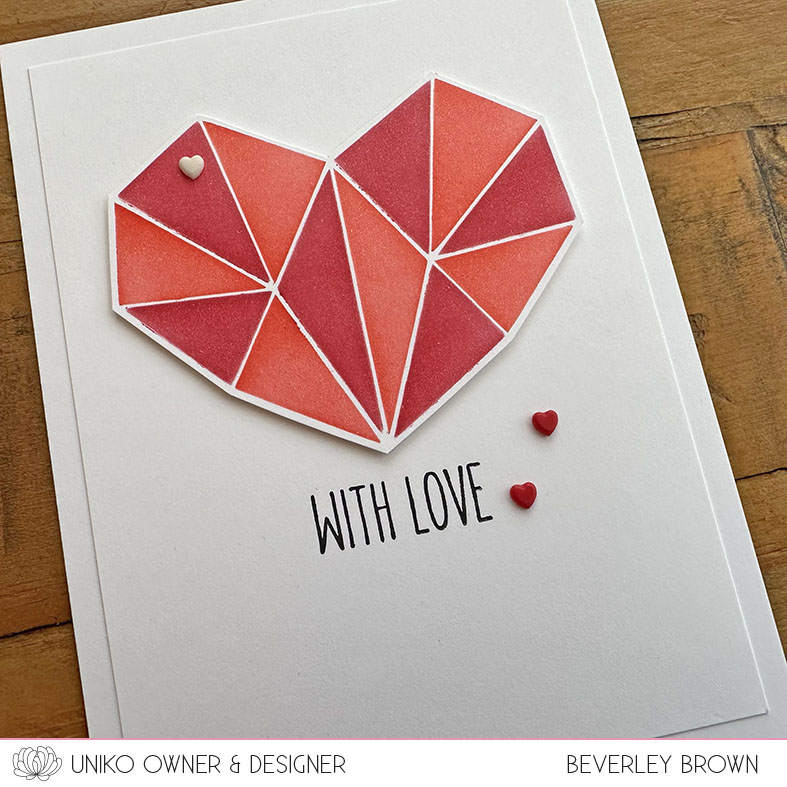
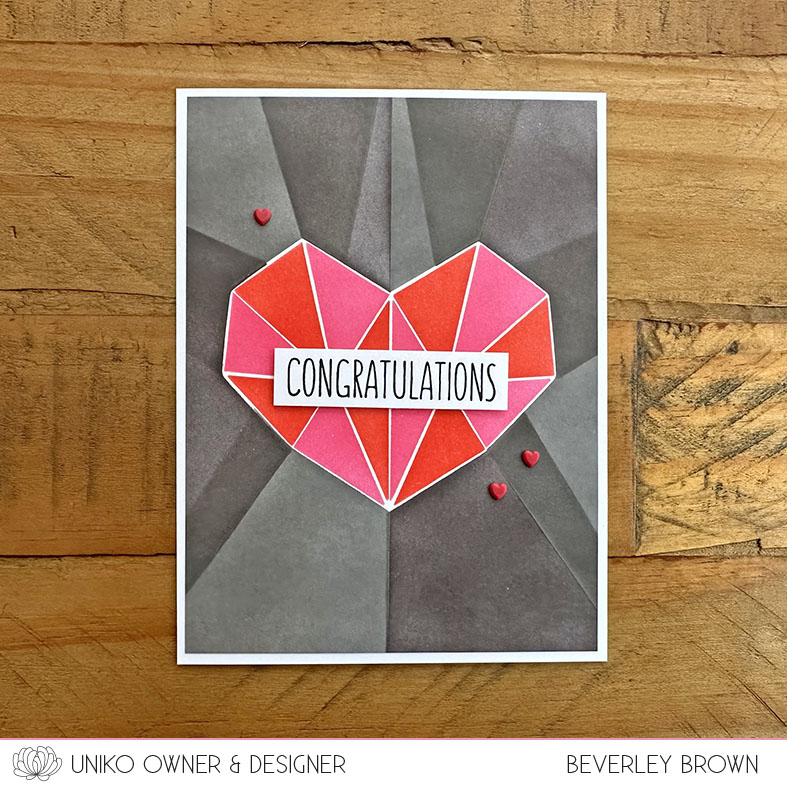
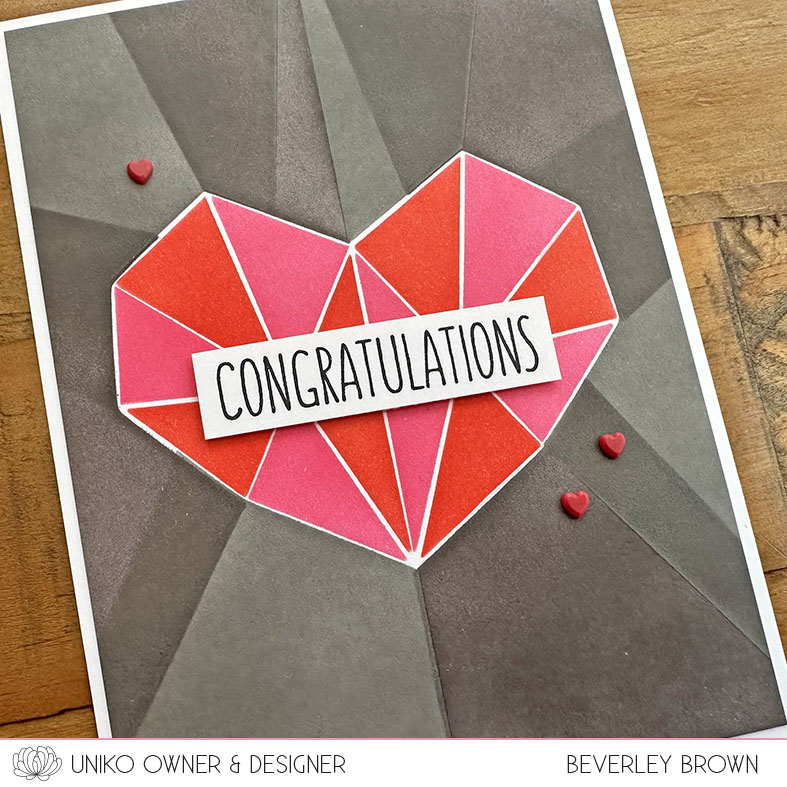
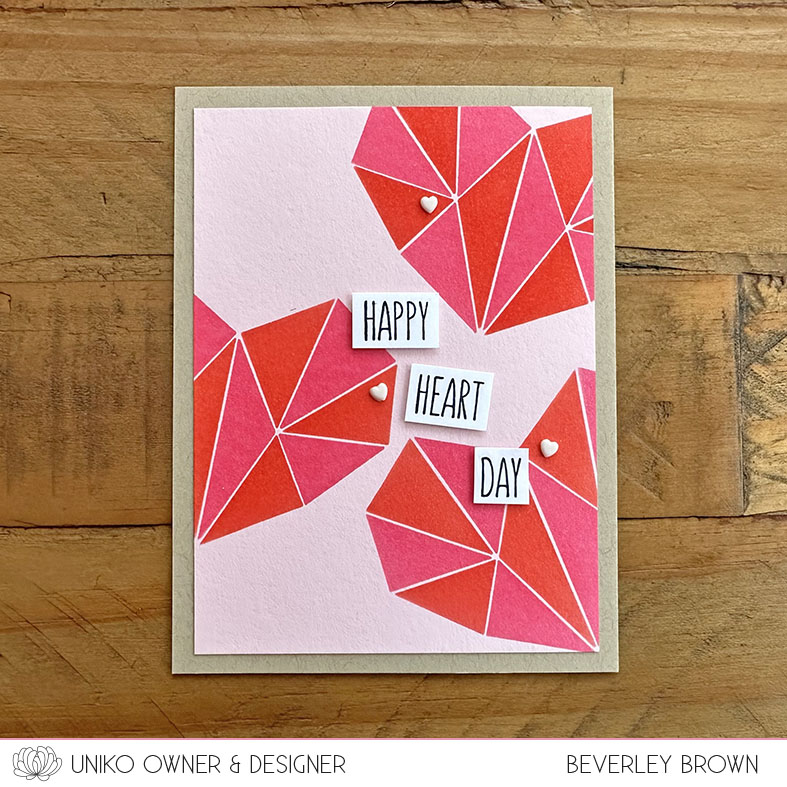
This stencil is designed just like the previous Ink & Flip Geometric Heart Layering Stencil. With a base layer that creates a Butterfly window and a second detail layer that creates the geometric butterfly.

Let’s have a look at it in action…

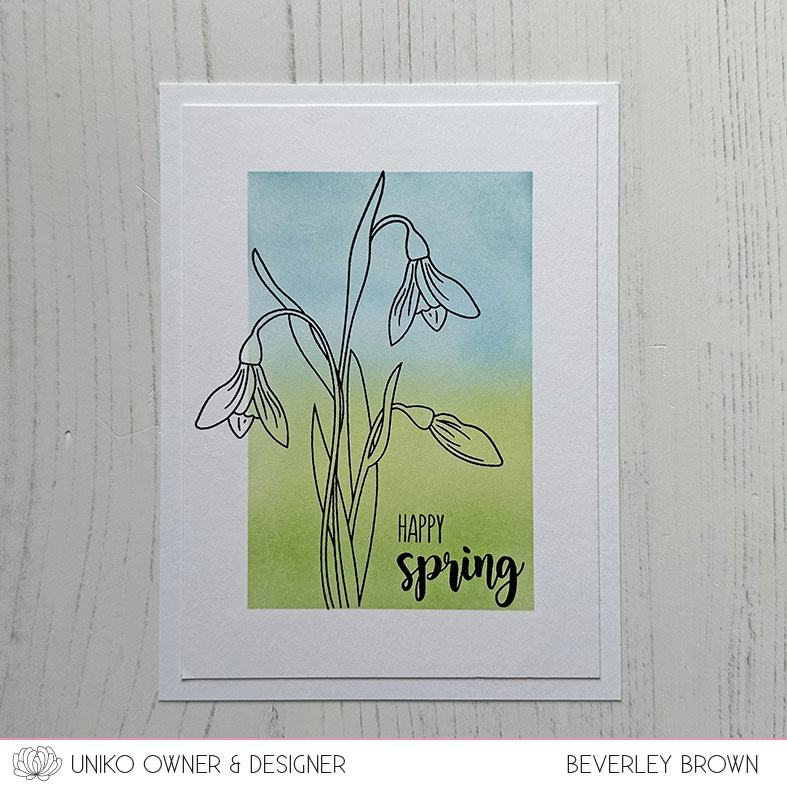
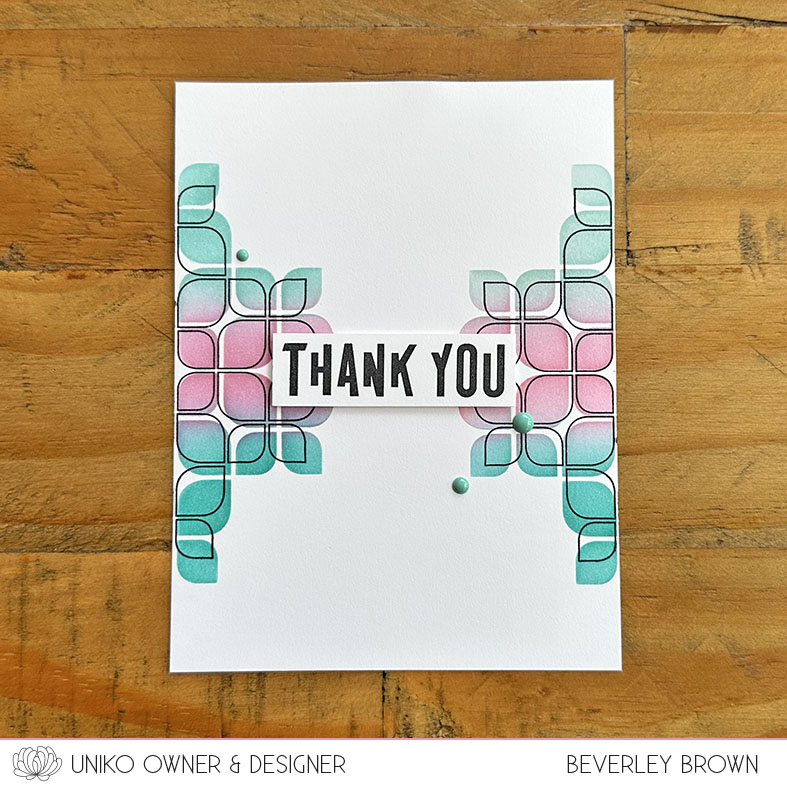
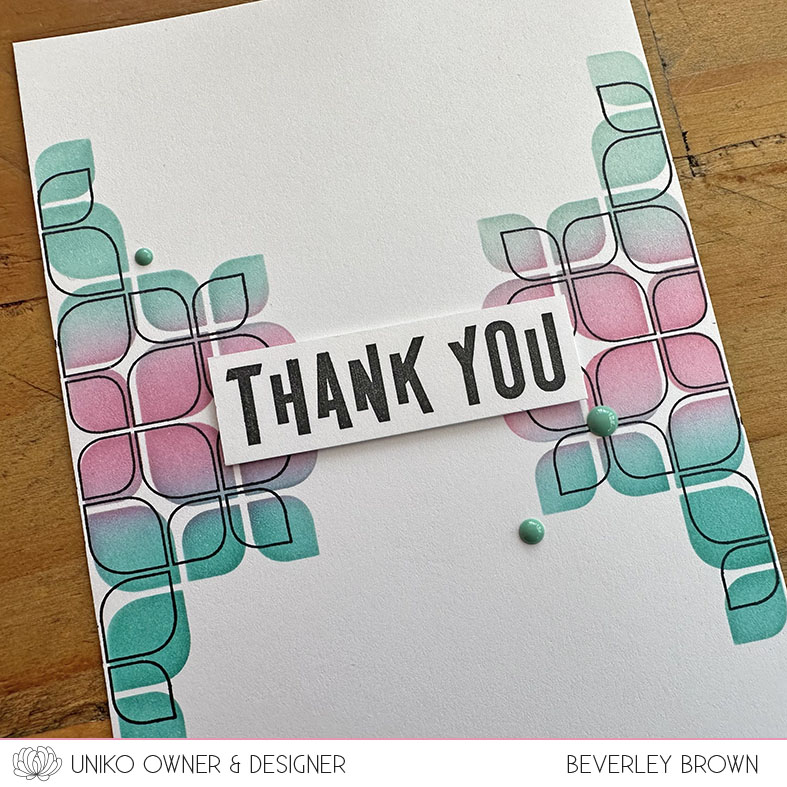
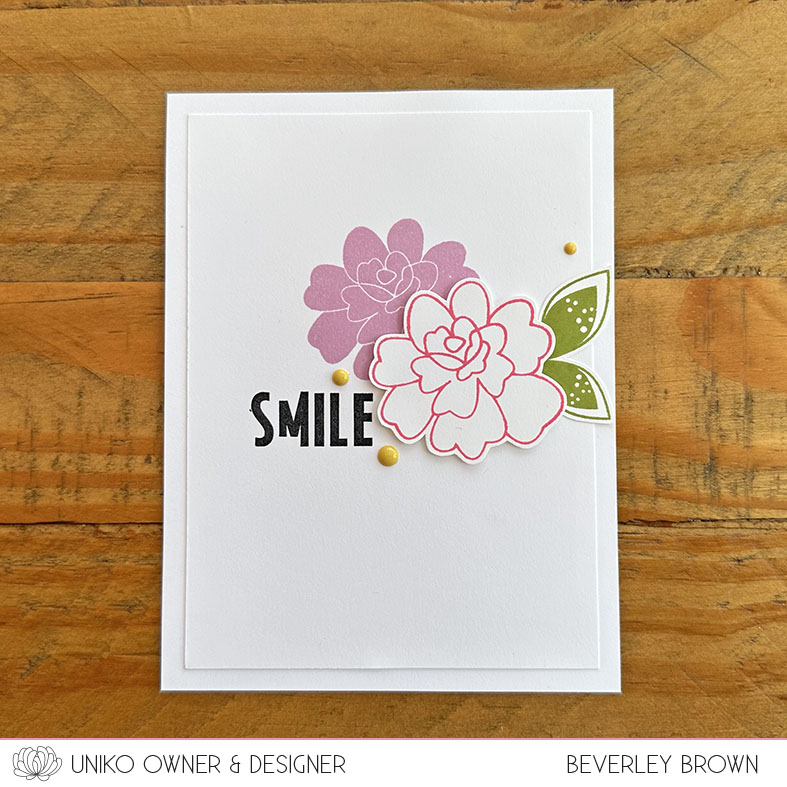
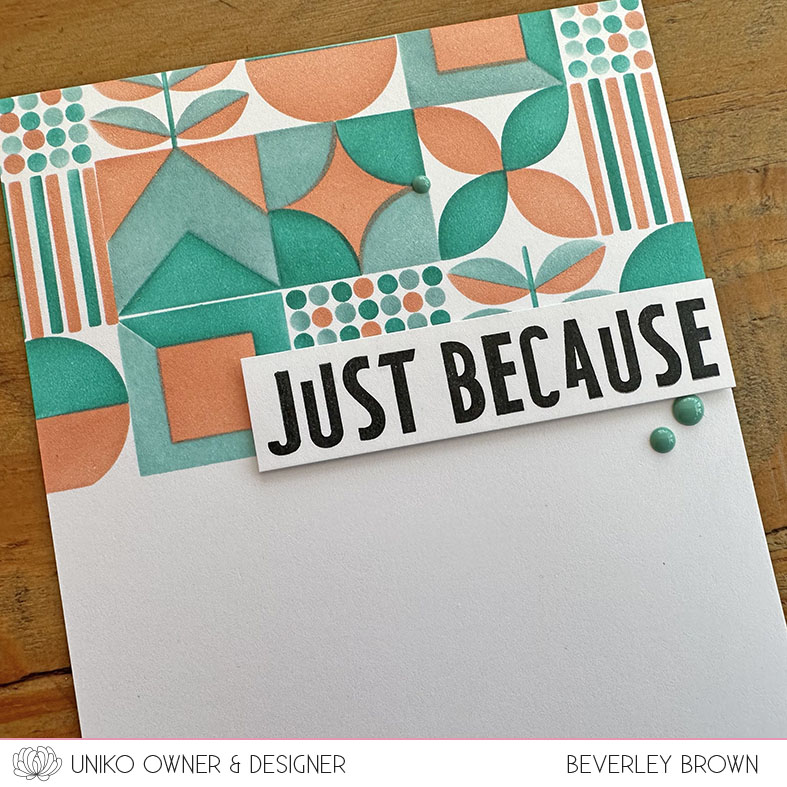
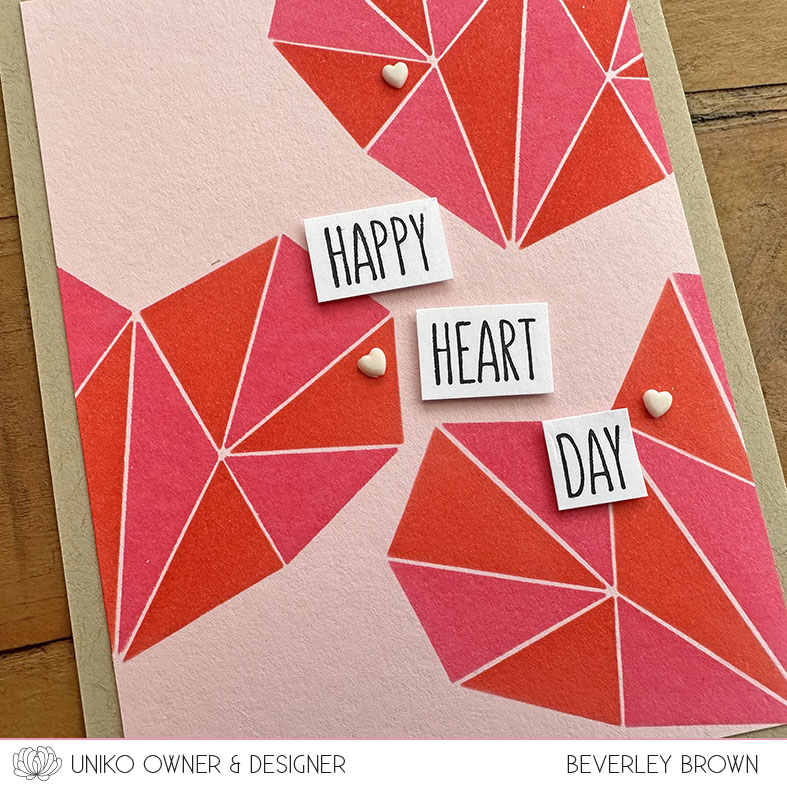
I couldn’t resist using the geometric butterfly layer first and with two vibrant colours. I used Dragonfruit and Oceanside. My sentiment choice is from Floral Vines.

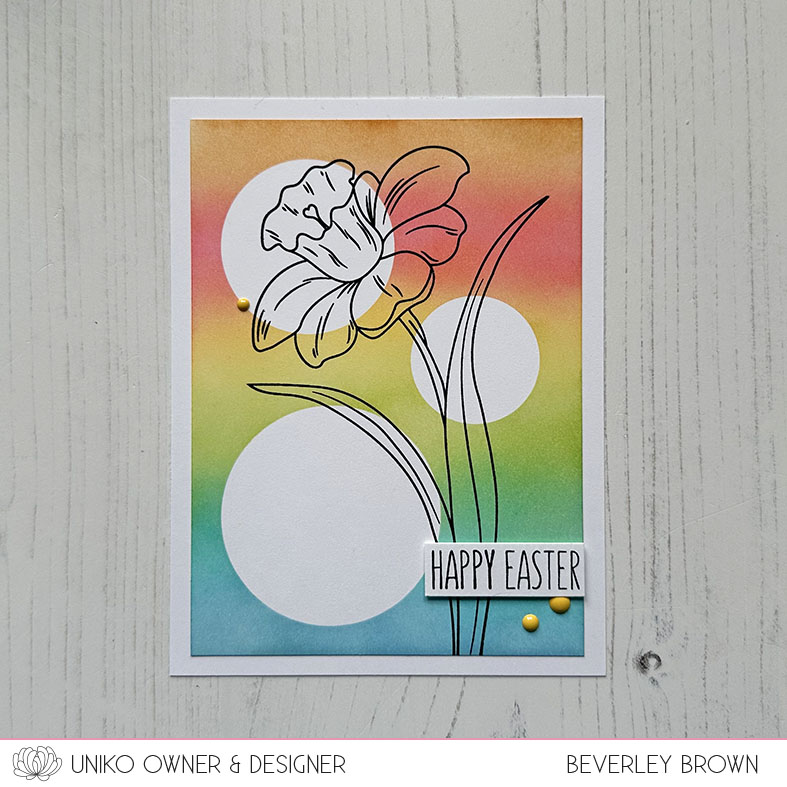
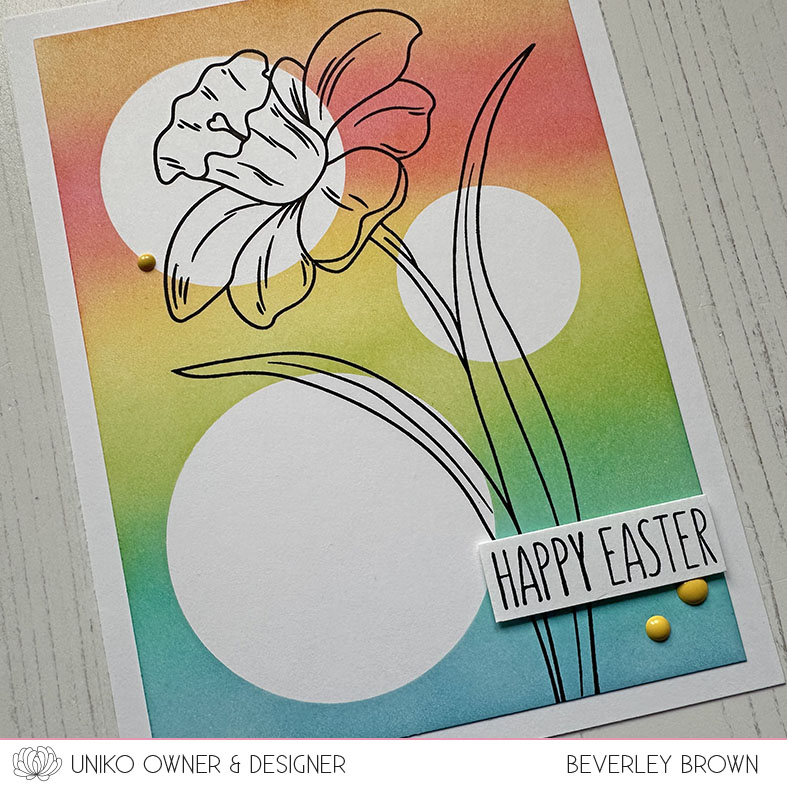
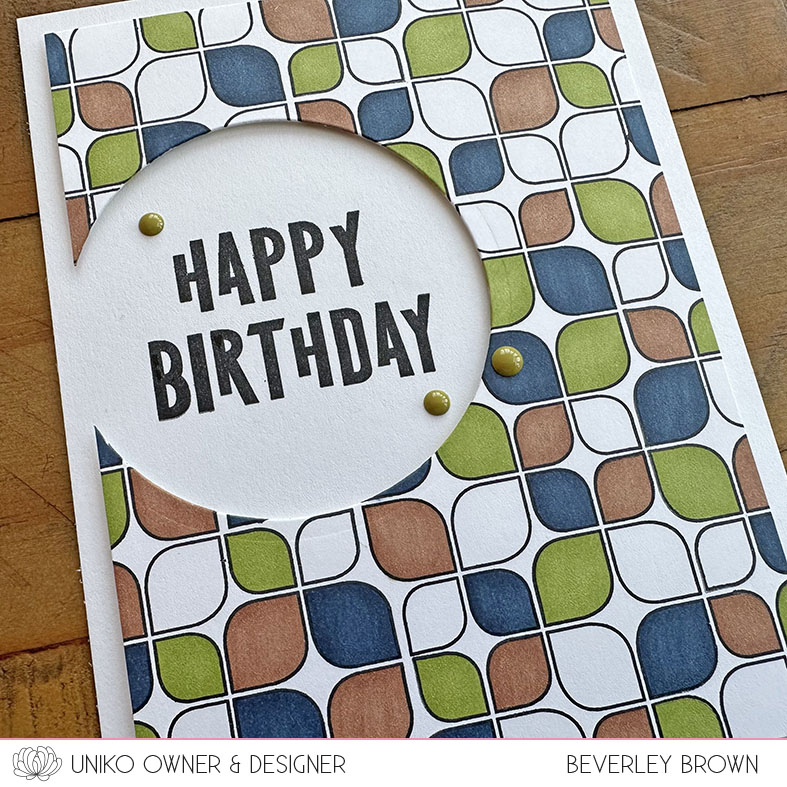
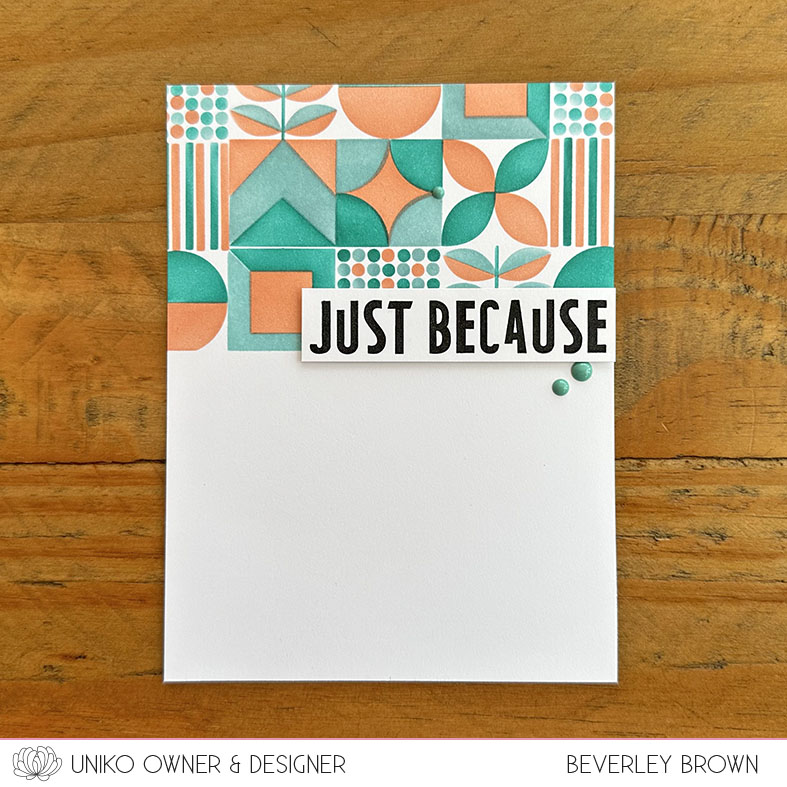
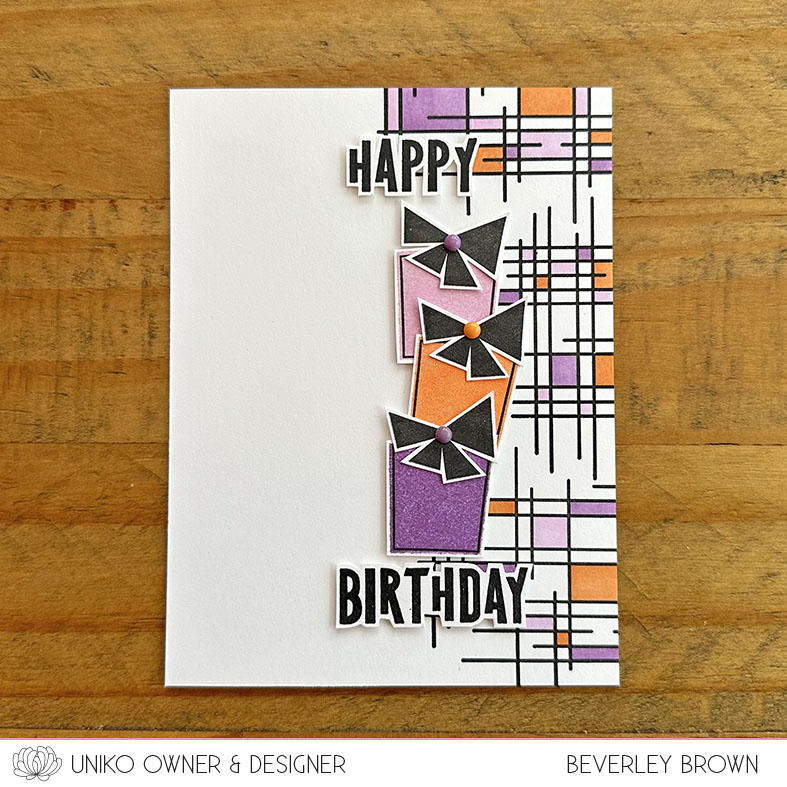
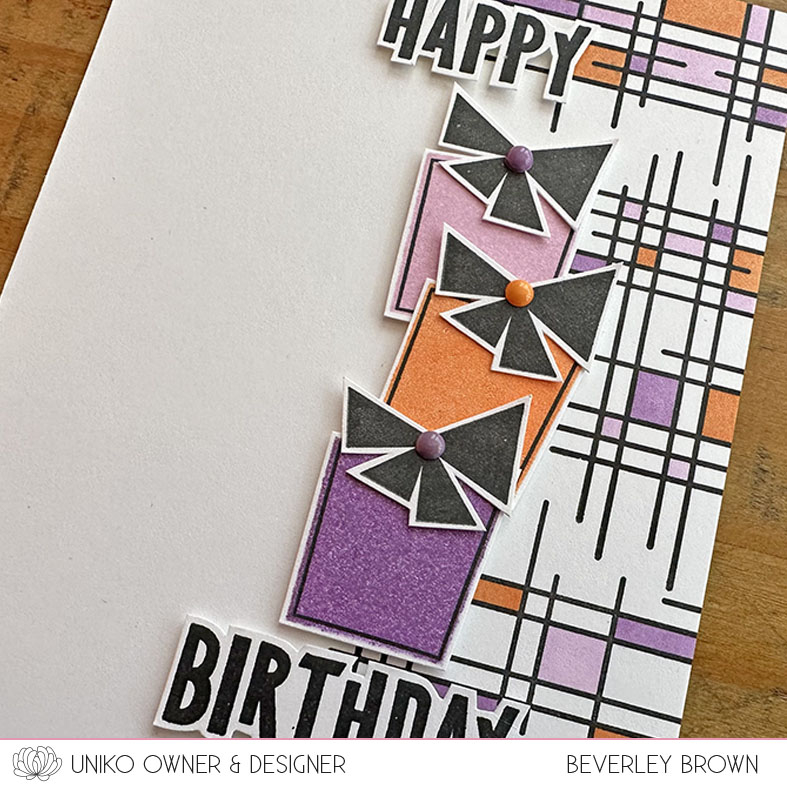
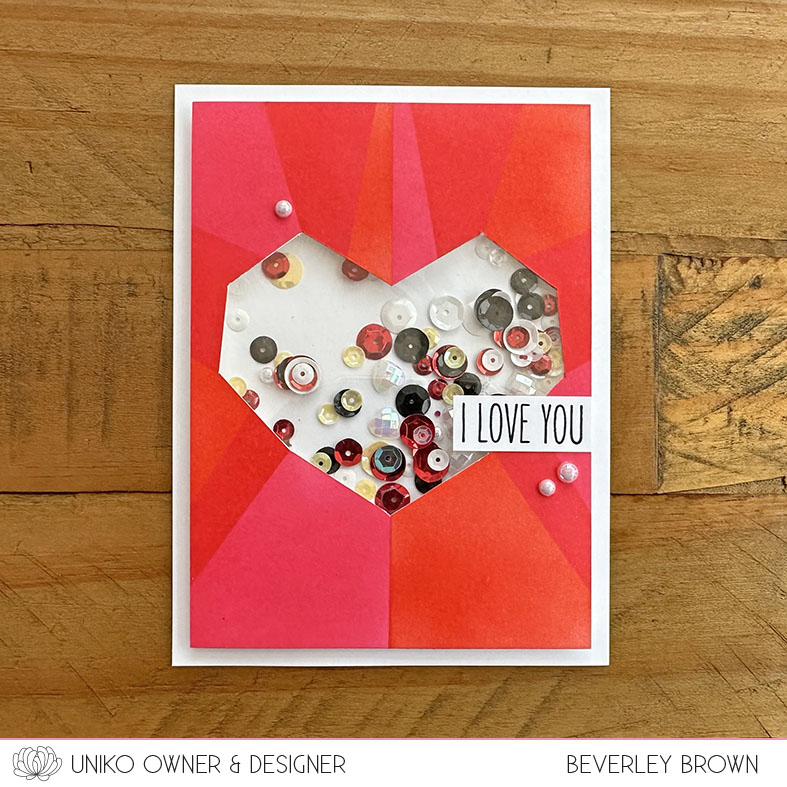
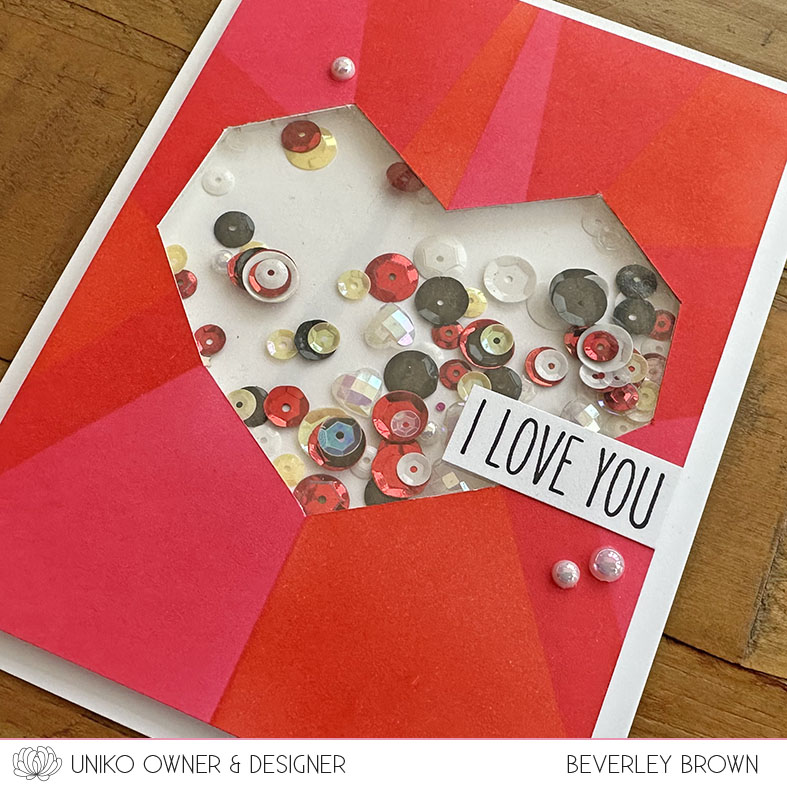
Next I had to use both layers together to show you how it looks as one.

Again I opted for some bright and cheerful colours. I used Honeysuckle and Poppy for the base background layer and Buttercup and Oceanside for the butterfly.

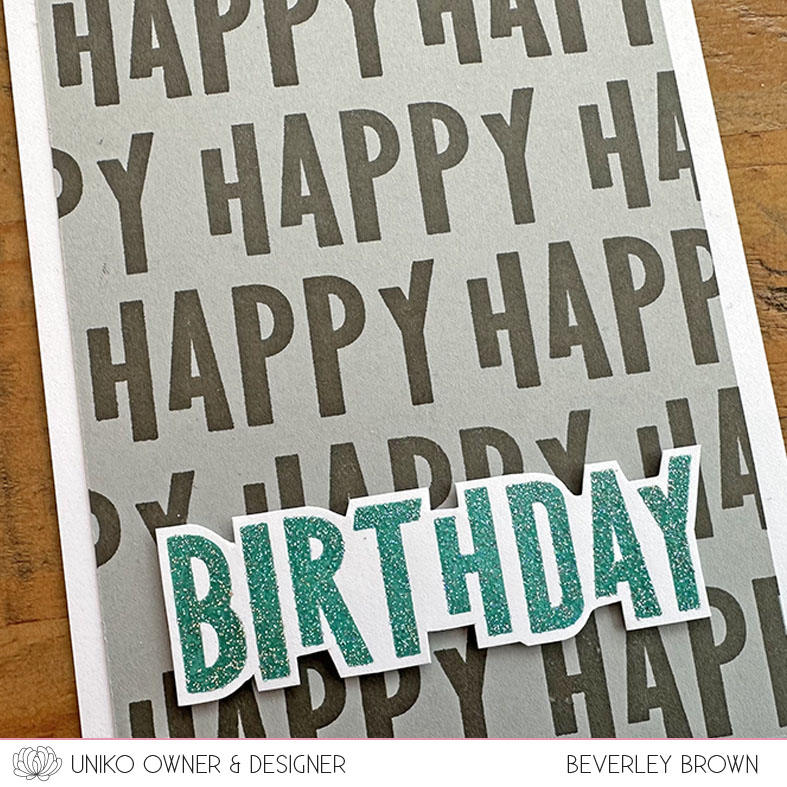
I kept things simple and finished with the Thinking Of You sentiment from Everyday Sentiments.

So, what do you think?

I know it’s easier to see these stencils in action, so I will be sharing a video on YouTube as soon as I can 😃

For now, why not enjoy more inspiration from the Brand Ambassadors over HERE.

This new stencil will be available on the website HERE tomorrow at 9am BST and I hope you will join us here on the blog for our usual Brand Ambassador Release Day Blog Hop & Giveaway.

Crafty Hugs

You’re Going to Flip – Ink & Flip Geometric Heart Layering Stencil Revisited

Hello & Welcome to You’re Going to Flip Week! 

If you missed what this is all about and the sneak peek, be sure to check out Mondays post HERE.  On Tuesday HERE, we gave fresh inky love to Ink & Flip Christmas Star, which was released back in July 2023. Yesterday HERE, we gave fresh inky love to Ink & Flip Snowflake and today we have new inspiration using the most recent, Ink & Flip Geometric Heart Layering Stencil.

Back in February this year I introduced this stencil over on YouTube HERE and the layering aspect adds more creative fun.

Let’s see how I have used the stencils today…

This first card and my second are panels I had in my stash from demoing the stencils and they could have even been from February, when I did the YouTube video 😂

Here I was inspired by the Uniko Brand colours, using two shades of pink for the background. I’ve most definitely used Honeysuckle and the other is possibly Pink Lemonade.

For the geometric heart layer I have used Aqua Sky and Oceanside. I added the Thinking of You sentiment from Simply Said Blocks II, stamped in VersaFine Clair Morning Mist.

For this second square card I have gone for the same colours for the background and the heart, which give this seamless look as if it was just one stencil.

It looks like I have used Honeysuckle and Grapefruit. I embellished the card with sentiments from Everyday Love Sentiments and a trio of mini hearts from my stash.

For my last card today I wanted to test out a rainbow idea using just the geometric heart.

I’m pleased at how easy it was to mask and colour the individual triangles to achieve the look. Next time however, I think I would use less colours 🤷🏼‍♀️

Once I’d finished inking the heart I fussy cut it out and popped it up using foam adhesive. My sentiment choice is from Sunshine & Rainbows. I’m not totally happy with the placement of it, but always another card to make to change it!

That’s all I have to share, but again the Brand Ambassadors have lots to share too. Be sure to hop along HERE.

Thanks for stopping by and I hope you will pop back again tomorrow for the BRAND NEW Layering Ink & Flip introduction!

Crafty Hugs

You’re Going to Flip – Ink & Flip Snowflake Revisited

Hello & Welcome to You’re Going to Flip Week! 

If you missed what this is all about and the sneak peek, be sure to check out Mondays post HERE. Yesterday, HERE, we gave fresh inky love to Ink & Flip Christmas Star, which was released back in July 2023. Today we have another revisit, giving fresh inky love to Ink & Flip Snowflake

I love new products as much as the next crafter, but I also love stretching my stash and coming up with new combinations.

For my first card today I decided to ink the stencil in a couple of warm grey tones, Pebble and Cobblestone. Normally I would go for blues or aqua shades, but I knew I wanted my sentiment to pop against the neutrals.

At first I was worried the Designer Die BIG & BOLD Snow sentiment would cover too much of the snowflake. Turning my card landscape helped and I think these are a fun pairing.

Next I decided to return to shades of aqua and I actually used an aqua card base to stencil on 😱

Again, I had a reason for this. I had already decided I was going to use the Designer Die Sparkling Snowflake and die cut it in white. So like before I wanted this to stand out from the stencilled background.

I popped the die up with some foam adhesive and added the Let it Snow sentiment from Simply Said Blocks Christmas.

Like yesterday I have kept my cards pretty simple, but I know the Brand Ambassadors have more flippin’ fabulous inspiration to share, so be sure to head on over HERE and hop along.

Thanks for stopping by and I hope you will pop back again tomorrow for more You’re Going to Flip fun. 

Crafty Hugs

You’re Going to Flip – Ink & Flip Christmas Star Revisited

Hello & Welcome to You’re Going to Flip Week! 

If you missed what this is all about and the sneak peek, be sure to check out yesterdays post HERE. Today we a starting with a revisit and giving fresh inky love to the very first Ink & Flip stencil I designed and released back in July 2023, Ink & Flip Christmas Star.

I called it Christmas Star as it ‘fell in’ with the Christmas release! But really, this design can be used all year round and is especially great for those masculine cards. 

If you’ve never seen the Ink & Flip Christmas Star in action before, or you need a reminder, be sure to check out my video over HERE on Uniko’s YouTube channel.

Let’s have a look at some more creativity using this stencil…

It’s been a while since I used my Altenew inks and the Red Cosmos collection was calling to be used. I’ve not used a set of ombre colours with this stencil yet, and I think the results show for themselves.

The toughest decision was then choosing how to embellish the star! I already had Framed Balloons and Balloon Bash on my desk, so that’s what I landed upon.

I think they pair quite well. I stamped the sentiment in black ink and then coloured with a fine liner. The balloon is stamped in Oceanside and I fussy cut it out before adhering with foam adhesive.

This led onto my next card….

Again for this I decided to use an ombre collection of colours and this time I decided upon the Tropical Forest collection. This time I decided on a square card so I could fit the whole star on, as I knew I wanted to cut the star out to create a window.

Inside the window I then stamped and embossed a mix of sentiments from Mid Century Modern Everyday Sentiments and Mid Century Modern Wreath Builder. To finish I kept things simple with a trio of enamel dots.

Now my designs are quite simple, but I know for a fact the Brand Ambassadors have pulled out all the stops and have a flippin’ inspirational hop starting HERE.

Thanks for stopping by and I hope you will pop back again tomorrow for more You’re Going to Flip fun. 

Crafty Hugs

March 2024 Non-Release Brand Ambassador Blog Hop & GIVEAWAY!

Hello & Happy Monday.Welcome to the March 2024 Non-Release Brand Ambassador Blog Hop & GIVEAWAY! Hopefully you have hopped on over from HERE. You will find the list of Brand Ambassador blogs and they have so much beautiful inspiration to share with you.

Here’s what I have to share with you…

My first card is the reverse of THIS one I made and shared the other day HERE.

I’m all about ‘quick’ colouring at the moment and all for the bright cheery colours too! So these circle die cut masks were a fun option to add colour with interest. I used Everyday Spring Sentiments for the Happy Easter.

Quick colour option and ink blending for my second card too! This time I went for a rectangle aperture and some blues, yellows and greens to compliment the Spring Botanicals Snowdrop.

As usual I am offering a prize to one lucky comment left along the hop. Simply leave some comment love before Midnight GMT Monday 18th March 2024 and I will select a lucky winner to receive a £15 eGift Code to spend in the store!
Before I go, how about some March Madness?

Happy Hoppin’!
Crafty Hugs

Uniko 12th Birthday NEW Release, Brand Ambassador Blog Hop & GIVEAWAY !

Hello, Happy Sunday AND Happy New Release Day!

I hope you have enjoyed all the celebrations and the introductions this week and I’m super excited you have stopped by so I share these new products with you. They are NOW available to purchase HERE on the website.

Now let’s see some more creative inspiration using these new products. Be sure to hop along & comment along the way before 29th February 2024 to win a £30 eGift Voucher to spend in store. Hop links and formal introduction to the newness can be found HERE.

I started with Background Blocks MOD Builder and had an idea to stamp it over an ink blended block of yummy colours. These are Creamsicle, Watermelon and Wildberry, from the new Concord & 9th collection.

I then accented my card with a flower from Mid Century Modern Florals, but add the leaves from the Background Block MOD Builder set for a different look!

Next I had some more fun with a couple of the new colours and the big HAPPY sentiment from Mid Century Modern Birthday.

Originally I intended for a more rainbow colour scheme, but I ended up with a pink, red to orange colour combo!

This is a fairly quick and fun card to make if you’re in a hurry or stuck for an idea. The colours can be easily changed to suit the recipient too. I added the little Asterix element from the Mid Century Modern Birthday set and added a Midnight enamel dot to the centre too.

For my final card for today I did go rainbow, it just had to be done! I’ve done a rainbow version of every Ink & Flip Stencil so far, so I needed to continue with the Ink & Flip Layering Geometric Heart.

I just went with the one layer today and leave the heart open for a sparkly birthday sentiment. But don’t worry, you’ll see more using this stencil in the coming days 😃

Thank you for joining in on all of the Uniko celebrations so far. There is still time to join in on the celebrations, our 12th Birthday Card Linky Party HERE. Enter to Win Stamps For a Year HERE and Win Enter to Win Stencils For a Year HERE.
Along with all the birthday fun and new stamps, there are a few clear stamp restocks available on backorder & due in the studio 21st February. These restocks include Background Blocks PerspectiveBauhaus Blocks and Everyday Sentiments.

Crafty Hugs

Celebrating 12 Years – Introducing… Background Blocks MOD Builder

Happy Weekend 😃


Welcome to Day 4 and the last of the 12th Birthday/February Release product introductions. This release we are adding to Uniko’s ever popular Mid Century Modern Collection, along with our unique Ink & Flip Stencil series, which we kicked things off with HERE


For the last two days we have introduced the two additions Mid Century Modern Collection, Mid Century Modern Birthday and Mid Century Modern Everyday Sentiments.


Today we are introducing a new addition to the Background Blocks series and a design you will recognise from a previously released stencil design, MOD Background Builder


Let’s have a look at this in action…

This new Background Block is designed just like its Stencil version. In that you can stamp an instant focal point, but that it can be moved to create a full seamless pattern.

For this first card stamped the block in the centre of my card and then I stamped in the upper right and lower left to create a diagonal pattern.

I then coloured selected parts with a trio of Copic Markers inspired by Uniko brand colours. To finish I added the large Birthday Wishes heat embossed with Stardust EP and adhered using foam tape, along with a trio of enamel dots.

Next I wanted to show an all over look with a masculine feel, which I feel I have achieved with my colour choice.

When I know I am going to fill the whole area, I start in the middle and work outwards filling the pattern. Once I had coloured the panel I used a circle die to die cut a window for my sentiment.

I used the HAPPY from Mid Century Modern Wreath Builder and the BIRTHDAY from Mid Century Modern Everyday Sentiments.

For my final card today I wanted to combine the stamp with the stencil. This card is totally inspired by one made by Hannelie, Brand Ambassador Alumni.

I started by stamping the block to hang off either edge of my card. Once dry I used the stencil the same way to add the colour. Again inspired by Uniko brand colours.

I finished the card simply with the Thank You sentiment from Mid Century Modern Everyday Sentiments and a trio of enamel dots.

If after that awesome hop, you want or *need* a closer look at this clear stamp set. Why not join me over on YouTube HERE this afternoon for a demo of this newness.


This clear stamp set, along with all the products being introduced this week will be available 9am GMT Sunday 18th January 2024. 

Crafty Hugs

Introducing… Mid Century Modern Everyday Sentiments

Happy FriYAY 😃


Welcome to Day 3 of the 12th Birthday/February Release product introductions. This release we are adding to Uniko’s ever popular Mid Century Modern Collection, along with our unique Ink & Flip Stencil series, which we kicked things off with HERE


Yesterday we introduced the first Mid Century Modern addition, Mid Century Modern Birthday and today  we are back with more and this time Introducing… Mid Century Modern Everyday Sentiments.


These sentiments are the same fabulous and funky font, but smaller. The same size as the ones from the previously released Mid Century Modern Wreath Builder. 


Let’s have a look at them in action…

For my first card today you are getting a huge peek at what’s coming tomorrow. I won’t go into too much detail about the background, but as you can see it’s FABulous!

I’ve accented my background with a flower from Mid Century Modern Florals and added the HELLO FRIEND sentiment from the new Mid Century Modern Everyday Sentiments.

Next I went with another floral, Beautiful Blooms II to showcase another of the sentiments from this clear stamp set.

I started by stamping the solid bloom in Carnation ink onto my base layer. I should have then added my SMILE sentiment after I added the Honeysuckle outline flower as I would have added it a little further to the left.

I added the leaves stamped in Artichoke ink and a trio of Sunflower enamel dots to finish.

Lastly for today I decided to use the Stencil – Layering Bauhaus Blocks and tried out a new layer.

I started by masking off the lower section of my one layer card base. I then selected Grapefruit, Oceanside and Aqua Sky to ink the stencil and fill the top section of the card.

I then added the JUST BECAUSE sentiment on a strip of card adhered by foam tape and a few Oceanside enamel dots to finish.

If after that awesome hop, you want or *need* a closer look at this clear stamp set. Why not join me over on YouTube HERE this afternoon for a demo of this newness.


This clear stamp set, along with all the products being introduced this week will be available 9am GMT Sunday 18th January 2024. 

Crafty Hugs

Celebrating 12 Years – Introducing… Mid Century Modern Birthday

Happy Thursday 😃

Welcome to Day 2 of the 12th Birthday/February Release product introductions. This release we are adding to Uniko’s ever popular Mid Century Modern Collection, along with our unique Ink & Flip Stencil series, which we kicked things off with yesterday HERE


Today however, we are Introducing… Mid Century Modern Birthday. Let’s have a look at this clear stamp set in action.

For my first card I was excited to combine Mid Century Modern Birthday with the popular Background Blocks Linear.

I started by stamping the block along the edge of my card and after selecting a trio of colours, Lilac, Marmalade and Grape Soda. I matched as close as I could to Copic markers and coloured random blocks.

Next I stamped my little gifts and actually chose a sentiment combination from the clear stamp set being introduced tomorrow 😉 and assembled my card. A bit of fussy cutting, but you know how I love it!

My second card today I chose to go bold and sentiment only. My chosen colours also give it a masculine feel.

As you can see I repeat stamped the HAPPY sentiment across my Dove card panel in black ink. I then stamped the BIRTHDAY in Oceanside ink and again in VersaMark to be able to heat emboss with some WOW Sparkle EP.

The result, a simple card that packs a punch of impact.

You know me, when I can’t decide on a colour combo, I go rainbow! That’s what I used for my next card.

This clear stamp set features elements intended to ‘build’ gifts. But really the creative possibilities are endless. The Brand Ambassadors have demonstrated this perfectly. We all see things in different creative ways. Here I decided to create a geometric design down the edge of my card. Simply just having fun with the shapes and colours.

I finished this one layer card with the large WISHES sentiment and opted to pair it with the fancy script happy from Happy Days.

During my YouTube introduction video HERE, I created my next card. I had an idea in my head and just went with it.

I built my stamped gifts with colours and black ribbon and bows. Finishing off with some Cobblestone enamel dots and Copic colouring to the middle bow. My sentiment choice is from Simply Said Blocks.

That’s all I have today using this clear stamp set. But I will be sharing more later this week.

This clear stamp set, along with all the products being introduced this week will be available 9am GMT Sunday 18th January 2024. 

Crafty Hugs

Celebrating 12 Years – Introducing… Ink & Flip Geometric Heart Layering Stencil

Happy Wednesday & Happy Valentine’s Day 💖
Welcome to Day 1 of the 12th Birthday/February Release product introductions. This release we are adding to Uniko’s ever popular Mid Century Modern Collection, along with our unique Ink & Flip Stencil series.

With it being Happy Heart Day, I couldn’t resist kicking the introductions off with this fun two layer Ink & Flip Stencil. 

Introducing… Ink & Flip Geometric Heart Layering Stencil. So let’s have a look at the stencil in action…

I started off with one of my current favourite things, a full shaker card! They are just so fun, so much easier and quicker that the window style shakers.

Now this new Ink & Flip stencil comes in two layers, to understand this stencil visually I recommend watching my video introduction HERE.

I started with the background layer of the stencils, using Honeysuckle and then Marmalade ink.

I then added the geometric heart image using the second stencil layer. This time using Poppy and Cranberry inks. Once all the stencilling was done I created my shaker, finishing off with a sentiment from Everyday Love Sentiments and some heart dew drop embellishments.

For my second card I chose a clean & simple design using just the heart layer of the stencil.

Again I used Poppy and Cranberry inks to create the geometric heart. I then fussy cut this out, which is pretty easy with it being straight lines.

Once I’d cut the heart out I adhered it to my card using foam tape. To finish I added another sentiment from Everyday Love Sentiments and some tiny heart embellishments I’ve had for ages in my stash.

I really have had fun with this stencil and went with a striking dark grey background for my next card, this makes the heart really POP.

I used Cloudy Sky and Charcoal Soot from Altenew Gentlemen’s Grey ink collection along with Poppy and Honeysuckle, my current favourite colour combo. Red and pink together brings me cheer!

To me hearts are not just for Valentine’s. They can be Wedding, Anniversary, Engagement and more. I used Congratulations for this card from Everyday Sentiments (back in stock 20th February).

Next up I used the geometric heart layer again for an all over design on coloured card.

It’s rare I choose to use a coloured card layer to ink on, but I loved how this turned out and how it paired with a Kraft card base too.

Lastly, for today! I went for a traditional window shaker card.

To create this card I used the background layer of the stencil on its own. Inking in Honeysuckle, cleaning & then flipping to ink with Poppy.

I then used a craft knife to cut out my window to create the shaker. Again this was easy with the straight edges.

What a mammoth blog post, but hopefully it has given you a taster of the creative possibilities this two layer stencil has.

Thanks for stopping by.

Crafty Hugs